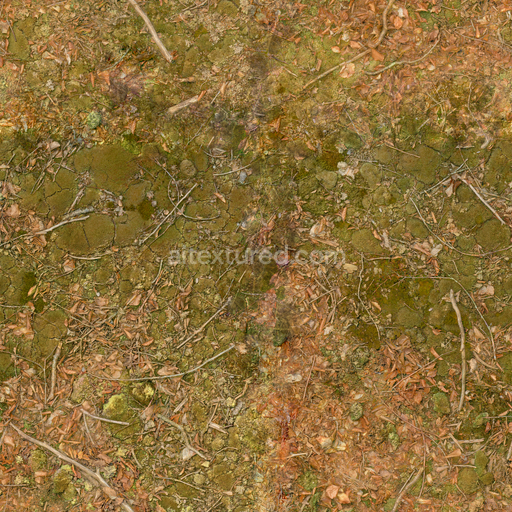
Leaves Twigs - Moss Sticks Leaves Twigs Autumn Mossy
Seamless texture (tileable) · PNG, WEBP, PBR ZIP. License: AITextured Free Commercial License (FCL) v1.1. Free personal and commercial use. Raw resale, standalone redistribution, mirroring/scraping, competing asset packs, and AI/ML training are not allowed without written permission. Attribution is not required, but appreciated..

| ID | patterned-wet-moss-texture-seamless |
|---|---|
| Category | Moss |
| Formats | PNG, WEBP, PBR ZIP |
| Size | 1k (1024x1024px), 2k (2048x2048px), 4k (4096x4096px), 8k (8192x8192px) |
| Color | sRGB |
| Tileable | Yes |
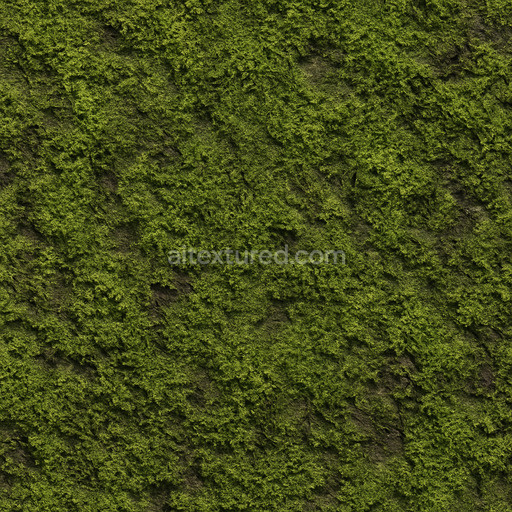
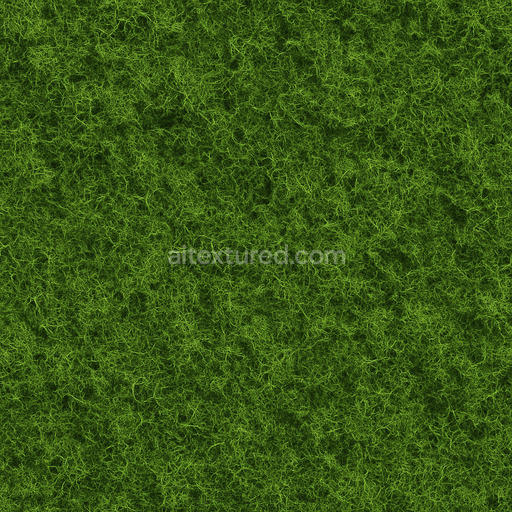
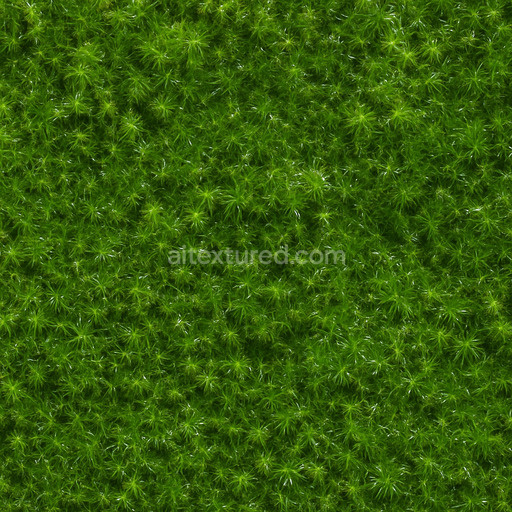
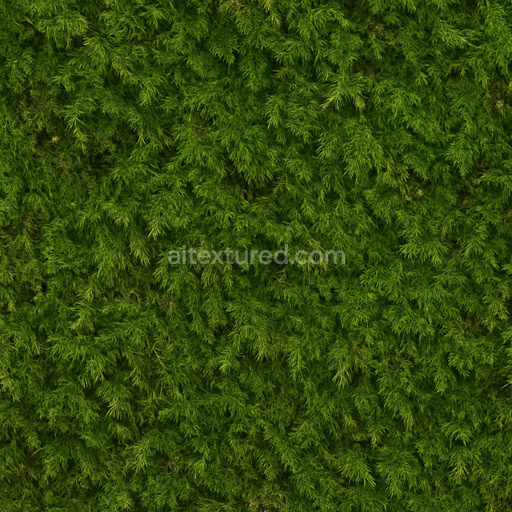
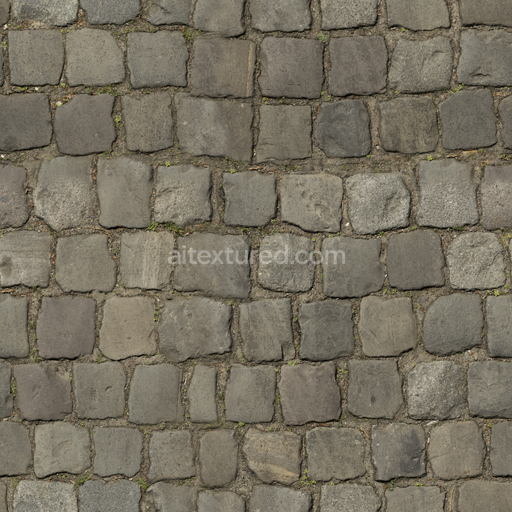
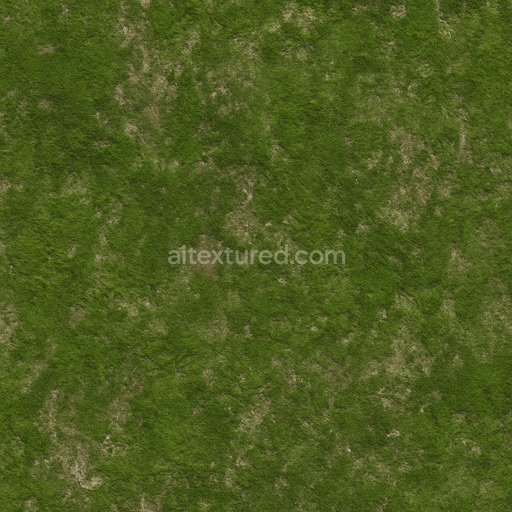
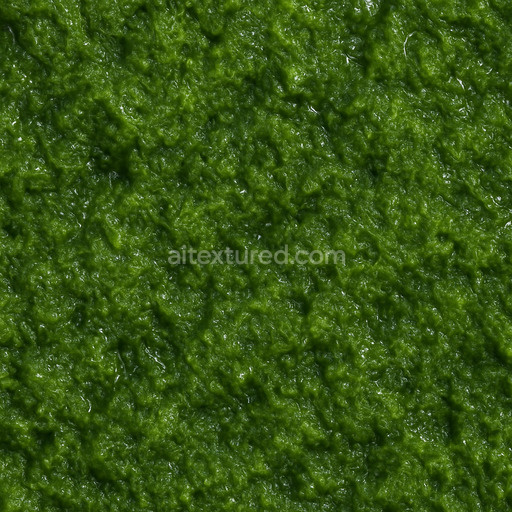
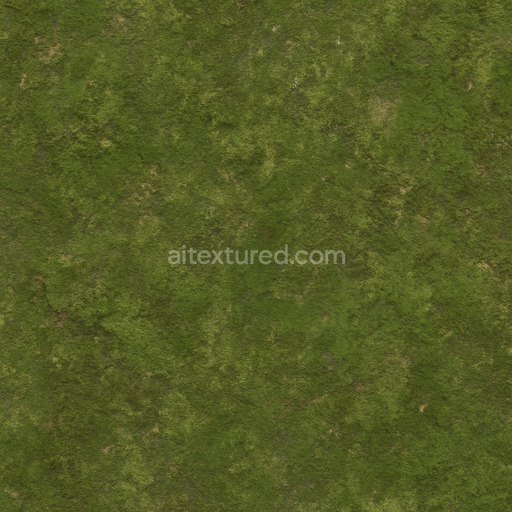
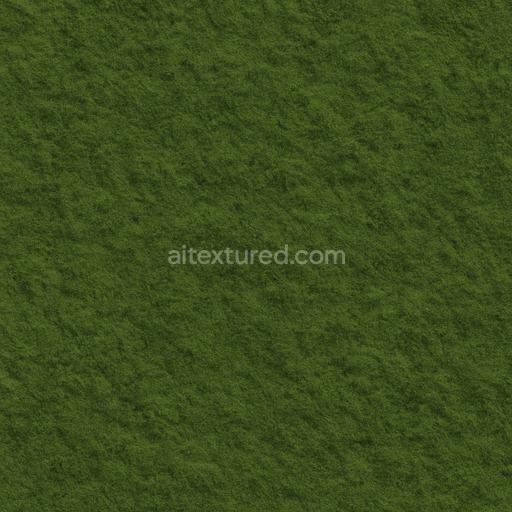
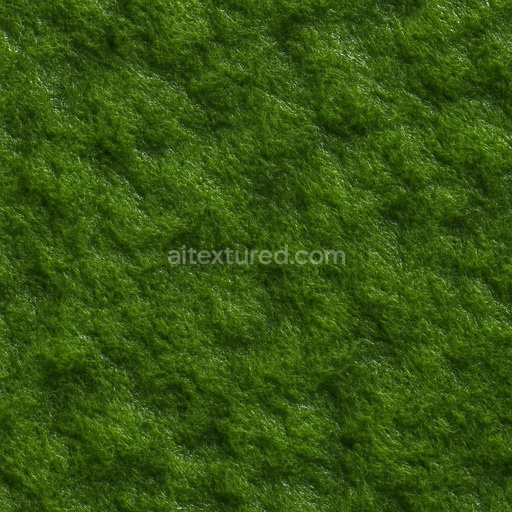
The patterned wet moss texture seamless high resolution up to 8K offers an exceptionally detailed and lifelike representation of moist moss thriving on porous natural substrates like aged stone and decayed wood. This richly layered organic surface showcases fine fibrous moss strands intricately intertwined with subtle mineral particles and organic debris forming a composite material that embodies the complex interplay of nature’s elements. The texture captures the damp slightly glossy finish characteristic of wet moss where moisture clings to the surface and interacts with natural pigments and oxidation processes to produce a color palette dominated by deep greens complemented by subtle browns and yellow ochres. The base substrate’s texture—whether rough stone or weathered wood—is faithfully rendered with variable porosity replicating the natural water retention and light diffusion that contribute to the moss’s wet appearance. Natural adhesion is simulated through underlying binders that hold the moss fibers firmly to the surface creating an authentic tactile experience.
In terms of physically based rendering (PBR) channels the BaseColor/Albedo map balances vibrant moss greens and muted earth tones preserving the natural color variation of wet moss without oversaturation. The Normal map enhances depth by emphasizing the three-dimensionality of fibrous clumps and the subtle undulations of the underlying substrate adding realism when illuminated. Roughness values are carefully calibrated to reflect the damp slightly reflective nature of wet moss avoiding excessive glossiness while conveying moisture presence accurately. The Metallic channel remains near zero to reflect the organic non-metallic nature of moss ensuring physically plausible shading. Ambient Occlusion richly accentuates crevices and overlapping moss layers enhancing shadow depth and volume. Height and Displacement maps capture the subtle elevation changes caused by moss growth and surface roughness which are ideal for parallax effects or detailed displacement in both real-time engines and offline rendering workflows.
Designed as a tileable patterned wet moss texture seamless high resolution up to 8K this AI-enhanced texture integrates seamlessly into 3D workflows perfectly suited for Blender Unreal Engine and Unity. The ultra-high resolution ensures that even close-up views retain crisp natural detail essential for realistic environmental scenes level dressing and material studies. For optimal use adjusting the UV scale helps balance repeat frequency on large assets to avoid noticeable tiling while fine-tuning roughness can emphasize moisture effects without creating an artificial shine. Combining this texture with subtle ambient occlusion and a light normal pass further enhances surface breakup preserving the organic softness and complexity of natural moss-covered surfaces. This seamless patterned wet moss texture seamless high resolution up to 8K offers a sophisticated realistic moss texture with an accurate 3D preview ideal for advanced PBR material applications across diverse digital environments.
Import the texture maps into Blender with sRGB color space for albedo/base color and Non-Color for normal, roughness, metallic, AO, height, and ORM maps. Connect normal maps through a Normal Map node, then adjust UV scale with a Mapping node so the material repeats naturally on your model.
For the full step-by-step setup, see How to Use Seamless Textures in Blender. Browse related material examples in wood, concrete, and metal.
Yes. This texture is designed as a seamless tileable PBR material, so it can repeat across large surfaces without visible borders.
You can download PNG/WEBP versions and use 1K, 2K, 4K and 8K download options when available on the page.
Yes. The download options and engine-mapped ZIP workflow are designed for Blender, Unreal Engine, Unity Standard, URP and HDRP material pipelines.
Yes. The texture is available under the AITextured free commercial license. Review the license page for redistribution and AI-training restrictions.


Build, preview, and export seamless PBR materials. Generate full map sets from a single image, inspect them in a real-time WebGL viewer, and re-package maps for Unreal, Unity, and Blender—directly in your browser.
AI text-to-texture: type a prompt and get a seamless, tileable base image ready for PBR workflows (great starting point for materials).
Create a full PBR set (Normal, Roughness, AO, Metallic, etc.) from a single image. Seamless and tiling-friendly.
Instant WebGL viewer: inspect materials on a sphere, plane, and cube. Check tiling and lighting in real time.
Re-packages maps per engine: Unreal (BaseColor + ORM), Unity (Mask/MetallicSmoothness), Blender (separate channels).
PNG ↔ JPG ↔ SVG: fast convert, SVG rasterize, embed/trace options, quality & background controls.