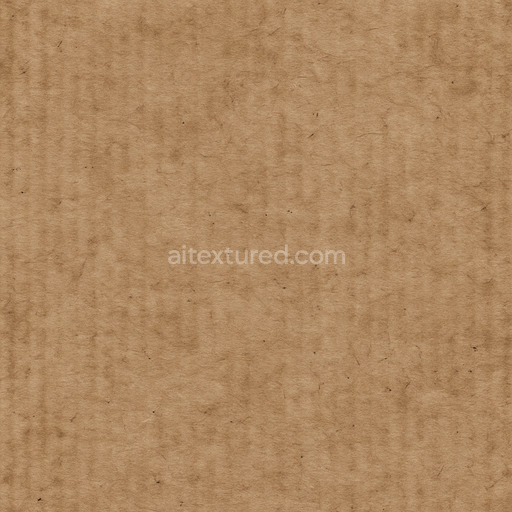
Weathered Cardboard Seamless Texture
Seamless texture (tileable) · PNG, WEBP, PBR ZIP. License: AITextured Free Commercial License (FCL) v1.1. Free personal and commercial use. Raw resale, standalone redistribution, mirroring/scraping, competing asset packs, and AI/ML training are not allowed without written permission. Attribution is not required, but appreciated..

| ID | japanese-shoji-screen-paper-texture-for-doors-and-dividers-free-pbr |
|---|---|
| Category | Paper |
| Formats | PNG, WEBP, PBR ZIP |
| Size | 1k (1024x1024px), 2k (2048x2048px), 4k (4096x4096px), 8k (8192x8192px) |
| Color | sRGB |
| Tileable | Yes |
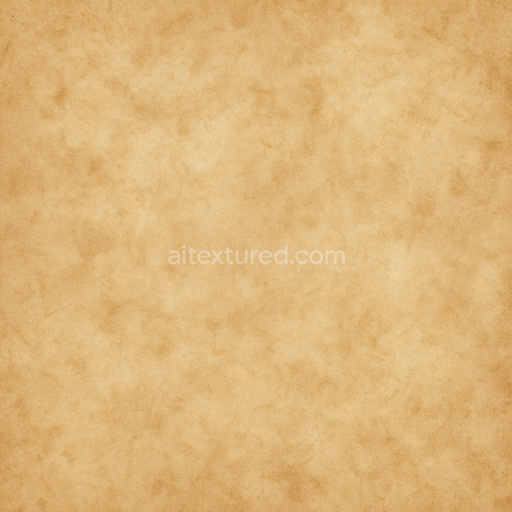
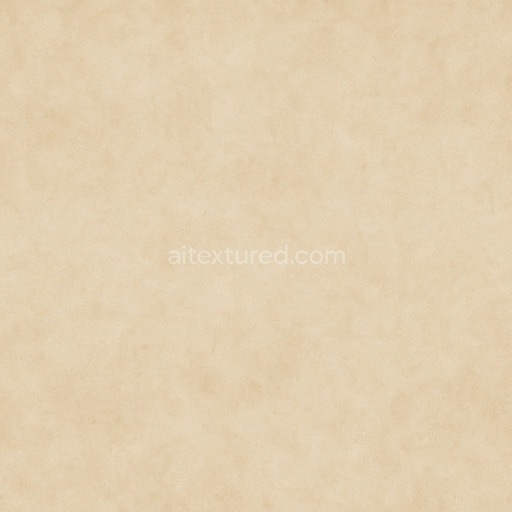
This Japanese Shoji screen paper texture authentically reproduces the traditional materiality found in classic shoji doors and room dividers. The base substrate is composed of delicate organic fibers derived primarily from mulberry bark and rice straw, which are carefully processed and bonded with natural adhesives. These binders form a fine fibrous mesh exhibiting subtle grain orientation and slight porosity, characteristics that allow diffused light to pass through gently, producing the iconic soft glow typical of shoji screens. The surface finish is matte and lightly textured, reflecting centuries of refined craftsmanship that balances durability with lightweight flexibility. Its color palette ranges from warm off-white to pale cream tones, achieved through minimal bleaching and natural pigments, lending the texture a timeless and authentic aesthetic that enhances traditional Japanese interiors.
Within the Physically Based Rendering (PBR) workflow, this texture’s BaseColor (Albedo) channel faithfully captures the warm, natural hues and intricate fiber patterns of the handmade paper. The Normal map details the subtle surface grain and delicate undulations created by the organic fibers, adding depth and realism to the material. The Roughness map highlights the matte finish with consistent mid-to-high roughness values, ensuring no metallic or glossy reflections occur, supported by a near-zero Metallic channel that confirms the paper’s non-metallic nature. Ambient Occlusion enhances the subtle overlaps and fiber intersections, accentuating the paper’s fine structural detail, while the Height/Displacement map conveys slight thickness variations and raised fibrous aggregates, enabling realistic shadows and light interaction in 3D environments.
This texture is rendered at an ultra-high 8K resolution, optimized for seamless tiling and compatibility with major 3D rendering engines such as Blender, Unreal Engine, and Unity. For optimal results in digital scene creation, it is recommended to carefully adjust the UV scale to preserve the natural fiber detail and avoid repetition artifacts. Additionally, fine-tuning the roughness setting within your material shader can help achieve a balanced soft light diffusion with subtle surface imperfections, ensuring the shoji paper texture convincingly simulates the delicate translucency and tactile qualities essential for authentic Japanese doors and dividers.
Import the texture maps into Blender with sRGB color space for albedo/base color and Non-Color for normal, roughness, metallic, AO, height, and ORM maps. Connect normal maps through a Normal Map node, then adjust UV scale with a Mapping node so the material repeats naturally on your model.
For the full step-by-step setup, see How to Use Seamless Textures in Blender. Browse related material examples in wood, concrete, and metal.
Yes. This texture is designed as a seamless tileable PBR material, so it can repeat across large surfaces without visible borders.
You can download PNG/WEBP versions and use 1K, 2K, 4K and 8K download options when available on the page.
Yes. The download options and engine-mapped ZIP workflow are designed for Blender, Unreal Engine, Unity Standard, URP and HDRP material pipelines.
Yes. The texture is available under the AITextured free commercial license. Review the license page for redistribution and AI-training restrictions.


Build, preview, and export seamless PBR materials. Generate full map sets from a single image, inspect them in a real-time WebGL viewer, and re-package maps for Unreal, Unity, and Blender—directly in your browser.
AI text-to-texture: type a prompt and get a seamless, tileable base image ready for PBR workflows (great starting point for materials).
Create a full PBR set (Normal, Roughness, AO, Metallic, etc.) from a single image. Seamless and tiling-friendly.
Instant WebGL viewer: inspect materials on a sphere, plane, and cube. Check tiling and lighting in real time.
Re-packages maps per engine: Unreal (BaseColor + ORM), Unity (Mask/MetallicSmoothness), Blender (separate channels).
PNG ↔ JPG ↔ SVG: fast convert, SVG rasterize, embed/trace options, quality & background controls.