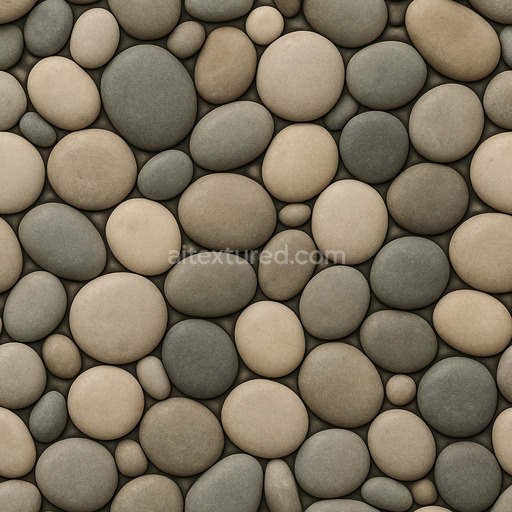
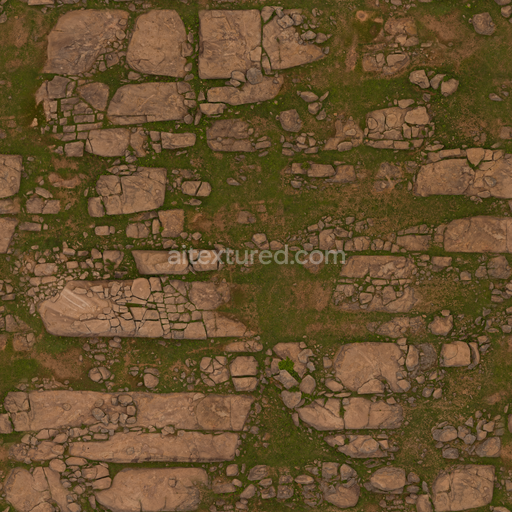
Smooth Pebble Seamless Texture
Seamless texture (tileable) · PNG, WEBP, PBR ZIP. License: AITextured Free Commercial License (FCL) v1.1. Free personal and commercial use. Raw resale, standalone redistribution, mirroring/scraping, competing asset packs, and AI/ML training are not allowed without written permission. Attribution is not required, but appreciated..

| ID | archviz-ground-pebbles-rocks-stone-floor-stones |
|---|---|
| Category | Rock |
| Formats | PNG, WEBP, PBR ZIP |
| Size | 1k (1024x1024px), 2k (2048x2048px), 4k (4096x4096px), 8k (8192x8192px) |
| Color | sRGB |
| Tileable | Yes |
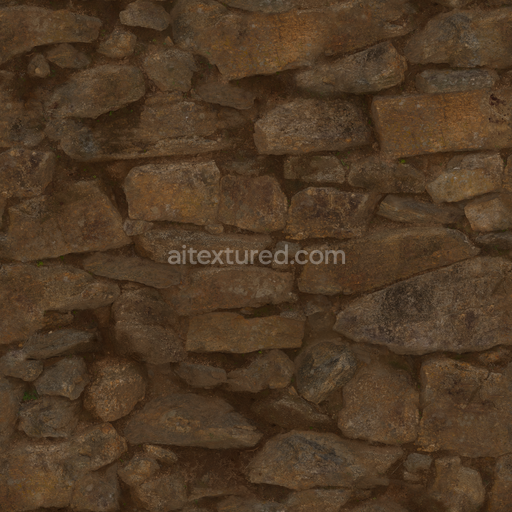
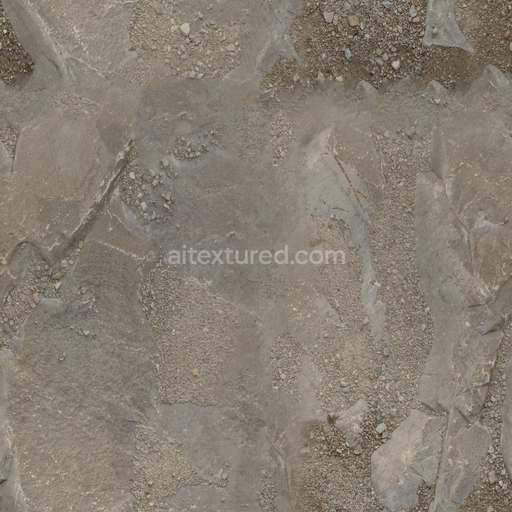
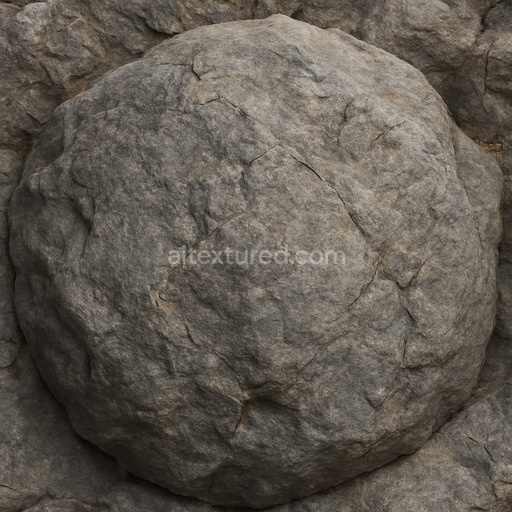
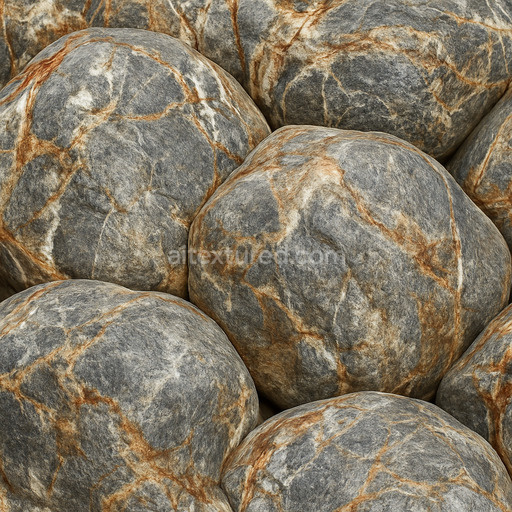
This Archviz Ground Pebbles Rocks Stone Floor Stones seamless PBR texture offers a highly detailed and physically accurate representation of a natural stone floor composed of mineral-rich pebbles and rocks embedded within an earthy soil substrate. The base material primarily consists of weathered stone aggregates tightly bound by compacted natural soil and organic binders resulting in a cohesive surface that reflects the subtle porosity and authentic wear patterns typical of outdoor stone flooring in architectural visualization. The stones display a diverse palette of muted earth tones influenced by mineral oxide pigments which add gentle variations in color and depth without overpowering the natural appearance. This combination yields a matte surface finish characterized by slight roughness variations and soft edges mirroring the tactile qualities of naturally weathered stone floors found in real-world environments.
From a materials and composition standpoint the texture captures the interplay between coarse pebble and rock aggregates and the finer soil binder that holds them together. Porosity is visually conveyed through subtle surface depressions and micro-indentations while natural wear manifests as irregular roughness and softened stone edges enhancing realism. These intricate details are accurately portrayed across the PBR channels: the BaseColor (Albedo) map reflects the nuanced distribution of mineral pigments and earth tones the Normal map emphasizes the granular pebble edges and uneven surface relief and the Roughness map differentiates the smoother stone surfaces from the coarser soil binder areas. The Metallic channel remains negligible consistent with the ceramic-like non-metallic nature of the stone materials. Ambient Occlusion enhances depth by shading crevices and overlaps while the Height/Displacement map provides realistic elevation changes essential for tactile surface realism in both real-time engines and offline rendering workflows.
Rendered at up to an 8K resolution this seamless texture is optimized for large-scale tiling eliminating visible repetition on extensive ground surfaces commonly used in archviz projects game engines and other visualization workflows. It integrates effortlessly with Substance Designer and is fully compatible with Blender Unreal Engine and Unity making it versatile for diverse pipelines. For practical use adjusting the UV scale is recommended to avoid overly uniform stone patterns and fine-tuning the Roughness values helps adapt the material to specific lighting conditions. Incorporating subtle Height or Displacement effects through parallax or tessellation techniques can significantly enhance the tactile quality of the stone floor surface adding convincing depth and detail to close-up architectural renders thereby elevating the overall realism of your project.
Import the texture maps into Blender with sRGB color space for albedo/base color and Non-Color for normal, roughness, metallic, AO, height, and ORM maps. Connect normal maps through a Normal Map node, then adjust UV scale with a Mapping node so the material repeats naturally on your model.
For the full step-by-step setup, see How to Use Seamless Textures in Blender. Browse related material examples in wood, concrete, and metal.
Yes. This texture is designed as a seamless tileable PBR material, so it can repeat across large surfaces without visible borders.
You can download PNG/WEBP versions and use 1K, 2K, 4K and 8K download options when available on the page.
Yes. The download options and engine-mapped ZIP workflow are designed for Blender, Unreal Engine, Unity Standard, URP and HDRP material pipelines.
Yes. The texture is available under the AITextured free commercial license. Review the license page for redistribution and AI-training restrictions.


Generate, preview, and export seamless PBR materials for Blender, Unity, and Unreal Engine—directly in your browser.
AI text-to-texture: type a prompt and get a seamless, tileable base image ready for PBR workflows (great starting point for materials).
Create a full PBR set (Normal, Roughness, AO, Metallic, etc.) from a single image. Seamless and tiling-friendly.
Instant WebGL viewer: inspect materials on a sphere, plane, and cube. Check tiling and lighting in real time.
Re-packages maps per engine: Unreal (BaseColor + ORM), Unity (Mask/MetallicSmoothness), Blender (separate channels).
PNG ↔ JPG ↔ SVG: fast convert, SVG rasterize, embed/trace options, quality & background controls.