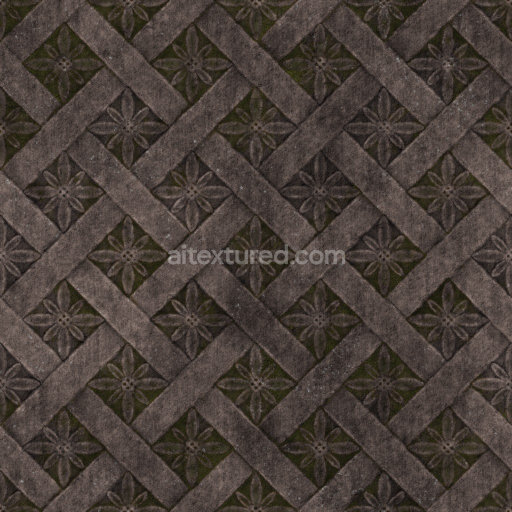
Slate Floor - Worn Slates Slate Floor Vintage Rustic
Seamless texture (tileable) · PNG, WEBP, PBR ZIP. License: AITextured Free Commercial License (FCL) v1.1. Free personal and commercial use. Raw resale, standalone redistribution, mirroring/scraping, competing asset packs, and AI/ML training are not allowed without written permission. Attribution is not required, but appreciated..

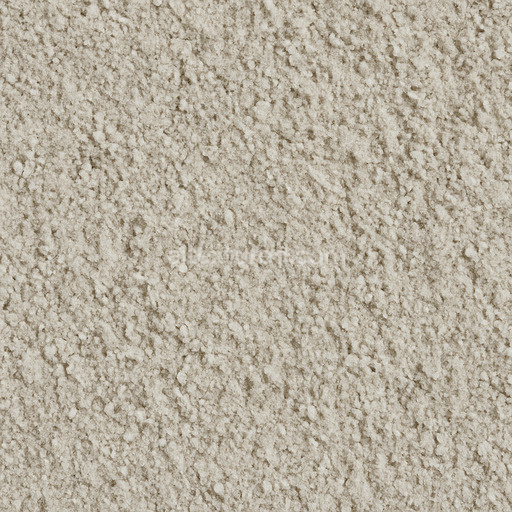
| ID | photorealistic-pebble-seamless-texture |
|---|---|
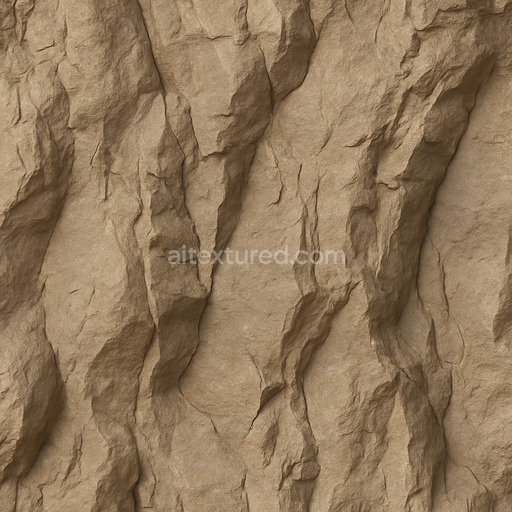
| Category | Rock |
| Formats | PNG, WEBP, PBR ZIP |
| Size | 1k (1024x1024px), 2k (2048x2048px), 4k (4096x4096px), 8k (8192x8192px) |
| Color | sRGB |
| Tileable | Yes |
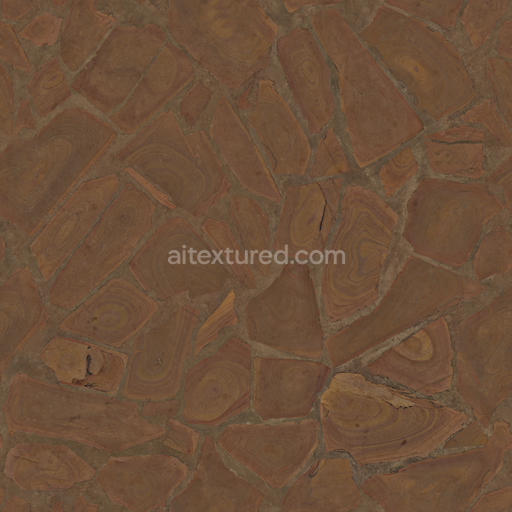
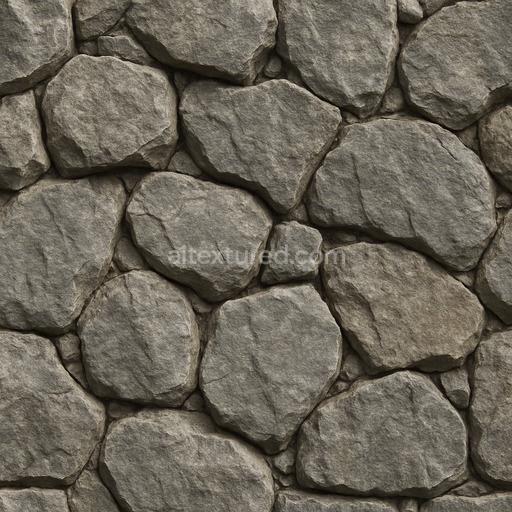
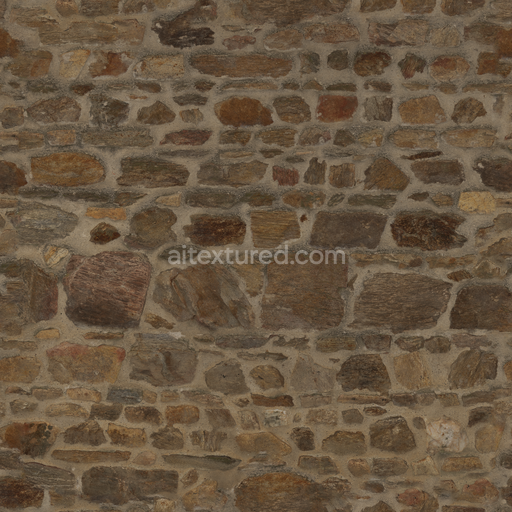
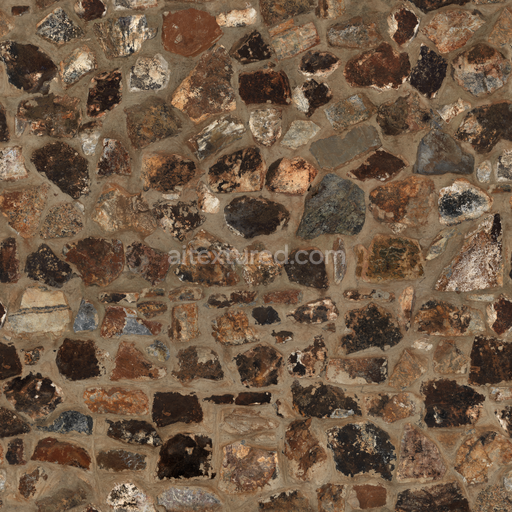
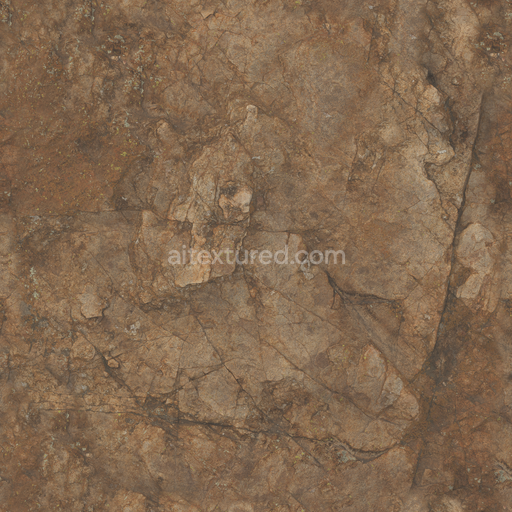
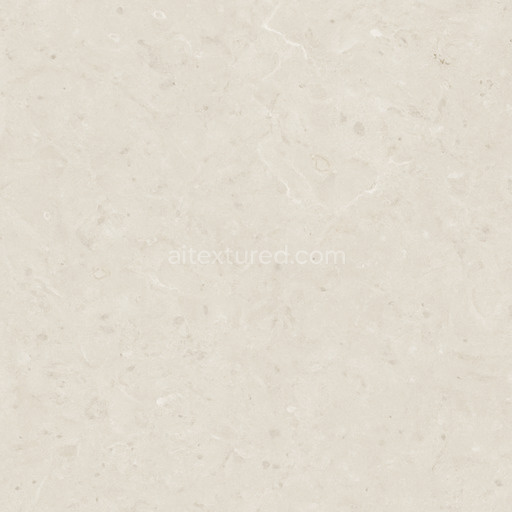
The Photorealistic Pebble Seamless Texture is a meticulously crafted generated material designed to replicate natural pebble surfaces with exceptional realism. The base substrate mimics a blend of finely weathered mineral aggregates bound by natural cementing agents resulting in a compact yet subtly porous composition. This composite structure reflects typical sedimentary rock features where pebbles exhibit varied grain orientations and organic mineral inclusions creating a rich tactile surface. The overall finish resembles a lightly polished stone bed retaining natural matt areas interspersed with faintly glossy patches where minerals have smoothed over time. Color variations arise from earth-toned pigments and oxide layers producing authentic beige gray and soft reddish hues that enhance the texture’s visual depth and realism.
In the physically based rendering (PBR) workflow this seamless photorealistic pebble texture excels by delivering detailed BaseColor (Albedo) maps that capture subtle pigment shifts and mineral speckles without artificial saturation. The Normal map conveys fine-grained surface relief emphasizing pebble contours and natural indentations while the Roughness channel balances the surface reflectivity—yielding a believable interplay of matte and semi-glossy areas typical of weathered stone. The Metallic channel is minimal reflecting the non-metallic nature of the mineral base while Ambient Occlusion enriches shadowed crevices between pebbles enhancing depth perception. Height or Displacement maps provide additional dimensionality allowing realistic parallax effects or geometry displacement in modern rendering engines.
Offered in ultra-high resolution up to 8K and available in versatile PNG and WEBP formats this tileable photorealistic pebble seamless texture integrates smoothly into modern 3D pipelines. It is optimized for use in Blender Unreal Engine and Unity ensuring predictable repeatable results on large UV islands without visible seams or distortion. This makes it ideal for architectural visualization detailed game environments product mockups or interior staging where natural rock surfaces are required. For best results adjust the UV scale to maintain a natural pebble size relative to your scene and fine-tune roughness or normal intensity depending on your lighting setup to keep the material grounded and visually consistent.
The PBR texture photorealistic pebble seamless texture offers a highly detailed and realistic surface ideal for 3D preview applications combining seamless photorealistic pebble seamless texture with natural rock textures to enhance PBR material accuracy.
Import the texture maps into Blender with sRGB color space for albedo/base color and Non-Color for normal, roughness, metallic, AO, height, and ORM maps. Connect normal maps through a Normal Map node, then adjust UV scale with a Mapping node so the material repeats naturally on your model.
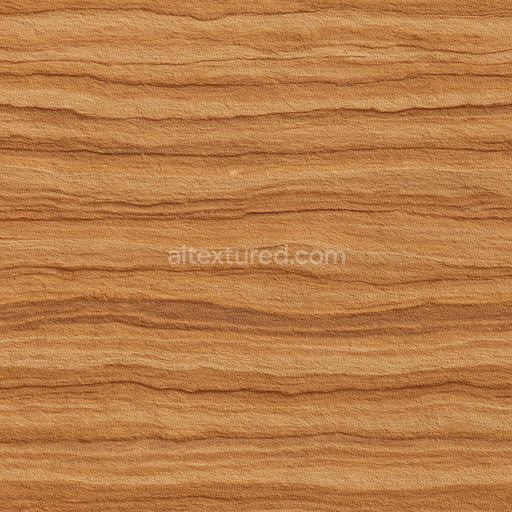
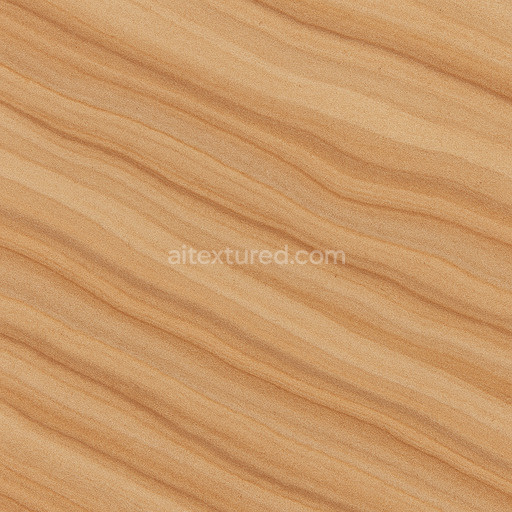
For the full step-by-step setup, see How to Use Seamless Textures in Blender. Browse related material examples in wood, concrete, and metal.
Yes. This texture is designed as a seamless tileable PBR material, so it can repeat across large surfaces without visible borders.
You can download PNG/WEBP versions and use 1K, 2K, 4K and 8K download options when available on the page.
Yes. The download options and engine-mapped ZIP workflow are designed for Blender, Unreal Engine, Unity Standard, URP and HDRP material pipelines.
Yes. The texture is available under the AITextured free commercial license. Review the license page for redistribution and AI-training restrictions.


Generate, preview, and export seamless PBR materials for Blender, Unity, and Unreal Engine—directly in your browser.
AI text-to-texture: type a prompt and get a seamless, tileable base image ready for PBR workflows (great starting point for materials).
Create a full PBR set (Normal, Roughness, AO, Metallic, etc.) from a single image. Seamless and tiling-friendly.
Instant WebGL viewer: inspect materials on a sphere, plane, and cube. Check tiling and lighting in real time.
Re-packages maps per engine: Unreal (BaseColor + ORM), Unity (Mask/MetallicSmoothness), Blender (separate channels).
PNG ↔ JPG ↔ SVG: fast convert, SVG rasterize, embed/trace options, quality & background controls.