
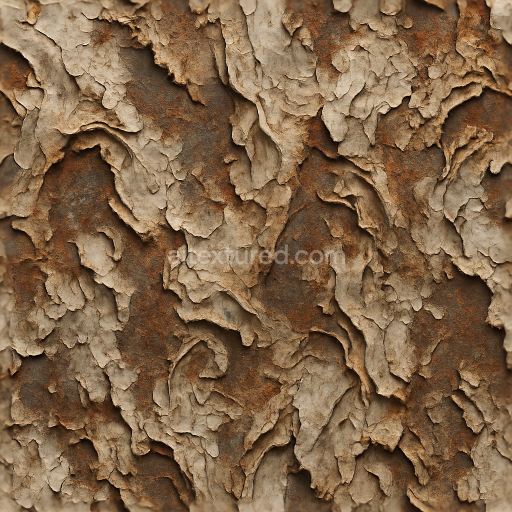
Rust Stains Metal Corrosion Oxidation Distressed Weathered Surfaces Scratches
Seamless texture (tileable) · PNG, WEBP, PBR ZIP. License: AITextured Free Commercial License (FCL) v1.1. Free personal and commercial use. Raw resale, standalone redistribution, mirroring/scraping, competing asset packs, and AI/ML training are not allowed without written permission. Attribution is not required, but appreciated..

| ID | seamless-3d-texture-pbr-8k-scratched-scratched-scratched-scratched-scratched-scratched-scratched-scratched-scratched-scratched |
|---|---|
| Category | Abstract |
| Formats | PNG, WEBP, PBR ZIP |
| Size | 1k (1024x1024px), 2k (2048x2048px), 4k (4096x4096px), 8k (8192x8192px) |
| Color | sRGB |
| Tileable | Yes |
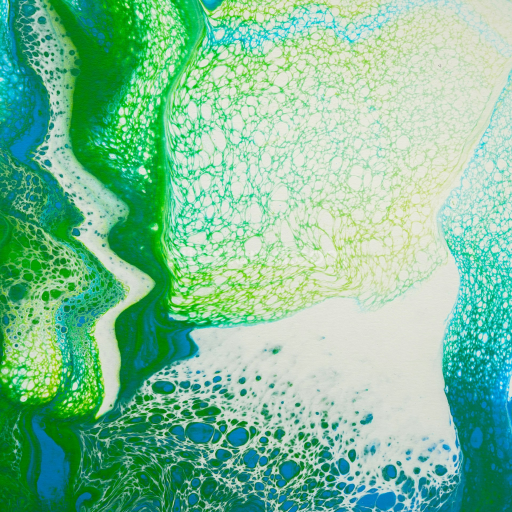
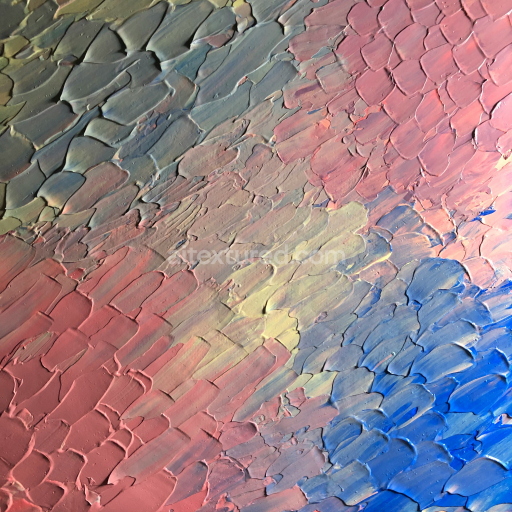
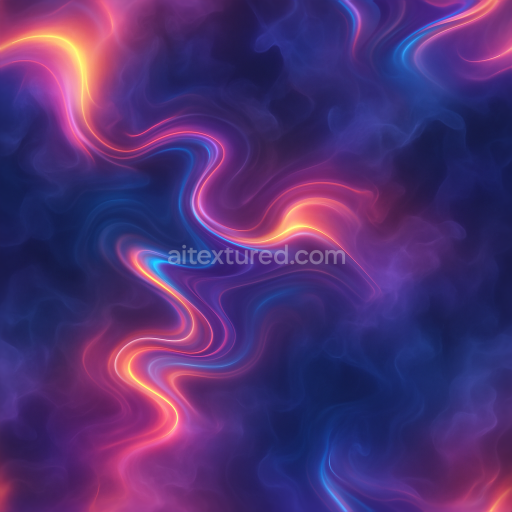
This seamless 3D texture features a highly detailed scratched surface rendered at an impressive 8K resolution, optimized for physically based rendering (PBR) workflows. The base material resembles a moderately weathered metal panel with a slightly brushed finish, characterized by numerous fine and deep scratches etched across the surface. The scratches form an abstract, non-directional pattern that repeats flawlessly, making it ideal for tileable applications. The underlying substrate can be interpreted as a durable alloy or steel sheet, with subtle micro-variations in grain and wear that add authenticity and complexity to the texture.
In terms of composition, the material appears to consist of a dense metallic base with a thin, oxidized layer on top, contributing to a subdued metallic sheen without excessive reflectivity. The surface finish suggests a combination of brushing and natural abrasion, where the scratches expose the raw metal beneath a faint patina. Colorants are minimal, presenting a neutral gray palette with slight cool undertones, emphasizing the industrial and utilitarian character of the texture. The porosity is very low, consistent with solid metal, but surface irregularities and scratch depth introduce subtle height variations that enhance realism.
The texture maps are thoughtfully designed to leverage PBR channels effectively. The BaseColor (Albedo) map captures the neutral gray tone with delicate color shifts around scratched edges, while the Normal map encodes the micro-variations and scratch geometry to simulate fine surface detail under dynamic lighting. Roughness is calibrated to balance the smooth, brushed areas with the rougher scratch marks, providing nuanced light scattering and reflections. The Metallic map remains consistent with a metallic substrate, maintaining high values except where scratches reveal less oxidized metal. Ambient Occlusion enhances depth perception around the scratches, and the Height/Displacement map delineates subtle topographical differences, critical for accurate parallax effects.
Engineers and artists can integrate this texture seamlessly into Blender, Unreal Engine, and Unity thanks to its high-resolution 8K format and tileable design. For optimal results, it is recommended to carefully adjust the UV scale to maintain the visual density of scratches appropriate to the model’s size. Additionally, fine-tuning roughness values can help balance realism and performance depending on the lighting environment. When using height or parallax mapping, blending with the normal map ensures smooth transitions and prevents artifacts, enhancing the photorealistic quality of the scratched metal surface.
Import the texture maps into Blender with sRGB color space for albedo/base color and Non-Color for normal, roughness, metallic, AO, height, and ORM maps. Connect normal maps through a Normal Map node, then adjust UV scale with a Mapping node so the material repeats naturally on your model.
For the full step-by-step setup, see How to Use Seamless Textures in Blender. Browse related material examples in wood, concrete, and metal.
Yes. This texture is designed as a seamless tileable PBR material, so it can repeat across large surfaces without visible borders.
You can download PNG/WEBP versions and use 1K, 2K, 4K and 8K download options when available on the page.
Yes. The download options and engine-mapped ZIP workflow are designed for Blender, Unreal Engine, Unity Standard, URP and HDRP material pipelines.
Yes. The texture is available under the AITextured free commercial license. Review the license page for redistribution and AI-training restrictions.


Build, preview, and export seamless PBR materials. Generate full map sets from a single image, inspect them in a real-time WebGL viewer, and re-package maps for Unreal, Unity, and Blender—directly in your browser.
AI text-to-texture: type a prompt and get a seamless, tileable base image ready for PBR workflows (great starting point for materials).
Create a full PBR set (Normal, Roughness, AO, Metallic, etc.) from a single image. Seamless and tiling-friendly.
Instant WebGL viewer: inspect materials on a sphere, plane, and cube. Check tiling and lighting in real time.
Re-packages maps per engine: Unreal (BaseColor + ORM), Unity (Mask/MetallicSmoothness), Blender (separate channels).
PNG ↔ JPG ↔ SVG: fast convert, SVG rasterize, embed/trace options, quality & background controls.