
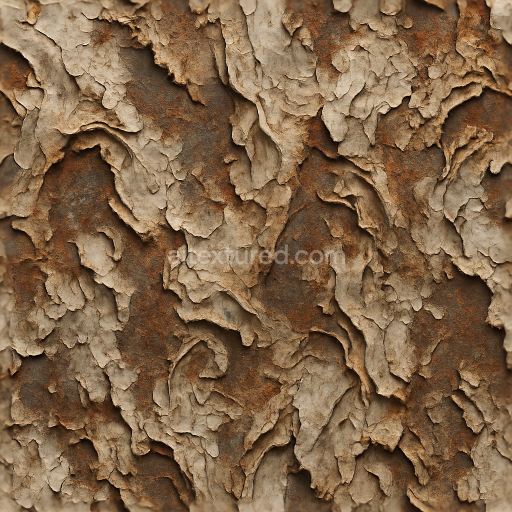
Rust Stains Metal Corrosion Oxidation Distressed Weathered Surfaces Scratches
Seamless texture (tileable) · PNG, WEBP, PBR ZIP. License: AITextured Free Commercial License (FCL) v1.1. Free personal and commercial use. Raw resale, standalone redistribution, mirroring/scraping, competing asset packs, and AI/ML training are not allowed without written permission. Attribution is not required, but appreciated..
| ID | seamless-3d-texture-pbr-8k-digital-glitch-pixel-noise-static-interference-noise-grain-distortion |
|---|---|
| Category | Abstract |
| Formats | PNG, WEBP, PBR ZIP |
| Size | 1k (1024x1024px), 2k (2048x2048px), 4k (4096x4096px), 8k (8192x8192px) |
| Color | sRGB |
| Tileable | Yes |
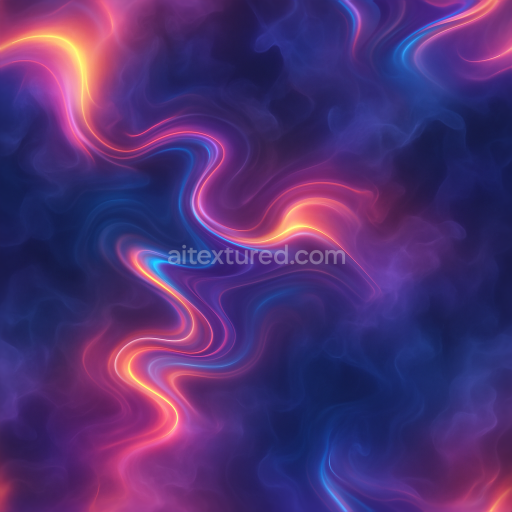
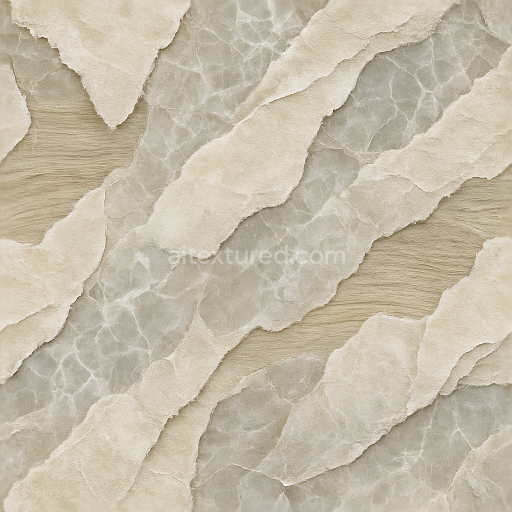
This seamless 3D texture is a meticulously crafted digital material that embodies the chaotic aesthetic of glitch art through a high-resolution 8K photorealistic PBR setup. The base form suggests a smooth, laminated substrate, reminiscent of a highly polished synthetic panel or screen surface, which acts as the foundation for complex overlays of pixel noise and static interference patterns. The material's composition can be interpreted as a multilayer laminate where a transparent binder encapsulates dense aggregates of fine-grain digital noise particles, simulating interference patterns and random distortion artifacts. This gives the texture a visually rich, yet subtle depth, with a surface finish that appears glossy and reflective but interrupted by irregular noise grain, creating a fractured, distorted visual effect that is integral to its cyberpunk and futuristic character.
In terms of PBR channel mapping, the BaseColor (Albedo) map captures the intricate, multi-toned glitch patterns with high contrast between dark static noise and vibrant pixel distortion colors, contributing to the texture’s dynamic and abstract appearance. The Normal map enhances the perception of micro-relief caused by noise grain and subtle surface deformations, simulating the tactile irregularities of static interference and pixel distortion. The Roughness channel balances smooth, reflective areas with rough, grainy patches, mimicking the uneven surface finish of a digital screen affected by glitching. Metallic values are kept minimal to maintain the non-metallic, synthetic nature of the substrate. Ambient Occlusion strengthens the depth in crevices formed by pixel noise and digital distortion. Height and Displacement maps provide subtle elevation changes that reinforce the three-dimensionality of noise grain and distortion patterns, enabling realistic surface interaction with light and shadow.
Designed for seamless tiling, this texture maintains continuous glitch patterns without visible edges, allowing it to be applied across large surfaces without disruption. Its ultra-high 8K resolution ensures exceptional detail fidelity, suitable for close-up renders and detailed environmental elements. It is optimized for use in Blender, Unreal Engine, and Unity, enabling versatile integration into various digital art, game design, and visualization projects. To maximize realism, it is recommended to adjust UV scale carefully depending on the project’s spatial requirements, as scaling too large may reduce the perceived density of noise grains, while too small can cause visual repetition. Additionally, fine-tuning roughness values can help balance the polished versus grainy areas, and blending height or parallax maps with normal maps can further enhance the perceived depth of digital distortion effects.
Import the texture maps into Blender with sRGB color space for albedo/base color and Non-Color for normal, roughness, metallic, AO, height, and ORM maps. Connect normal maps through a Normal Map node, then adjust UV scale with a Mapping node so the material repeats naturally on your model.
For the full step-by-step setup, see How to Use Seamless Textures in Blender. Browse related material examples in wood, concrete, and metal.
Yes. This texture is designed as a seamless tileable PBR material, so it can repeat across large surfaces without visible borders.
You can download PNG/WEBP versions and use 1K, 2K, 4K and 8K download options when available on the page.
Yes. The download options and engine-mapped ZIP workflow are designed for Blender, Unreal Engine, Unity Standard, URP and HDRP material pipelines.
Yes. The texture is available under the AITextured free commercial license. Review the license page for redistribution and AI-training restrictions.

Generate, preview, and export seamless PBR materials for Blender, Unity, and Unreal Engine—directly in your browser.
AI text-to-texture: type a prompt and get a seamless, tileable base image ready for PBR workflows (great starting point for materials).
Create a full PBR set (Normal, Roughness, AO, Metallic, etc.) from a single image. Seamless and tiling-friendly.
Instant WebGL viewer: inspect materials on a sphere, plane, and cube. Check tiling and lighting in real time.
Re-packages maps per engine: Unreal (BaseColor + ORM), Unity (Mask/MetallicSmoothness), Blender (separate channels).
PNG ↔ JPG ↔ SVG: fast convert, SVG rasterize, embed/trace options, quality & background controls.