Fractured Fragmented Shattered Woven Interlaced Concentric Spiral Tessellated
Seamless texture (tileable) · PNG, WEBP, PBR ZIP. License: AITextured Free Commercial License (FCL) v1.1. Free personal and commercial use. Raw resale, standalone redistribution, mirroring/scraping, competing asset packs, and AI/ML training are not allowed without written permission. Attribution is not required, but appreciated..

| ID | seamless-3d-texture-pbr-8k-corroded-peeling-weathered-distorted-warped-twisted-folded-crumpled-grunge-rough |
|---|---|
| Category | Abstract |
| Formats | PNG, WEBP, PBR ZIP |
| Size | 1k (1024x1024px), 2k (2048x2048px), 4k (4096x4096px), 8k (8192x8192px) |
| Color | sRGB |
| Tileable | Yes |
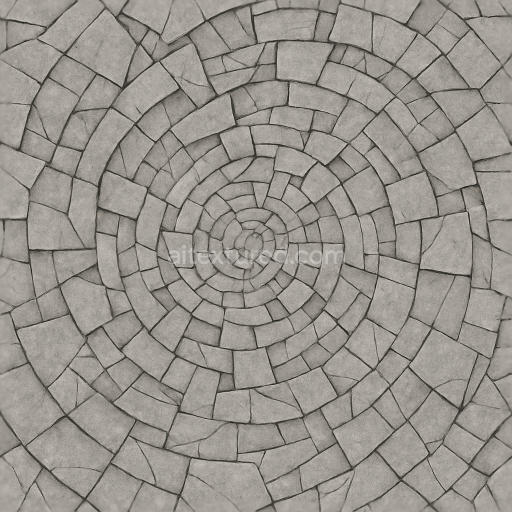
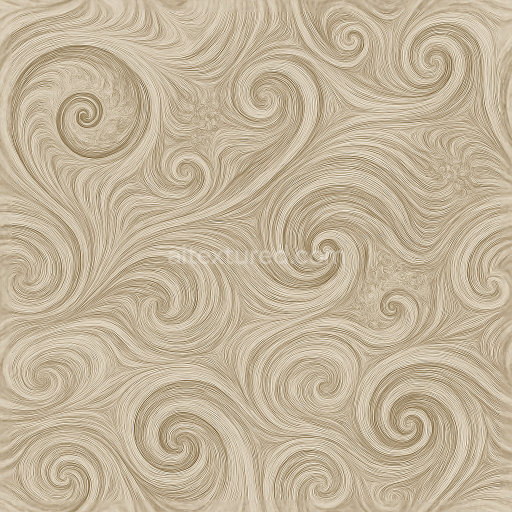
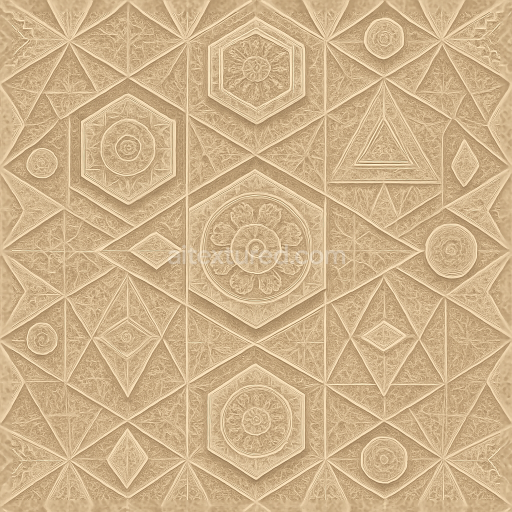
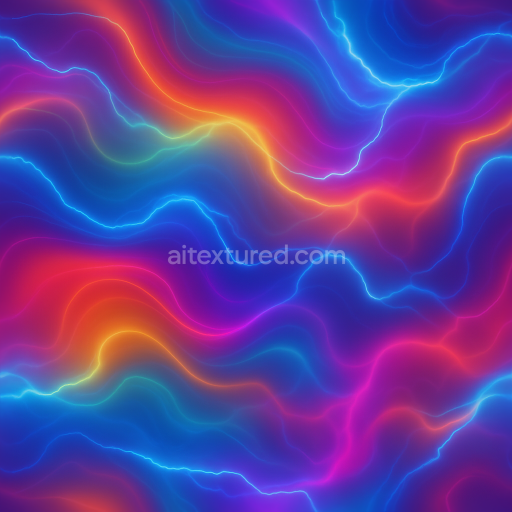
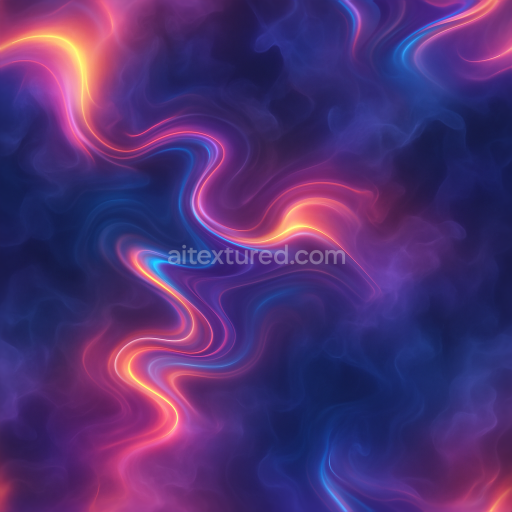
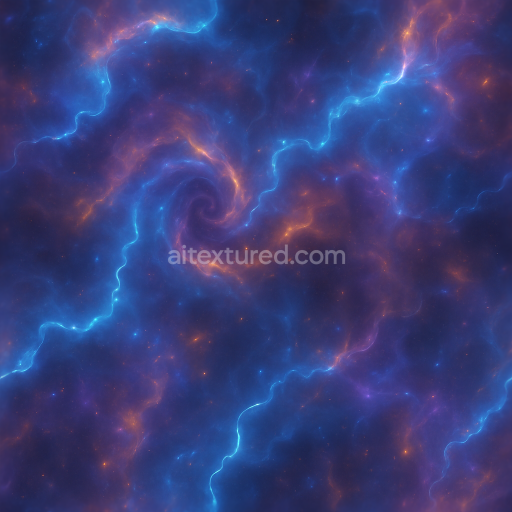
This seamless 3D texture presents a complex abstract surface that mimics a heavily corroded and peeling metal substrate layered with weathered paint and oxidized coatings. The base material appears to be an aged steel or iron sheet, exhibiting significant corrosion that has eroded and fragmented the surface layers. Beneath the corroded metal, remnants of binders and pigments suggest aged industrial paint, now flaking and peeling due to prolonged exposure to environmental elements. The texture incorporates warped, twisted, folded, and crumpled deformations, creating a tactile relief reminiscent of bent and distorted metal panels. This layered composition results in a surface rich with micro and macro details, including fissures, chipped flakes, and roughened grain structures, enhancing the realism through diverse surface porosity and weathering effects.
The geometric form is irregular and organic rather than uniform, with no repeating tile patterns visible due to the extensive wear and distortion. The texture’s finish can be described as a rough, oxidized grime overlay atop the corroded metal, where the metallic substrate retains partial reflectivity but is largely muted by rust and weathering. The color palette spans rust reds, dark browns, faded blues, and grays, reflecting the interplay of metal oxidation and peeling paint pigments. In terms of PBR channels, the BaseColor (Albedo) captures this complex coloration and paint peeling detail, while the Normal map encodes the intricate relief of warped folds, crumples, and surface irregularities. The Roughness channel defines the uneven matte and glossy areas, with rust and exposed metal exhibiting higher roughness values and smoother paint remnants showing slightly lower roughness. The Metallic map highlights the underlying steel areas with moderate metalness, contrasted by non-metallic paint and corrosion. Ambient Occlusion enhances shadowing in crevices and folds, and the Height/Displacement map emphasizes the depth of peeling layers and warped geometry, enabling realistic parallax effects.
Rendered at an ultra-high 8K resolution, this texture ensures exceptional clarity and detail for close-up applications and large-scale 3D environments. It is fully optimized for real-time engines such as Unreal Engine and Unity, as well as offline renders in Blender, providing artists with versatile integration options. The seamless nature of the texture allows for extensive tiling without visible edges, making it ideal for covering large surfaces such as distressed industrial objects, environmental props, or abstract architectural elements that require an aged and weathered aesthetic.
When using this texture, it is advisable to carefully adjust the UV scale to balance detail density with performance, especially in game engines. Fine-tuning the roughness values can help achieve the desired contrast between metallic and corroded areas, while blending height and normal maps can enhance depth perception without over-exaggerating surface distortions. This approach ensures a photorealistic representation of worn, peeling, and warped metal surfaces that respond accurately to lighting conditions within your 3D projects.
Import the texture maps into Blender with sRGB color space for albedo/base color and Non-Color for normal, roughness, metallic, AO, height, and ORM maps. Connect normal maps through a Normal Map node, then adjust UV scale with a Mapping node so the material repeats naturally on your model.
For the full step-by-step setup, see How to Use Seamless Textures in Blender. Browse related material examples in wood, concrete, and metal.
Yes. This texture is designed as a seamless tileable PBR material, so it can repeat across large surfaces without visible borders.
You can download PNG/WEBP versions and use 1K, 2K, 4K and 8K download options when available on the page.
Yes. The download options and engine-mapped ZIP workflow are designed for Blender, Unreal Engine, Unity Standard, URP and HDRP material pipelines.
Yes. The texture is available under the AITextured free commercial license. Review the license page for redistribution and AI-training restrictions.


Generate, preview, and export seamless PBR materials for Blender, Unity, and Unreal Engine—directly in your browser.
AI text-to-texture: type a prompt and get a seamless, tileable base image ready for PBR workflows (great starting point for materials).
Create a full PBR set (Normal, Roughness, AO, Metallic, etc.) from a single image. Seamless and tiling-friendly.
Instant WebGL viewer: inspect materials on a sphere, plane, and cube. Check tiling and lighting in real time.
Re-packages maps per engine: Unreal (BaseColor + ORM), Unity (Mask/MetallicSmoothness), Blender (separate channels).
PNG ↔ JPG ↔ SVG: fast convert, SVG rasterize, embed/trace options, quality & background controls.