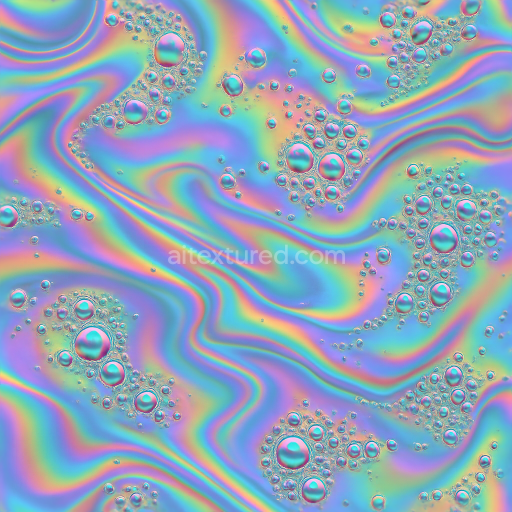
Oil Slick Metallic Sheen Iridescence Pearlescent Liquid Droplets Foam Bubble Clusters
Seamless texture (tileable) · PNG, WEBP, PBR ZIP. License: AITextured Free Commercial License (FCL) v1.1. Free personal and commercial use. Raw resale, standalone redistribution, mirroring/scraping, competing asset packs, and AI/ML training are not allowed without written permission. Attribution is not required, but appreciated..

| ID | seamless-3d-texture-pbr-8k-monochrome-duotone-triadic-analogous-symmetrical-asymmetrical-radial-linear |
|---|---|
| Category | Abstract |
| Formats | PNG, WEBP, PBR ZIP |
| Size | 1k (1024x1024px), 2k (2048x2048px), 4k (4096x4096px), 8k (8192x8192px) |
| Color | sRGB |
| Tileable | Yes |
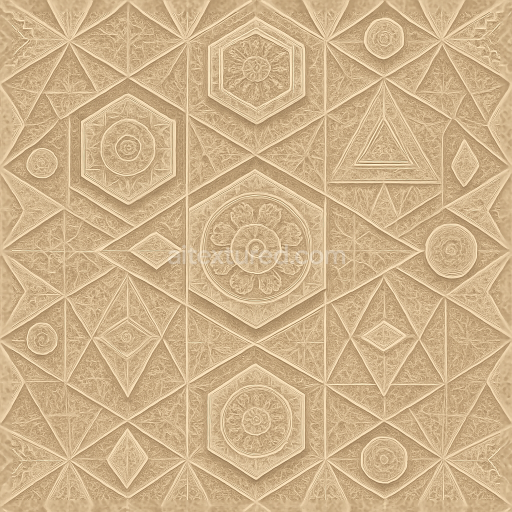
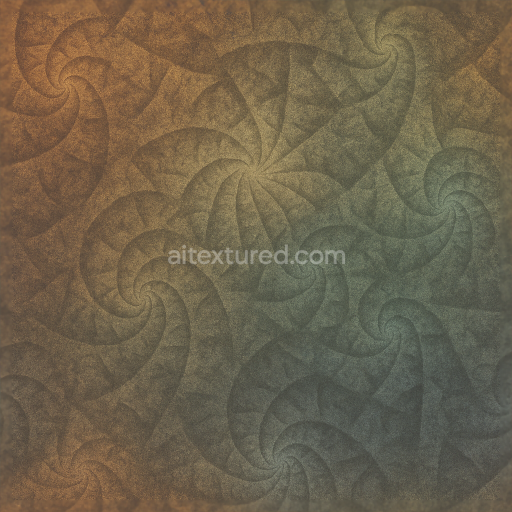
This seamless 3D texture presents an intricate abstract pattern inspired by a combination of geometric forms, blending radial and linear arrangements to create a dynamic yet balanced visual effect. The base material resembles a finely grained ceramic or polished stone tile, featuring subtle variations in depth and curvature that enhance its three-dimensional structure. The surface alternates between symmetrical motifs and deliberate asymmetrical elements, introducing complexity to the otherwise harmonious layout. Its form can be interpreted as layered laminates or embossed panels, with softly rounded edges and faintly undulating surfaces that catch light differently across the pattern.
Constructed with a composite substrate of high-density mineral binders and fine aggregates, this texture mimics a low-porosity material with a smooth but tactile finish. The binders act as an adhesive matrix that holds microscopic grains and fibers in place, producing a surface that is primarily polished yet interspersed with brushed or matte zones to break uniformity. Pigments are applied using a duotone and triadic color approach, combining monochrome shades with subtle analogous hues to create depth and visual interest without overwhelming saturation. This layered pigmentation is reflected in the BaseColor (Albedo) map, while the Normal and Height maps detail the fine embossing and radial-linear relief, contributing to realistic light interaction.
In PBR terms, the roughness channel varies across the texture, balancing polished highlights with areas of diffuse reflection to simulate natural wear and subtle weathering. The metallic map is predominantly minimized to reinforce the non-metallic stone or ceramic impression, while the ambient occlusion enhances shadow depth within the crevices and folds of the pattern. Height and displacement maps are finely tuned to emphasize the embossed forms without excessive distortion, supporting photorealistic rendering in engines like Blender, Unreal Engine, and Unity at a full 8K resolution. This high resolution ensures exceptional clarity and detail, suitable for close-up visualization and large-surface applications.
For practical use, it is recommended to carefully adjust the UV scale to maintain the integrity of the radial and linear patterns, preventing distortion or repetition artifacts. Additionally, fine-tuning the roughness values in your material shader can help balance the polished and matte zones, enhancing realism. When combining height and normal maps, subtle blending can further refine the perception of depth and curvature, making this texture adaptable to a wide range of abstract architectural or digital art projects requiring sophisticated PBR materials.
Import the texture maps into Blender with sRGB color space for albedo/base color and Non-Color for normal, roughness, metallic, AO, height, and ORM maps. Connect normal maps through a Normal Map node, then adjust UV scale with a Mapping node so the material repeats naturally on your model.
For the full step-by-step setup, see How to Use Seamless Textures in Blender. Browse related material examples in wood, concrete, and metal.
Yes. This texture is designed as a seamless tileable PBR material, so it can repeat across large surfaces without visible borders.
You can download PNG/WEBP versions and use 1K, 2K, 4K and 8K download options when available on the page.
Yes. The download options and engine-mapped ZIP workflow are designed for Blender, Unreal Engine, Unity Standard, URP and HDRP material pipelines.
Yes. The texture is available under the AITextured free commercial license. Review the license page for redistribution and AI-training restrictions.


Generate, preview, and export seamless PBR materials for Blender, Unity, and Unreal Engine—directly in your browser.
AI text-to-texture: type a prompt and get a seamless, tileable base image ready for PBR workflows (great starting point for materials).
Create a full PBR set (Normal, Roughness, AO, Metallic, etc.) from a single image. Seamless and tiling-friendly.
Instant WebGL viewer: inspect materials on a sphere, plane, and cube. Check tiling and lighting in real time.
Re-packages maps per engine: Unreal (BaseColor + ORM), Unity (Mask/MetallicSmoothness), Blender (separate channels).
PNG ↔ JPG ↔ SVG: fast convert, SVG rasterize, embed/trace options, quality & background controls.