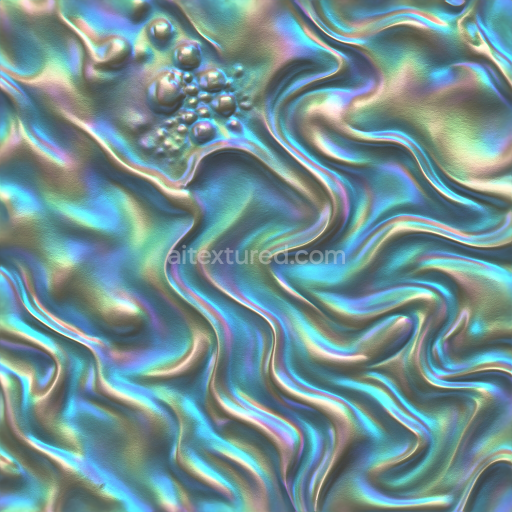
Oil Slick Metallic Sheen Iridescence Pearlescent Liquid Droplets Foam Bubble Clusters
Seamless texture (tileable) · PNG, WEBP, PBR ZIP. License: AITextured Free Commercial License (FCL) v1.1. Free personal and commercial use. Raw resale, standalone redistribution, mirroring/scraping, competing asset packs, and AI/ML training are not allowed without written permission. Attribution is not required, but appreciated..

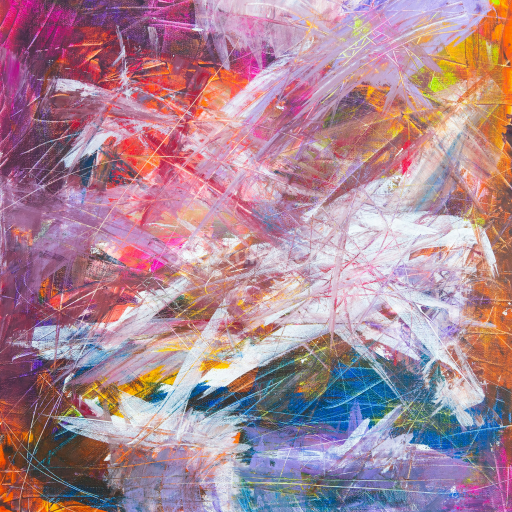
| ID | seamless-3d-texture-pbr-8k-brush-strokes-splatter-drip-marks-grunge-distressed-charcoal-strokes |
|---|---|
| Category | Abstract |
| Formats | PNG, WEBP, PBR ZIP |
| Size | 1k (1024x1024px), 2k (2048x2048px), 4k (4096x4096px), 8k (8192x8192px) |
| Color | sRGB |
| Tileable | Yes |
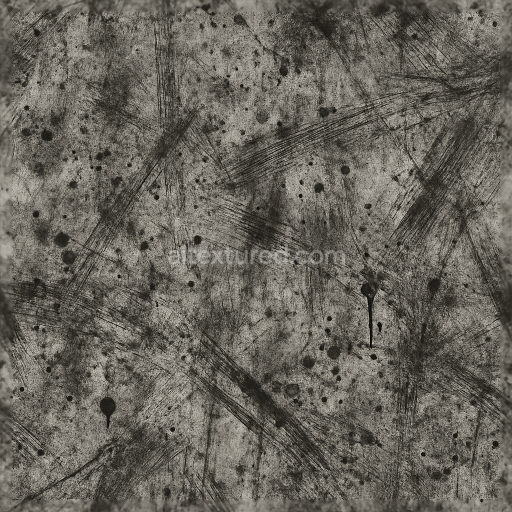
This seamless 8K 3D PBR texture captures the intricate detail of distressed charcoal brush strokes layered with dynamic splatter and drip marks, creating a deeply tactile grunge surface. The base material suggests a fibrous paper or canvas substrate, characterized by subtle irregularities and fine grain that interact naturally with the painterly elements. The composition appears to incorporate dense charcoal pigments bound within a matte, slightly porous medium, exhibiting signs of wear such as scuffs and fine scratches that add visual complexity and authenticity. The geometric form is abstract and irregular, dominated by freeform brush strokes and scattered droplets that flow organically across the surface, producing an engaging pattern without obvious repetition, ideal for continuous tiling in digital environments.
From a material perspective, the texture’s albedo (BaseColor) channel showcases a nuanced interplay of muted charcoal greys and faded black tones with sporadic lighter highlights where the brush strokes thin out or are disrupted by splatter. The Normal map conveys subtle surface undulations—raised ridges of paint and recessed drip marks—enhancing the three-dimensional feel under varied lighting. Roughness values vary across the texture, with smoother areas where the charcoal is densely applied and rougher regions reflecting the porous, weathered paper surface and scuffed abrasions. The Metallic channel remains minimal to non-existent, consistent with the organic, non-metallic nature of charcoal and paper. Ambient Occlusion accentuates the depth in crevices formed by overlapping strokes and splatters, while Height and Displacement maps define the pronounced relief of brush strokes and dripping paint, enabling realistic parallax effects.
Rendered at a high 8K resolution, this texture is optimized for advanced real-time engines and offline renderers alike, ensuring crisp detail and fidelity in Blender, Unreal Engine, and Unity projects. Its PBR workflow compatibility allows artists to fine-tune material attributes dynamically, benefiting from precise control over roughness and normal intensity to achieve the desired level of surface complexity. The texture’s seamless tiling capability supports expansive surfaces without visible borders, making it suitable for large-scale environments or close-up shots where detail is critical.
For practical use, it is recommended to carefully adjust the UV scale to maintain the natural scale of brush strokes and splatters, preventing distortion or repetition artifacts. Additionally, blending height and normal maps can enhance depth perception while tuning roughness values allows customization of surface reflectivity, adapting this texture effectively for both matte and semi-gloss finishes depending on the artistic intent.
Import the texture maps into Blender with sRGB color space for albedo/base color and Non-Color for normal, roughness, metallic, AO, height, and ORM maps. Connect normal maps through a Normal Map node, then adjust UV scale with a Mapping node so the material repeats naturally on your model.
For the full step-by-step setup, see How to Use Seamless Textures in Blender. Browse related material examples in wood, concrete, and metal.
Yes. This texture is designed as a seamless tileable PBR material, so it can repeat across large surfaces without visible borders.
You can download PNG/WEBP versions and use 1K, 2K, 4K and 8K download options when available on the page.
Yes. The download options and engine-mapped ZIP workflow are designed for Blender, Unreal Engine, Unity Standard, URP and HDRP material pipelines.
Yes. The texture is available under the AITextured free commercial license. Review the license page for redistribution and AI-training restrictions.


Generate, preview, and export seamless PBR materials for Blender, Unity, and Unreal Engine—directly in your browser.
AI text-to-texture: type a prompt and get a seamless, tileable base image ready for PBR workflows (great starting point for materials).
Create a full PBR set (Normal, Roughness, AO, Metallic, etc.) from a single image. Seamless and tiling-friendly.
Instant WebGL viewer: inspect materials on a sphere, plane, and cube. Check tiling and lighting in real time.
Re-packages maps per engine: Unreal (BaseColor + ORM), Unity (Mask/MetallicSmoothness), Blender (separate channels).
PNG ↔ JPG ↔ SVG: fast convert, SVG rasterize, embed/trace options, quality & background controls.