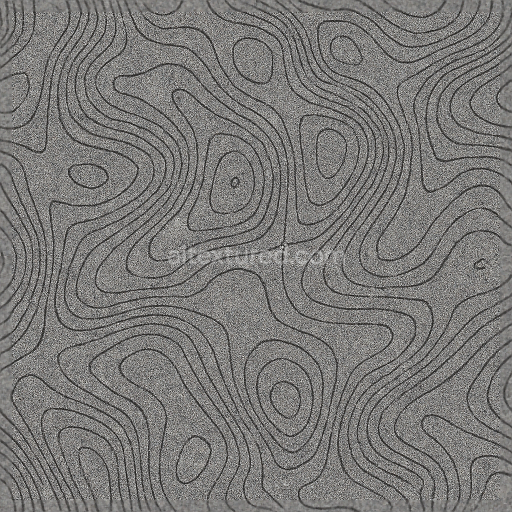
Topographic Lines Contour Lines Noise Grain Static Interference Digital Glitch
Seamless texture (tileable) · PNG, WEBP, PBR ZIP. License: AITextured Free Commercial License (FCL) v1.1. Free personal and commercial use. Raw resale, standalone redistribution, mirroring/scraping, competing asset packs, and AI/ML training are not allowed without written permission. Attribution is not required, but appreciated..

| ID | seamless-3d-texture-pbr-8k-fractals-geometric-shapes-organic-curves-fluid-dynamics-swirl |
|---|---|
| Category | Abstract |
| Formats | PNG, WEBP, PBR ZIP |
| Size | 1k (1024x1024px), 2k (2048x2048px), 4k (4096x4096px), 8k (8192x8192px) |
| Color | sRGB |
| Tileable | Yes |
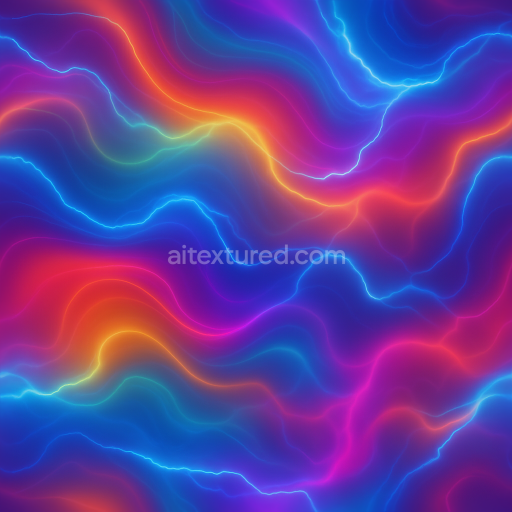
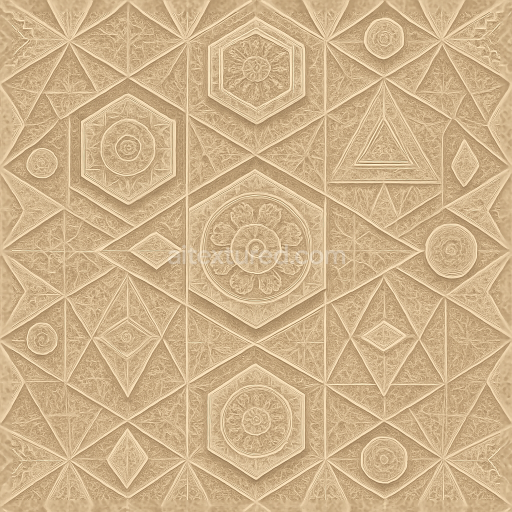
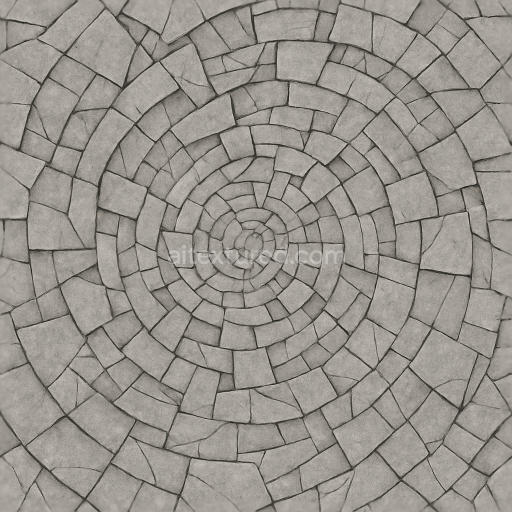
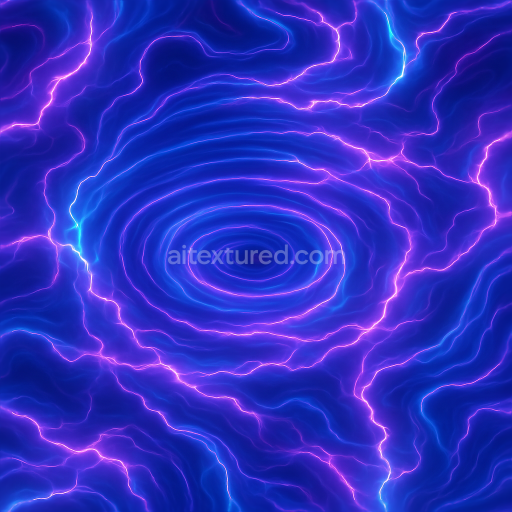
This seamless 3D PBR texture at 8K resolution presents a complex interplay of fractal-inspired geometric shapes and organic curves that evoke natural fluid dynamics. The base material is reminiscent of a polished composite substrate, combining a dense, smooth matrix with finely dispersed aggregates that form intricate, flowing swirls. The underlying pattern resembles tessellated geometric forms—akin to layered hexagonal or triangular tiles—intertwined with soft, undulating curves that simulate the continuous motion of liquid surfaces. This fusion of rigid geometry and organic fluidity creates a dynamic ripple effect that appears both structured and natural.
The composition suggests a high-quality synthetic surface where binders and adhesives hold together micro-scale particles or fibers, resulting in a subtle grain that enhances tactile realism. Porosity is minimal, contributing to a predominantly smooth finish with selective areas showing gentle surface variation and depth, simulating erosion or natural wear. Colorants are applied through a gradient mesh technique, blending vibrant color splashes seamlessly across the texture to emphasize depth and curvature. This careful layering of pigments enhances the BaseColor (Albedo) channel, delivering a vivid yet natural palette. The Normal and Height maps are finely detailed to capture the delicate undulations and fractal relief, while the Roughness channel balances matte and glossy areas, reflecting the interplay between polished surfaces and soft fluid transitions.
Metallic properties are minimal or absent, emphasizing the non-metallic nature of the material, but the Ambient Occlusion map enriches shadow depth within the geometric recesses and curved folds, adding dimensionality and realism. The Height or Displacement map supports parallax effects that bring the swirling pattern to life in 3D environments, making this texture highly suitable for advanced rendering workflows. Its seamless tiling ensures that these complex forms can be repeated across expansive surfaces without visible borders, preserving continuous motion and fluid color flow.
Designed for compatibility with Blender, Unreal Engine, and Unity, this texture provides artists and designers with a versatile tool for creating abstract backgrounds, futuristic surfaces, or organic architectural elements. For optimal results, it is advisable to adjust the UV scale to fine-tune the visibility of fractal details according to project needs, and to carefully balance roughness values to achieve the desired interplay between gloss and diffusion. Blending Height and Normal maps can further enhance the perception of depth, especially in close-up renders where the dynamic swirling forms are most pronounced.
Import the texture maps into Blender with sRGB color space for albedo/base color and Non-Color for normal, roughness, metallic, AO, height, and ORM maps. Connect normal maps through a Normal Map node, then adjust UV scale with a Mapping node so the material repeats naturally on your model.
For the full step-by-step setup, see How to Use Seamless Textures in Blender. Browse related material examples in wood, concrete, and metal.
Yes. This texture is designed as a seamless tileable PBR material, so it can repeat across large surfaces without visible borders.
You can download PNG/WEBP versions and use 1K, 2K, 4K and 8K download options when available on the page.
Yes. The download options and engine-mapped ZIP workflow are designed for Blender, Unreal Engine, Unity Standard, URP and HDRP material pipelines.
Yes. The texture is available under the AITextured free commercial license. Review the license page for redistribution and AI-training restrictions.


Generate, preview, and export seamless PBR materials for Blender, Unity, and Unreal Engine—directly in your browser.
AI text-to-texture: type a prompt and get a seamless, tileable base image ready for PBR workflows (great starting point for materials).
Create a full PBR set (Normal, Roughness, AO, Metallic, etc.) from a single image. Seamless and tiling-friendly.
Instant WebGL viewer: inspect materials on a sphere, plane, and cube. Check tiling and lighting in real time.
Re-packages maps per engine: Unreal (BaseColor + ORM), Unity (Mask/MetallicSmoothness), Blender (separate channels).
PNG ↔ JPG ↔ SVG: fast convert, SVG rasterize, embed/trace options, quality & background controls.