
Seamless Cardboard 003 by Textures - PBR 3D Texture (8K ready)
Seamless texture (tileable) · PNG, WEBP, PBR ZIP. License: AITextured Free Commercial License (FCL) v1.1. Free personal and commercial use. Raw resale, standalone redistribution, mirroring/scraping, competing asset packs, and AI/ML training are not allowed without written permission. Attribution is not required, but appreciated..

| ID | seamless-3d-texture-pbr-8k-of-cardboard-scratches-and-dents-with-visible-fiber-strands-and-grain |
|---|---|
| Category | Cardboard |
| Formats | PNG, WEBP, PBR ZIP |
| Size | 1k (1024x1024px), 2k (2048x2048px), 4k (4096x4096px), 8k (8192x8192px) |
| Color | sRGB |
| Tileable | Yes |
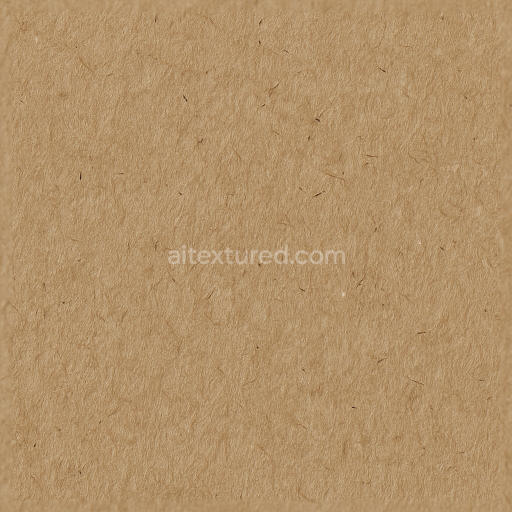
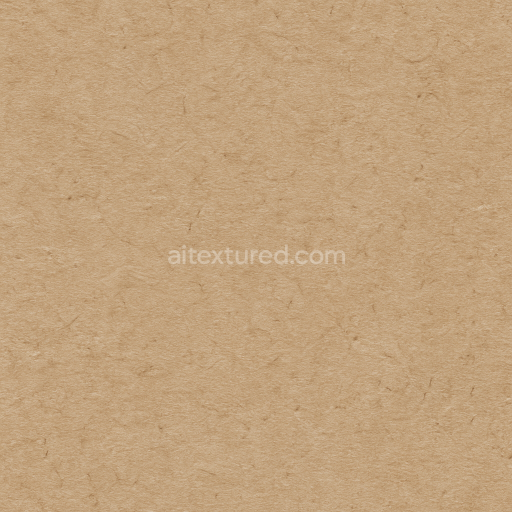
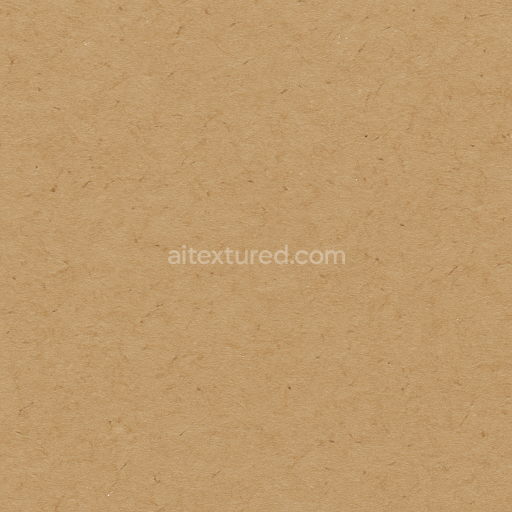
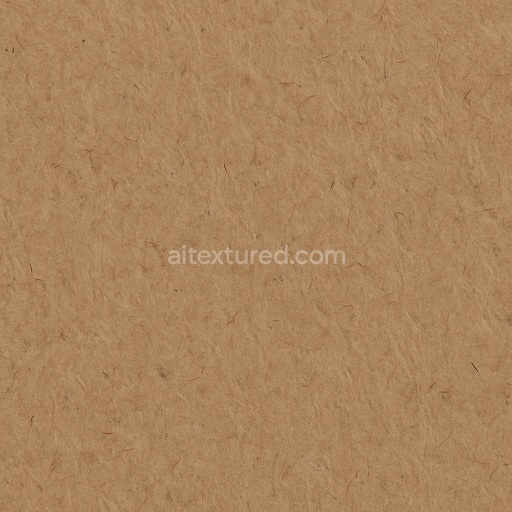
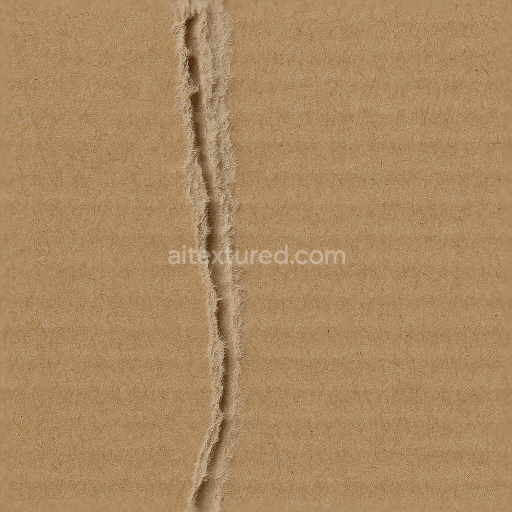
This seamless 8K PBR texture captures the intricate details of natural cardboard material characterized by a layered fibrous structure and subtle surface imperfections. The base substrate is composed of compressed pulp fibers primarily cellulose which form a dense yet porous sheet. These fibers are intertwined creating visible strands and grain patterns that run irregularly across the surface reflecting the natural alignment and compression of cardboard pulp. The geometry suggests a flat laminated sheet form with slight undulations caused by manufacturing processes and everyday wear including scratches and dents that disrupt the uniformity of the surface.
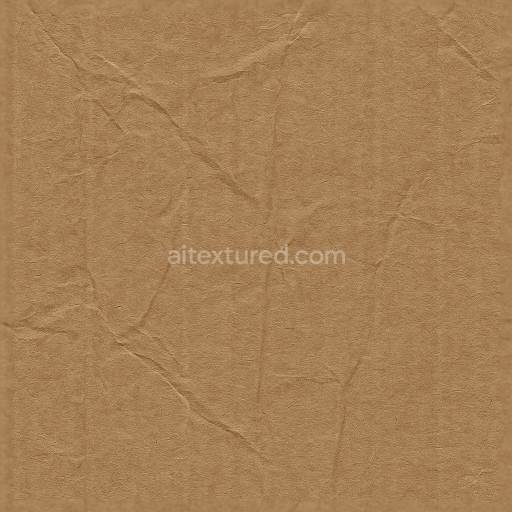
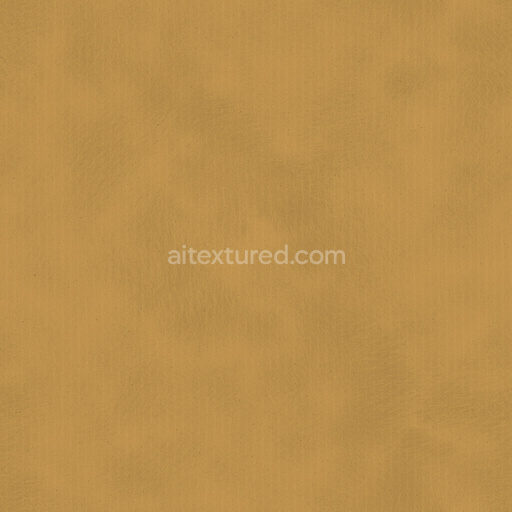
The texture showcases a variety of surface features typical to aged or handled cardboard. Scratches appear as shallow grooves with fibrous edges where the top layer of pulp has been abraded exposing deeper fiber bundles beneath. Dents deform the surface slightly compressing fibers and altering local light reflection. The overall finish is matte and uncoated emphasizing the raw unpolished nature of the cardboard with no metallic or glossy elements present. Color variations stem from natural pulp pigmentation and minor impurities resulting in soft beige and brown tones that vary subtly across the surface enhancing realism and depth.
In terms of PBR mapping the BaseColor (Albedo) channel represents the warm neutral tones of the cardboard pulp capturing the nuanced hues of fiber bundles and subtle discolorations from wear. The Normal map encodes fine scratches and dents to simulate micro surface relief while the Height (Displacement) map provides additional depth for pronounced fiber strands and surface deformations useful for parallax effects. Roughness is generally high reflecting the matte finish and fibrous texture with slight local variations where dents and scratches create smoother or compressed areas. The Metallic channel remains near zero consistent with the non-metallic organic substrate and Ambient Occlusion enhances shadowing in fiber crevices and damaged regions to boost three-dimensionality.
This texture is optimized for use in Blender Unreal Engine and Unity supporting realistic material creation in high-fidelity 3D renders or game environments. The 8K resolution ensures fine details are preserved even at close camera distances making it suitable for visualizations requiring extreme surface fidelity. For best results it is recommended to adjust the UV scale carefully to avoid repetitive patterns on large surfaces and to fine-tune roughness levels to match specific lighting conditions. Combining the Height map with Normal maps via parallax occlusion or displacement can greatly enhance the tactile impression of fiber depth and surface wear.
Import the texture maps into Blender with sRGB color space for albedo/base color and Non-Color for normal, roughness, metallic, AO, height, and ORM maps. Connect normal maps through a Normal Map node, then adjust UV scale with a Mapping node so the material repeats naturally on your model.
For the full step-by-step setup, see How to Use Seamless Textures in Blender. Browse related material examples in wood, concrete, and metal.
Yes. This texture is designed as a seamless tileable PBR material, so it can repeat across large surfaces without visible borders.
You can download PNG/WEBP versions and use 1K, 2K, 4K and 8K download options when available on the page.
Yes. The download options and engine-mapped ZIP workflow are designed for Blender, Unreal Engine, Unity Standard, URP and HDRP material pipelines.
Yes. The texture is available under the AITextured free commercial license. Review the license page for redistribution and AI-training restrictions.

Generate, preview, and export seamless PBR materials for Blender, Unity, and Unreal Engine—directly in your browser.
AI text-to-texture: type a prompt and get a seamless, tileable base image ready for PBR workflows (great starting point for materials).
Create a full PBR set (Normal, Roughness, AO, Metallic, etc.) from a single image. Seamless and tiling-friendly.
Instant WebGL viewer: inspect materials on a sphere, plane, and cube. Check tiling and lighting in real time.
Re-packages maps per engine: Unreal (BaseColor + ORM), Unity (Mask/MetallicSmoothness), Blender (separate channels).
PNG ↔ JPG ↔ SVG: fast convert, SVG rasterize, embed/trace options, quality & background controls.