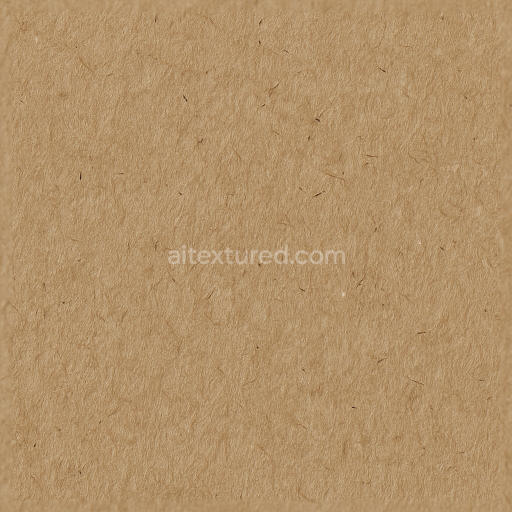
Featuring Cardboard Emboss With Cardboard Grain And Fiber Detail
Seamless texture (tileable) · PNG, WEBP, PBR ZIP. License: AITextured Free Commercial License (FCL) v1.1. Free personal and commercial use. Raw resale, standalone redistribution, mirroring/scraping, competing asset packs, and AI/ML training are not allowed without written permission. Attribution is not required, but appreciated..

| ID | seamless-3d-texture-pbr-8k-of-cardboard-dust-and-dirt-with-fiber-strands-and-grainy-surface |
|---|---|
| Category | Cardboard |
| Formats | PNG, WEBP, PBR ZIP |
| Size | 1k (1024x1024px), 2k (2048x2048px), 4k (4096x4096px), 8k (8192x8192px) |
| Color | sRGB |
| Tileable | Yes |
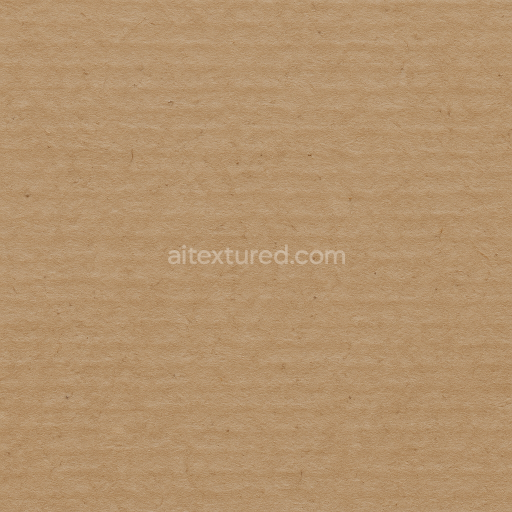
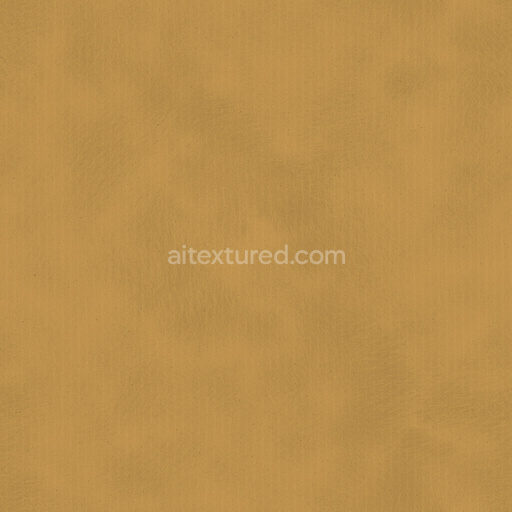
This seamless 8K PBR texture captures the intricate surface of natural cardboard showcasing a finely detailed grainy substrate composed primarily of pressed pulp fibers. The base material consists of tightly interwoven cellulose fibers derived from recycled paper pulp which form a fibrous network that imparts both strength and flexibility. The texture highlights subtle variations in fiber thickness and orientation creating an organic pattern reminiscent of layered sheets pressed into a flat yet slightly uneven plane. Dust and dirt particles are scattered irregularly across the surface settling into the micro crevices and amplifying the tactile roughness characteristic of aged cardboard. This combination results in a visually complex surface with a moderately porous structure that reveals the material’s inherent susceptibility to environmental wear.
The cardboard’s surface finish is matte with no reflective coating emphasizing its natural unpolished state. The fiber strands and grain are clearly distinguishable contributing to the texture’s depth and realism. Adhesive residues and slight discolorations from dirt accumulation introduce subtle color variations within the predominantly beige and light brown palette simulating natural aging and exposure. These nuances are critical for accurately conveying the material’s history and usage. The texture’s PBR channels have been meticulously crafted: the BaseColor (Albedo) map reflects the nuanced tones of pulp fibers dust and dirt; the Normal map enhances the tactile fiber strands and grainy details; the Roughness map emphasizes the non-reflective coarse surface; the Metallic map is near zero consistent with cardboard’s non-metallic composition; the Ambient Occlusion map accentuates fiber intersections and surface indentations; and the Height (Displacement) map captures subtle relief from fiber clumps and surface irregularities.
Designed for seamless tiling this texture integrates flawlessly into 3D workflows supporting photorealistic renders in Blender Unreal Engine and Unity. Its ultra-high 8K resolution ensures that fine details remain crisp even on close camera views making it ideal for product packaging visualization environmental assets or any scene requiring authentic cardboard material representation. To optimize performance and visual fidelity it is recommended to adjust UV scaling carefully to prevent noticeable repetition when applied over large surfaces. Additionally tuning the Roughness map can help simulate varying degrees of surface wear—from freshly manufactured to heavily weathered cardboard. For enhanced depth perception blending the Height map with Normal maps can create convincing parallax effects especially useful in interactive real-time engines.
Import the texture maps into Blender with sRGB color space for albedo/base color and Non-Color for normal, roughness, metallic, AO, height, and ORM maps. Connect normal maps through a Normal Map node, then adjust UV scale with a Mapping node so the material repeats naturally on your model.
For the full step-by-step setup, see How to Use Seamless Textures in Blender. Browse related material examples in wood, concrete, and metal.
Yes. This texture is designed as a seamless tileable PBR material, so it can repeat across large surfaces without visible borders.
You can download PNG/WEBP versions and use 1K, 2K, 4K and 8K download options when available on the page.
Yes. The download options and engine-mapped ZIP workflow are designed for Blender, Unreal Engine, Unity Standard, URP and HDRP material pipelines.
Yes. The texture is available under the AITextured free commercial license. Review the license page for redistribution and AI-training restrictions.


Generate, preview, and export seamless PBR materials for Blender, Unity, and Unreal Engine—directly in your browser.
AI text-to-texture: type a prompt and get a seamless, tileable base image ready for PBR workflows (great starting point for materials).
Create a full PBR set (Normal, Roughness, AO, Metallic, etc.) from a single image. Seamless and tiling-friendly.
Instant WebGL viewer: inspect materials on a sphere, plane, and cube. Check tiling and lighting in real time.
Re-packages maps per engine: Unreal (BaseColor + ORM), Unity (Mask/MetallicSmoothness), Blender (separate channels).
PNG ↔ JPG ↔ SVG: fast convert, SVG rasterize, embed/trace options, quality & background controls.