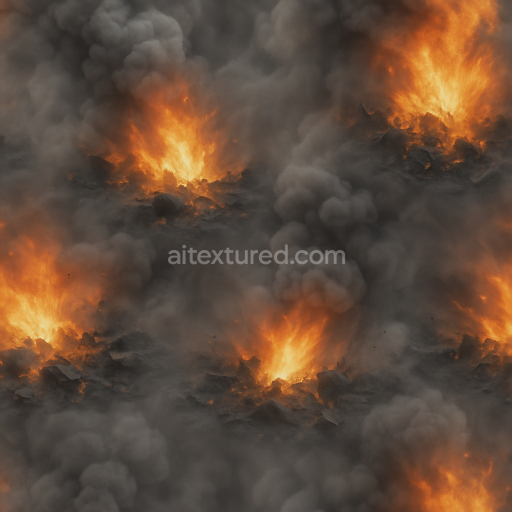
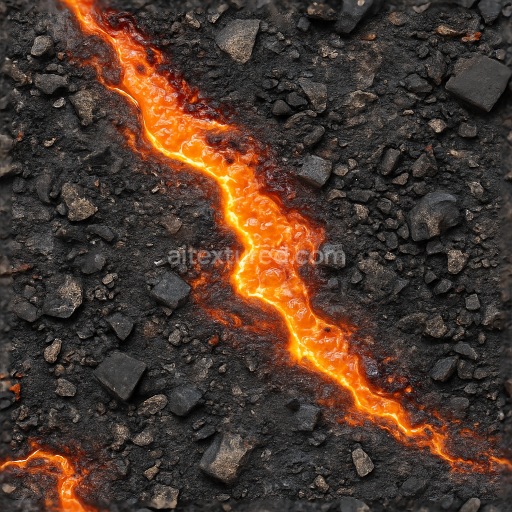
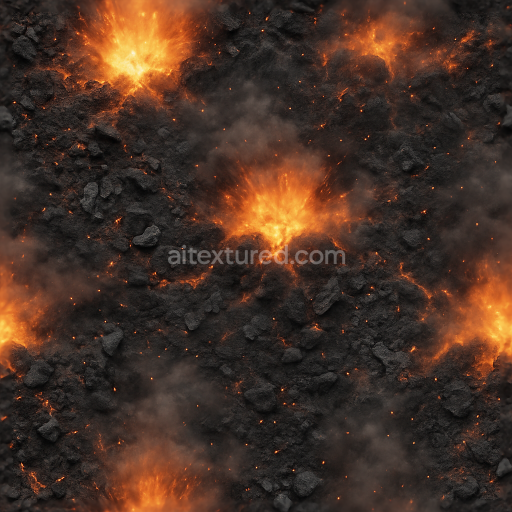
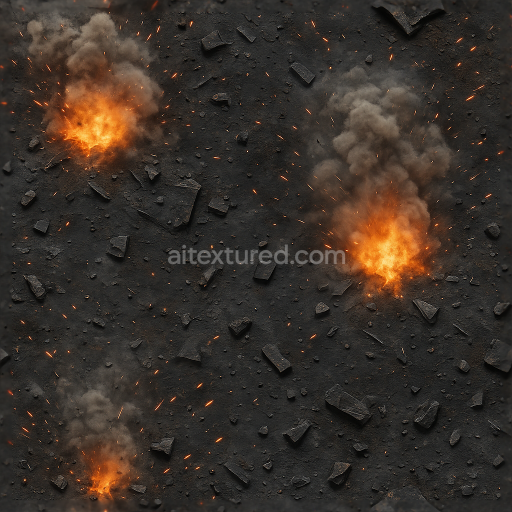
Seamless 8K PBR 3D texture of charcoal ash with smoke billow and heat shimmer effects
Seamless texture (tileable) · PNG, WEBP, PBR ZIP. License: AITextured Free Commercial License (FCL) v1.1. Free personal and commercial use. Raw resale, standalone redistribution, mirroring/scraping, competing asset packs, and AI/ML training are not allowed without written permission. Attribution is not required, but appreciated..

| ID | seamless-3d-texture-of-explosive-ignition-with-fiery-flame-burst-and-pressure-wave-effects-in-8k-pbr |
|---|---|
| Category | Explosion |
| Formats | PNG, WEBP, PBR ZIP |
| Size | 1k (1024x1024px), 2k (2048x2048px), 4k (4096x4096px), 8k (8192x8192px) |
| Color | sRGB |
| Tileable | Yes |
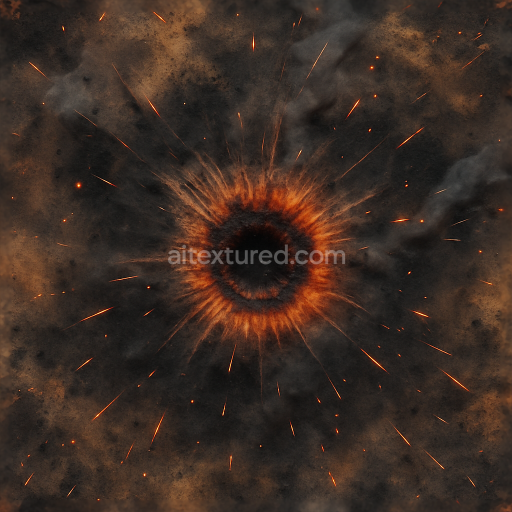
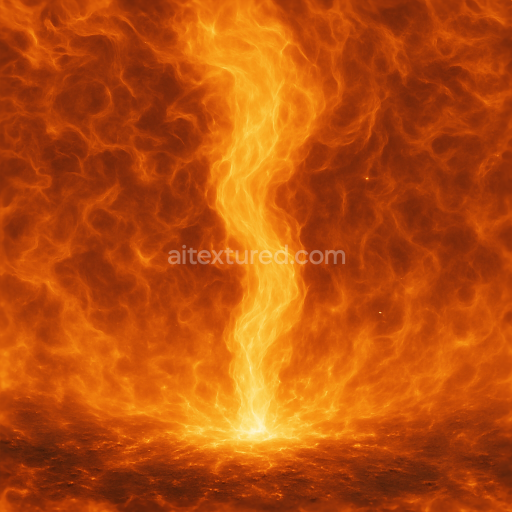
This seamless 3D texture represents the intense moment of explosive ignition meticulously crafted to simulate the complex interplay of fiery flame bursts and expanding pressure waves. The base material can be understood as a dynamic gaseous substrate resembling a highly energized plasma field with turbulent energy patterns rather than a solid surface. The texture’s form captures the chaotic radiating wavefronts and flame tongues organized in a radial pattern that mimics the spherical geometry of a detonation event. This organic amorphous structure is punctuated by sharp gradients and fluid-like swirls creating a visually rich volumetric effect within a flat 2D texture space.
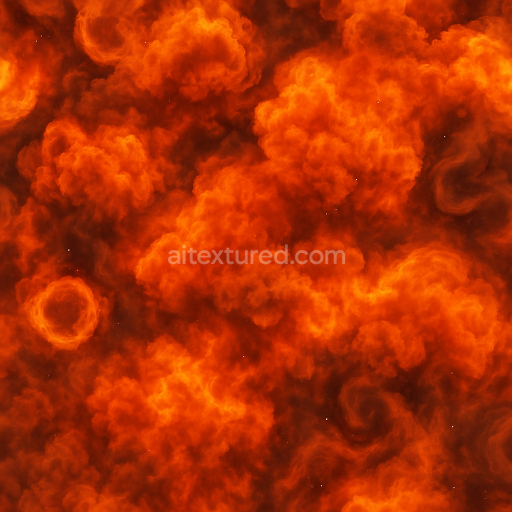
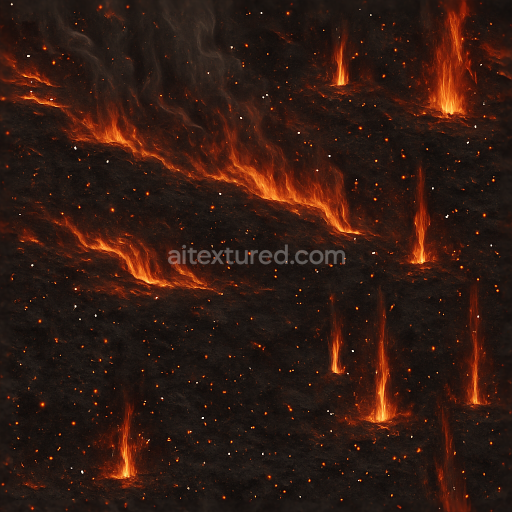
From a material composition perspective the texture incorporates simulated binders in the form of incandescent gas particles and ionized plasma streams while the aggregates correspond to concentrated pockets of energy bursts and smoke wisps. The texture’s porosity is represented through varying translucency and opacity zones giving the illusion of depth and layers within the flame and shockwave. Surface finish is inherently matte with subtle emissive qualities as the flame bursts and detonation flashes emit intense light without reflective metallicity. Colorants include a palette of deep oranges reds and yellows for the flames with cooler grays and blues for the shockwave edges all carefully blended to enhance realism and energy flow.
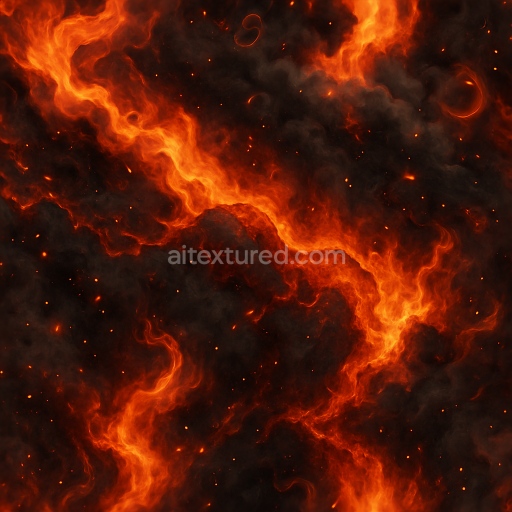
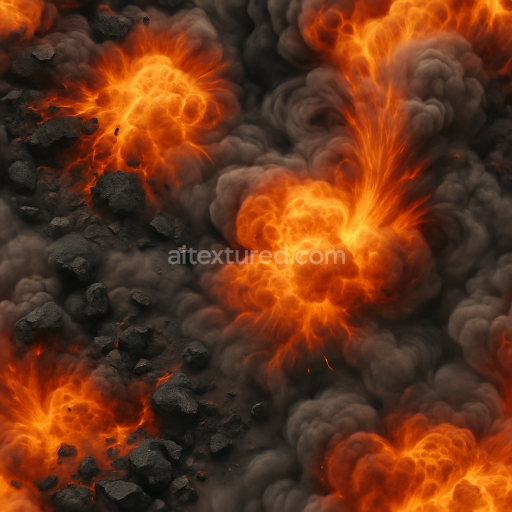
The texture is designed with physically based rendering (PBR) in mind utilizing multiple channels to replicate the physical attributes of an explosive ignition. The BaseColor (Albedo) map conveys the vivid and high-contrast coloration of flames and smoke. The Normal map enhances the perception of volumetric turbulence and the pressure wave’s ripple effects adding subtle depth to the flat surface. Roughness is tuned to a medium-low range to simulate the diffuse glow of hot gases without glossy reflections. The Metallic channel remains near zero as the texture represents non-metallic phenomena. Ambient Occlusion subtly darkens regions around flame edges to emphasize form while the Height/Displacement map captures the undulating wavefronts and fiery tongues allowing for enhanced parallax and depth effects in real-time engines.
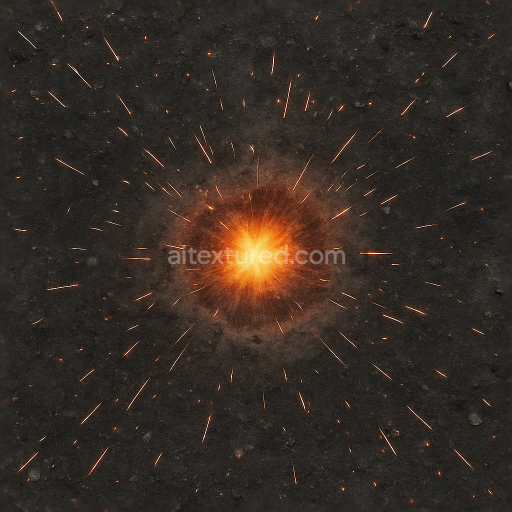
Rendered at an 8K resolution this texture ensures exceptional detail and clarity making it suitable for high-fidelity projects within Blender Unreal Engine and Unity. Its seamless tiling supports large surface coverage without visible repetition vital for dynamic visual effects requiring continuous energy bursts or shockwaves. For practical application it is recommended to adjust the UV scale to maintain the integrity of the flame bursts and pressure wave patterns avoiding excessive stretching. Additionally fine-tuning the roughness channel can help balance the emissive intensity with environmental lighting while blending the height map subtly with normal maps can enhance the perceived volumetric depth without performance drawbacks.
Import the texture maps into Blender with sRGB color space for albedo/base color and Non-Color for normal, roughness, metallic, AO, height, and ORM maps. Connect normal maps through a Normal Map node, then adjust UV scale with a Mapping node so the material repeats naturally on your model.
For the full step-by-step setup, see How to Use Seamless Textures in Blender. Browse related material examples in wood, concrete, and metal.
Yes. This texture is designed as a seamless tileable PBR material, so it can repeat across large surfaces without visible borders.
You can download PNG/WEBP versions and use 1K, 2K, 4K and 8K download options when available on the page.
Yes. The download options and engine-mapped ZIP workflow are designed for Blender, Unreal Engine, Unity Standard, URP and HDRP material pipelines.
Yes. The texture is available under the AITextured free commercial license. Review the license page for redistribution and AI-training restrictions.
Build, preview, and export seamless PBR materials. Generate full map sets from a single image, inspect them in a real-time WebGL viewer, and re-package maps for Unreal, Unity, and Blender—directly in your browser.
AI text-to-texture: type a prompt and get a seamless, tileable base image ready for PBR workflows (great starting point for materials).
Create a full PBR set (Normal, Roughness, AO, Metallic, etc.) from a single image. Seamless and tiling-friendly.
Instant WebGL viewer: inspect materials on a sphere, plane, and cube. Check tiling and lighting in real time.
Re-packages maps per engine: Unreal (BaseColor + ORM), Unity (Mask/MetallicSmoothness), Blender (separate channels).
PNG ↔ JPG ↔ SVG: fast convert, SVG rasterize, embed/trace options, quality & background controls.