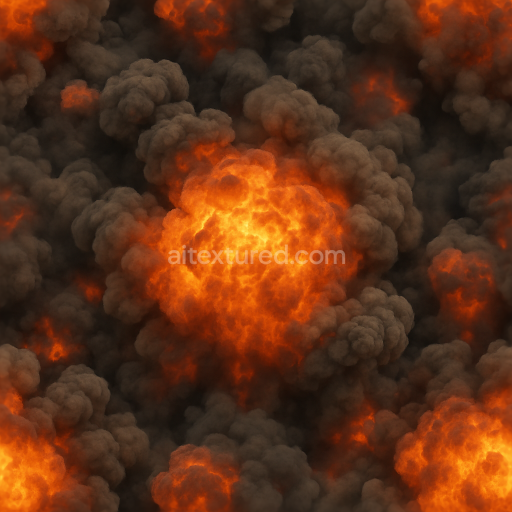
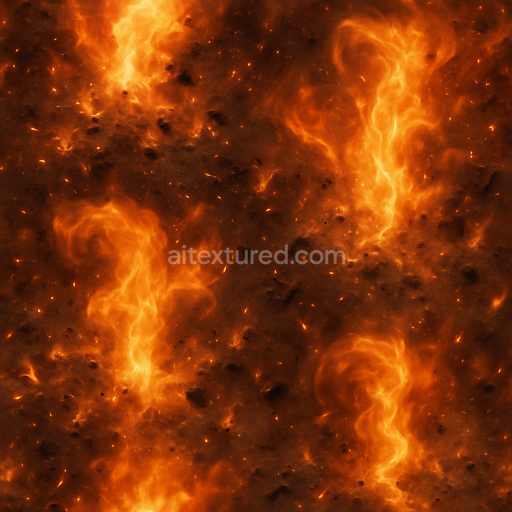
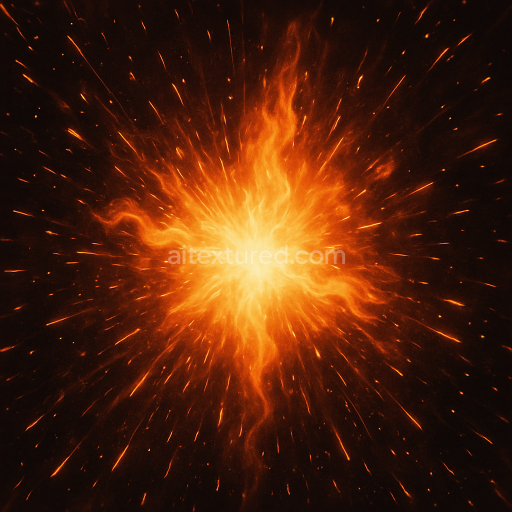
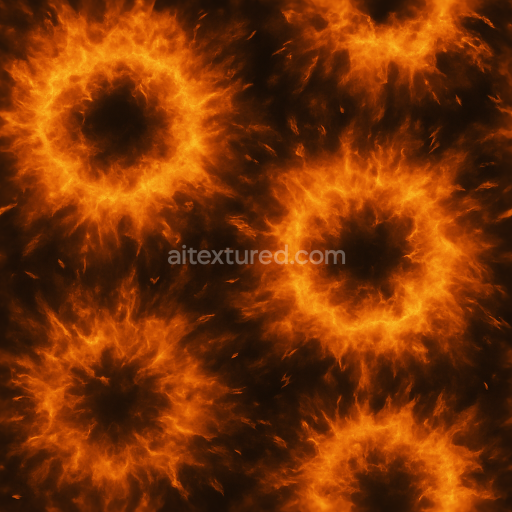
Illustrating Volatile Gases And Combustion With Fireball In Intense 8K PBR Detail
Seamless texture (tileable) · PNG, WEBP, PBR ZIP. License: AITextured Free Commercial License (FCL) v1.1. Free personal and commercial use. Raw resale, standalone redistribution, mirroring/scraping, competing asset packs, and AI/ML training are not allowed without written permission. Attribution is not required, but appreciated..

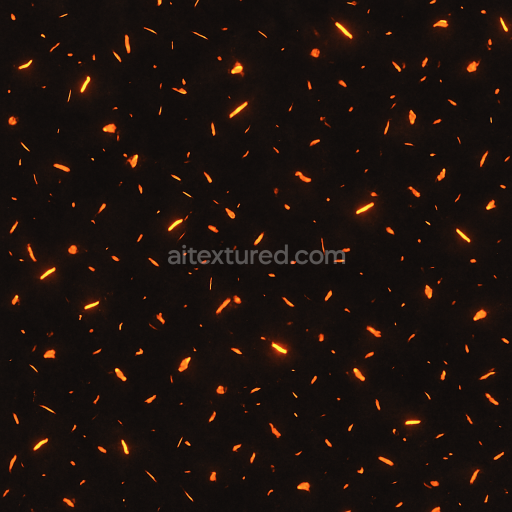
| ID | seamless-8k-pbr-3d-texture-of-burning-fragments-with-fire-sparks-and-thermal-glow-highlights |
|---|---|
| Category | Explosion |
| Formats | PNG, WEBP, PBR ZIP |
| Size | 1k (1024x1024px), 2k (2048x2048px), 4k (4096x4096px), 8k (8192x8192px) |
| Color | sRGB |
| Tileable | Yes |
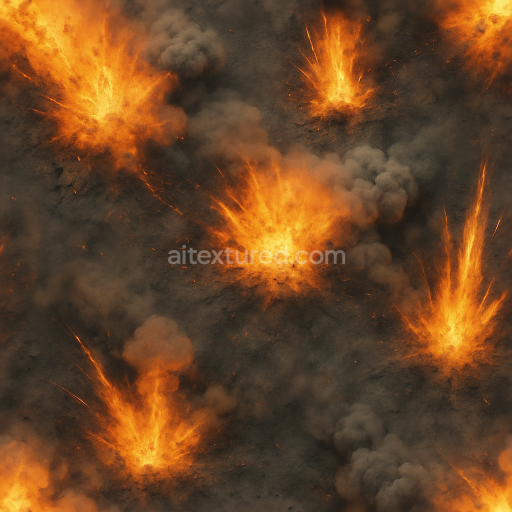
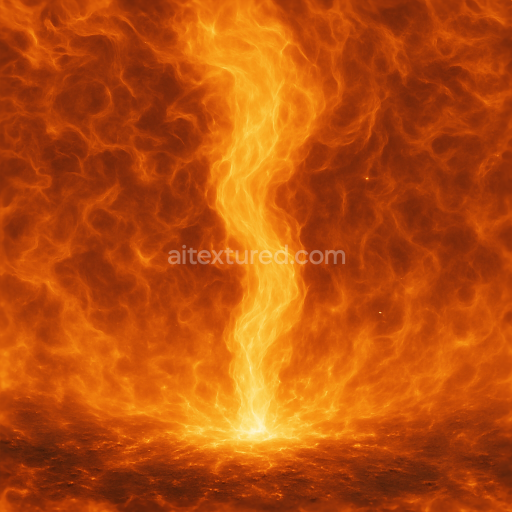
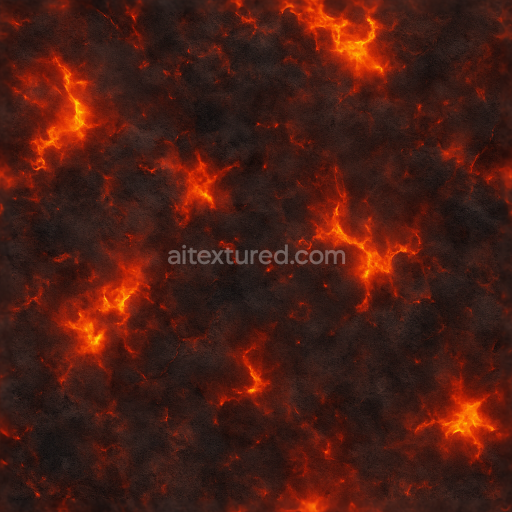
This seamless 8k PBR 3D texture captures the intricate details of burning fragments scattered across a fractured substrate evoking a dynamic explosion scene. The base material resembles a composite of charred mineral and carbon-rich debris where irregular shards of blackened rock and soot-coated ash interlock in a fractured angular pattern. The geometry suggests a chaotic assemblage of fragmented solids with jagged edges and varying thicknesses that create a complex height profile. This fractured form is layered with glowing fire embers and sporadic fire sparks which appear as small bright inclusions embedded within the rough surface giving a sense of ongoing combustion. The substrate’s porosity is moderate allowing thermal glow highlights and ignited gas flares to permeate and diffuse softly enhancing the depth and realism of the texture.
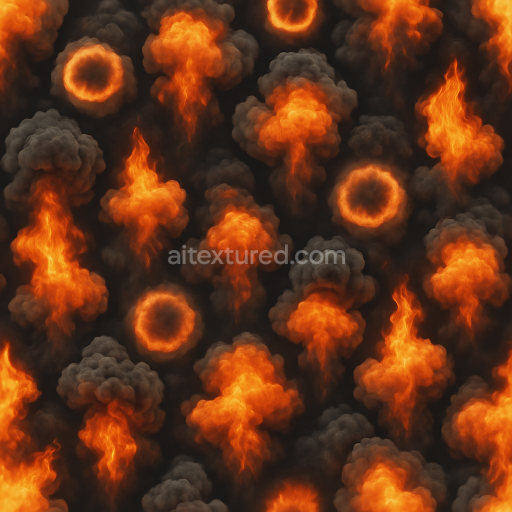
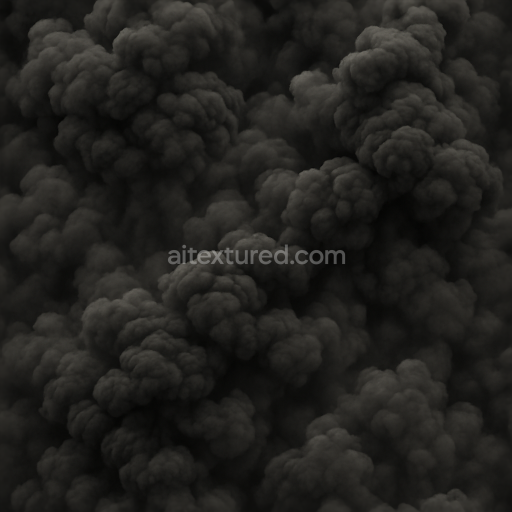
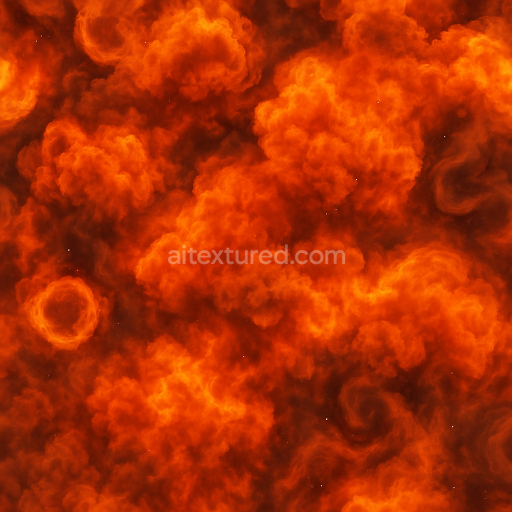
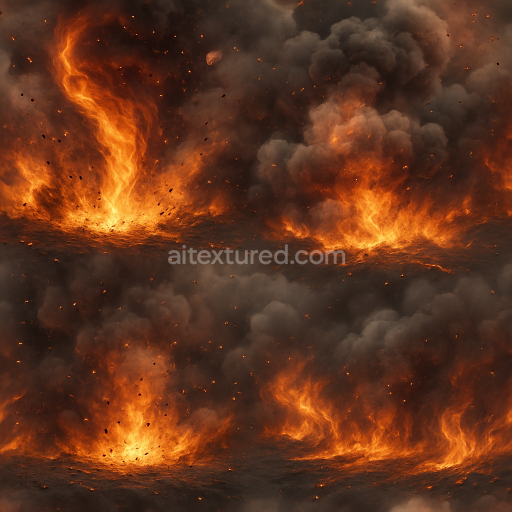
The composition involves a base of mineral-rich debris acting as a non-metallic aggregate fused by remnants of organic binders that have partially combusted resulting in a brittle and weathered surface finish. The blackened debris exhibits a matte oxidized texture with patches of smoldering fire embers that introduce subtle translucency and warmth. These glowing areas simulate thermal radiation through emissive elements while detonation smoke and fire plume effects are represented through soft opacity variations and finely detailed normal map ridges that mimic turbulent gas flows. The color palette is dominated by deep charcoals and burnt siennas punctuated by vibrant oranges and yellows from the embers and sparks carefully balanced in the BaseColor (Albedo) channel to maintain photorealism without oversaturation.
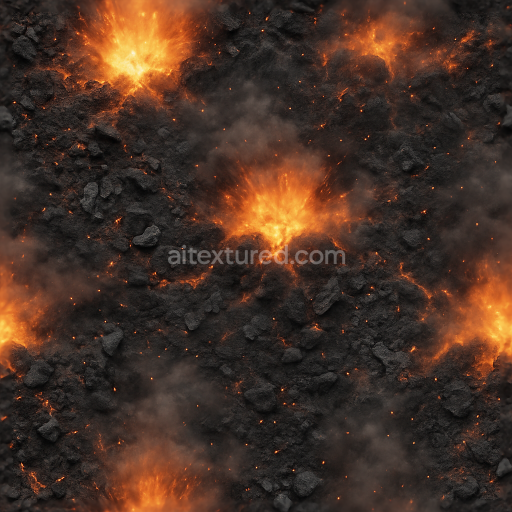
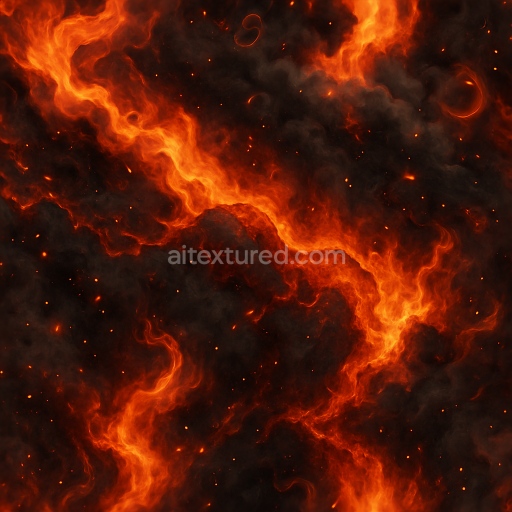
In terms of PBR channel distribution the Normal map enhances the intricate fractured geometry and the delicate layering of smoke and gas plumes adding dimensionality to the fire sparks and embers. The Roughness map is finely tuned to reflect the contrast between the matte ash-covered debris and the glossy molten-like embers delivering realistic light scattering and specular reflections. The Metallic channel remains near zero to emphasize the non-metallic nature of the charred fragments. Ambient Occlusion intensifies crevices and shadowed areas where fragments overlap while the Height/Displacement map defines the uneven topography and crack depths enabling convincing parallax effects. The texture’s 8k resolution ensures exceptional detail preservation ideal for close-up shots and large-scale visualizations.
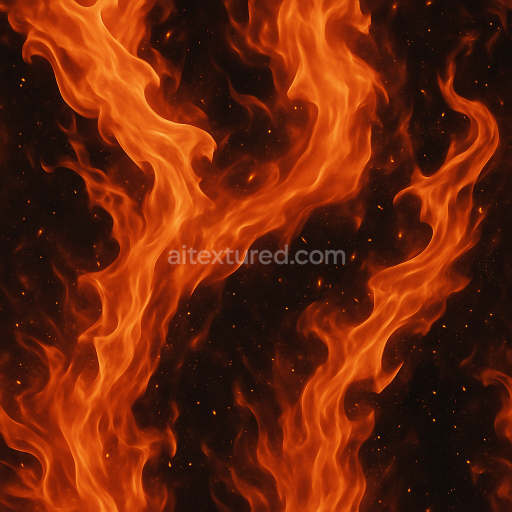
This texture is fully optimized and ready for seamless integration into Blender Unreal Engine and Unity workflows. Its neutral lighting setup facilitates easy customization and lighting adaptation within these engines. For best results it is recommended to adjust the UV scale to maintain the balance between large fragment definition and overall tiling consistency. Additionally fine-tuning the Roughness channel can help simulate different stages of combustion from freshly ignited embers to cooled ashen debris. When combining this texture with height or parallax mapping blending the Normal and Displacement channels carefully will enhance the perception of depth and dynamic explosion effects without introducing visual artifacts.
Import the texture maps into Blender with sRGB color space for albedo/base color and Non-Color for normal, roughness, metallic, AO, height, and ORM maps. Connect normal maps through a Normal Map node, then adjust UV scale with a Mapping node so the material repeats naturally on your model.
For the full step-by-step setup, see How to Use Seamless Textures in Blender. Browse related material examples in wood, concrete, and metal.
Yes. This texture is designed as a seamless tileable PBR material, so it can repeat across large surfaces without visible borders.
You can download PNG/WEBP versions and use 1K, 2K, 4K and 8K download options when available on the page.
Yes. The download options and engine-mapped ZIP workflow are designed for Blender, Unreal Engine, Unity Standard, URP and HDRP material pipelines.
Yes. The texture is available under the AITextured free commercial license. Review the license page for redistribution and AI-training restrictions.

Build, preview, and export seamless PBR materials. Generate full map sets from a single image, inspect them in a real-time WebGL viewer, and re-package maps for Unreal, Unity, and Blender—directly in your browser.
AI text-to-texture: type a prompt and get a seamless, tileable base image ready for PBR workflows (great starting point for materials).
Create a full PBR set (Normal, Roughness, AO, Metallic, etc.) from a single image. Seamless and tiling-friendly.
Instant WebGL viewer: inspect materials on a sphere, plane, and cube. Check tiling and lighting in real time.
Re-packages maps per engine: Unreal (BaseColor + ORM), Unity (Mask/MetallicSmoothness), Blender (separate channels).
PNG ↔ JPG ↔ SVG: fast convert, SVG rasterize, embed/trace options, quality & background controls.