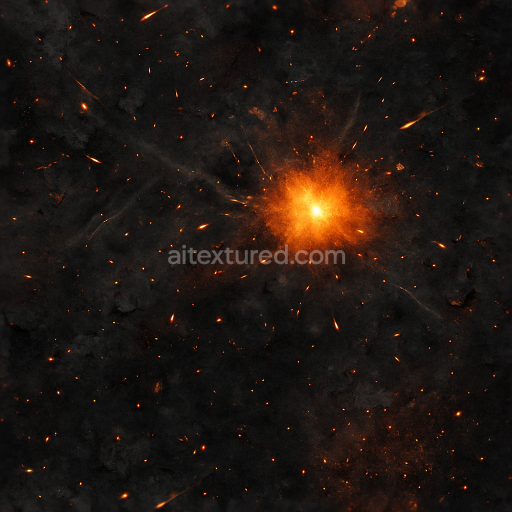
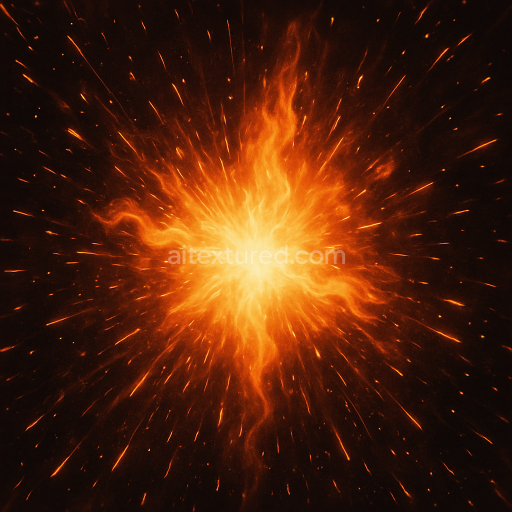
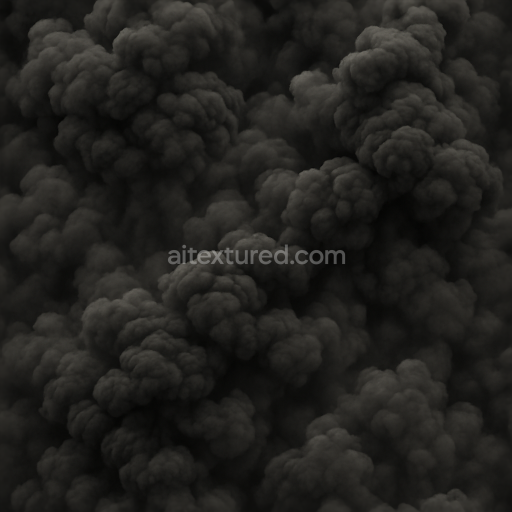
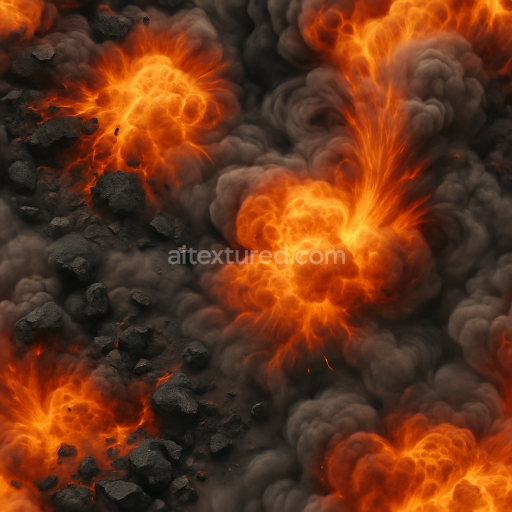
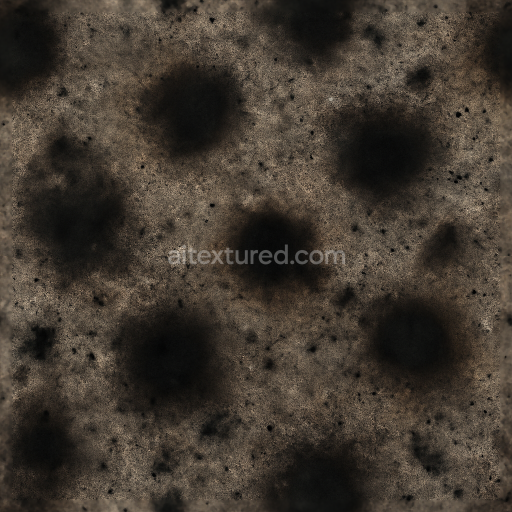
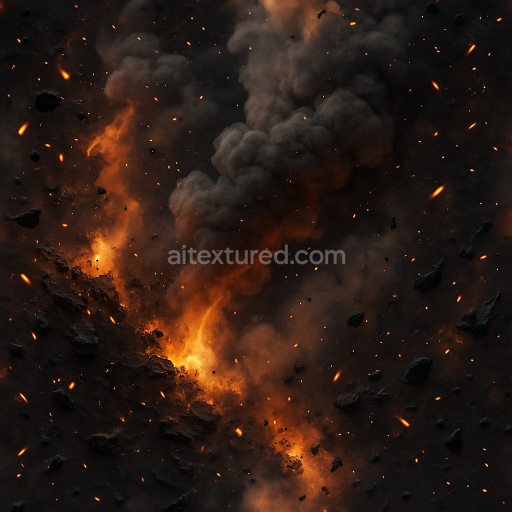
Seamless 8K PBR 3D texture of explosive residue with incendiary sparks and smoke trails
Seamless texture (tileable) · PNG, WEBP, PBR ZIP. License: AITextured Free Commercial License (FCL) v1.1. Free personal and commercial use. Raw resale, standalone redistribution, mirroring/scraping, competing asset packs, and AI/ML training are not allowed without written permission. Attribution is not required, but appreciated..

| ID | seamless-8k-pbr-3d-texture-showing-explosion-dust-with-heat-distortion-and-fire-sparks |
|---|---|
| Category | Explosion |
| Formats | PNG, WEBP, PBR ZIP |
| Size | 1k (1024x1024px), 2k (2048x2048px), 4k (4096x4096px), 8k (8192x8192px) |
| Color | sRGB |
| Tileable | Yes |
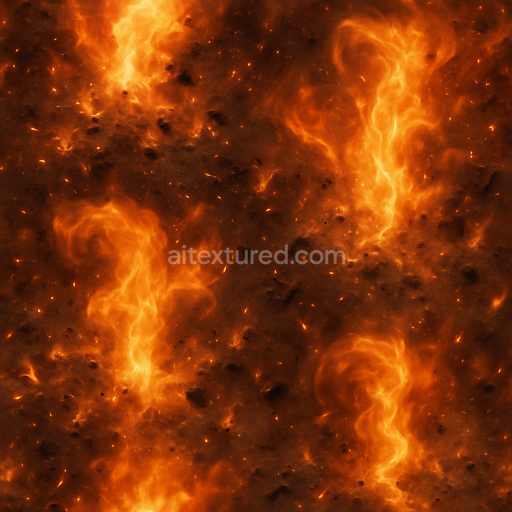
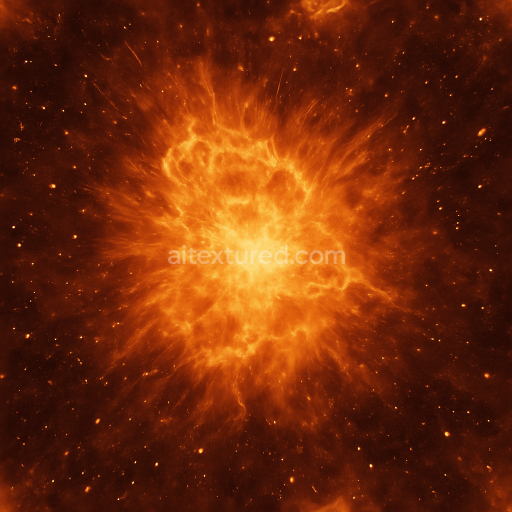
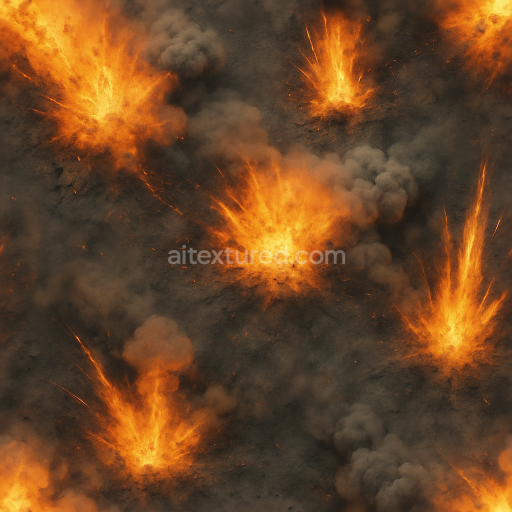
This seamless 8k PBR 3D texture captures the intricate interplay of explosion dust heat distortion and scattered fire sparks over a rugged charcoal surface. The underlying material resembles a fractured carbonized substrate formed from a mix of burnt organic matter and mineral debris mimicking remnants of wreckage pieces embedded within a blast-damaged environment. The geometric form is irregular and fractured with jagged shards and fragmented particles creating a natural tessellation that avoids obvious repetition suitable for large-scale tiling. The surface exhibits varying porosity with fine dust particles settling into crevices and larger rough aggregates protruding conveying depth and weathering from intense heat and mechanical impact.
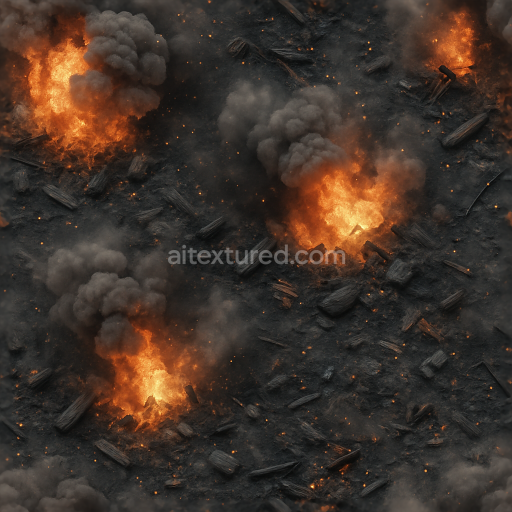
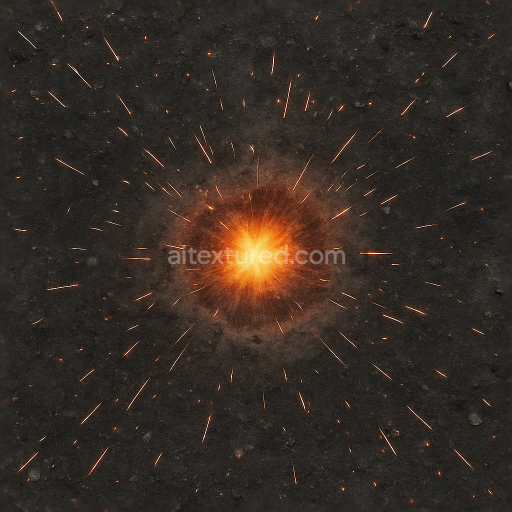
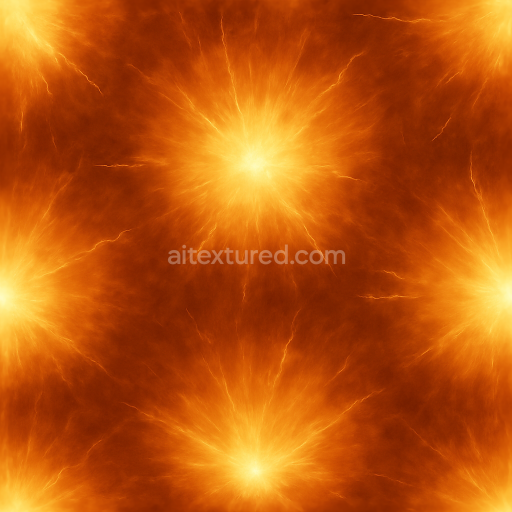
Compositionally the base is a dense carbon-rich matrix with a matte slightly rough finish suggesting a weathered charcoal-like material. The substrate binds together mineral fragments and ash residues acting as aggregates that enhance the texture’s tactile complexity. Burn marks and ignition traces provide subtle darkening and color variation achieved through a blend of warm pigments ranging from deep charcoal grays to embers of orange and amber hues. The fire sparks appear as tiny emissive points integrated into the texture’s emissive channel to simulate flickering light sources. The heat distortion effect is represented through carefully crafted normal and height maps generating subtle refraction warping around the ignition zones.
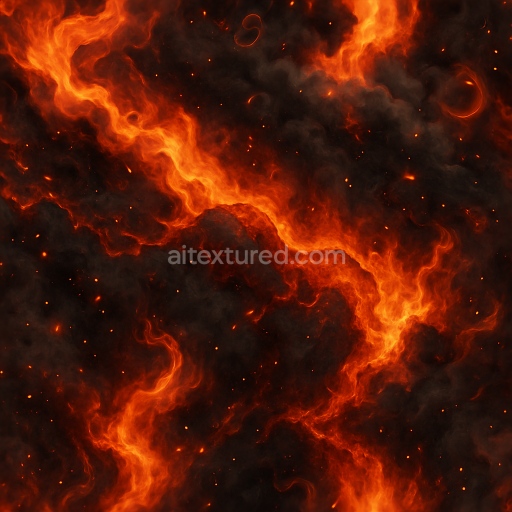
In terms of PBR channel mapping the BaseColor (Albedo) reflects the nuanced color palette of charred surfaces with dark grays and burnt orange highlights. The Normal map enhances the fractured surface geometry emphasizing cracks crevices and protruding wreckage pieces. Roughness values vary across the texture with smoother heat-polished areas contrasting against coarse dusty patches to simulate differential surface finishes. Metallic content is minimal to non-existent appropriate for non-metallic carbonized and mineral materials while Ambient Occlusion maps deepen shadowed crevices enhancing realism. Height and Displacement maps provide the essential depth cues for parallax and tessellation reinforcing the physicality of blast damage and layered debris.
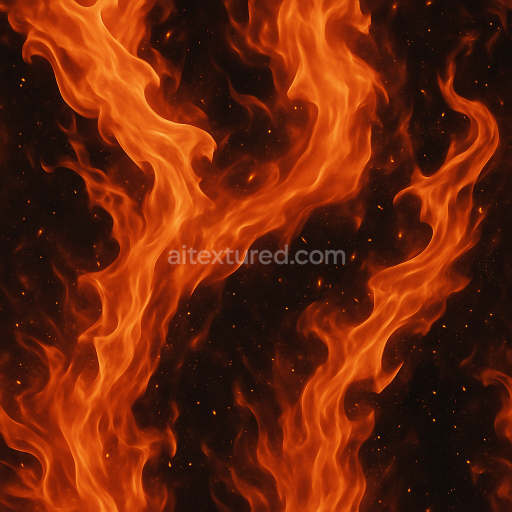
This texture is optimized at 8k resolution to deliver photorealistic detail when applied in Blender Unreal Engine and Unity environments making it ideal for visual effects real-time simulations and game assets involving combustion and destruction scenarios. For practical use it is advisable to adjust the UV scale carefully to maintain the natural fracturing pattern without visible tiling artifacts. Additionally fine-tuning roughness can help balance the contrast between matte dust regions and subtly glossy heat-distorted patches while blending height and normal maps can enhance surface realism under dynamic lighting conditions.
Import the texture maps into Blender with sRGB color space for albedo/base color and Non-Color for normal, roughness, metallic, AO, height, and ORM maps. Connect normal maps through a Normal Map node, then adjust UV scale with a Mapping node so the material repeats naturally on your model.
For the full step-by-step setup, see How to Use Seamless Textures in Blender. Browse related material examples in wood, concrete, and metal.
Yes. This texture is designed as a seamless tileable PBR material, so it can repeat across large surfaces without visible borders.
You can download PNG/WEBP versions and use 1K, 2K, 4K and 8K download options when available on the page.
Yes. The download options and engine-mapped ZIP workflow are designed for Blender, Unreal Engine, Unity Standard, URP and HDRP material pipelines.
Yes. The texture is available under the AITextured free commercial license. Review the license page for redistribution and AI-training restrictions.

Build, preview, and export seamless PBR materials. Generate full map sets from a single image, inspect them in a real-time WebGL viewer, and re-package maps for Unreal, Unity, and Blender—directly in your browser.
AI text-to-texture: type a prompt and get a seamless, tileable base image ready for PBR workflows (great starting point for materials).
Create a full PBR set (Normal, Roughness, AO, Metallic, etc.) from a single image. Seamless and tiling-friendly.
Instant WebGL viewer: inspect materials on a sphere, plane, and cube. Check tiling and lighting in real time.
Re-packages maps per engine: Unreal (BaseColor + ORM), Unity (Mask/MetallicSmoothness), Blender (separate channels).
PNG ↔ JPG ↔ SVG: fast convert, SVG rasterize, embed/trace options, quality & background controls.