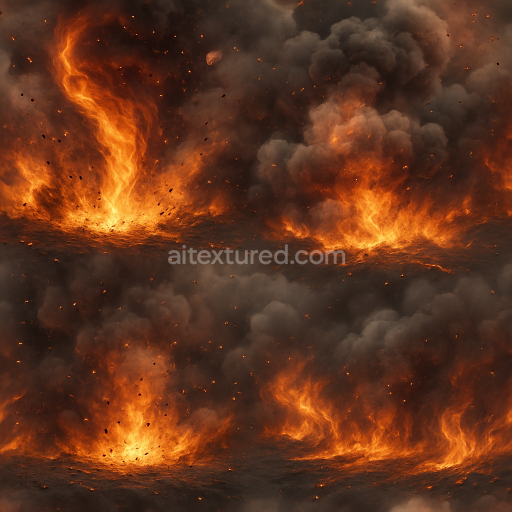
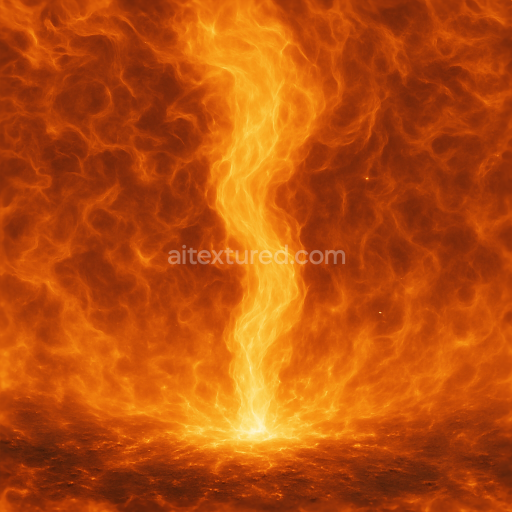
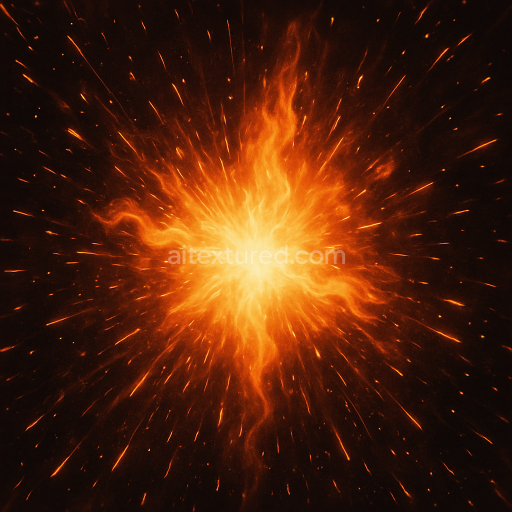
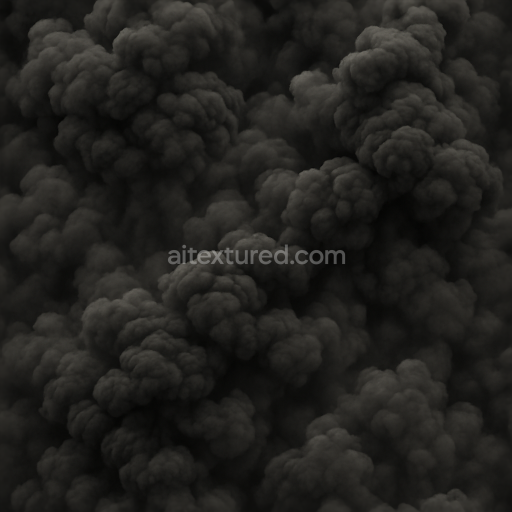
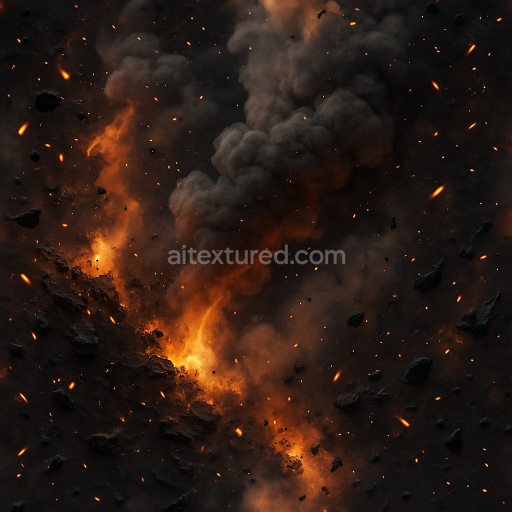
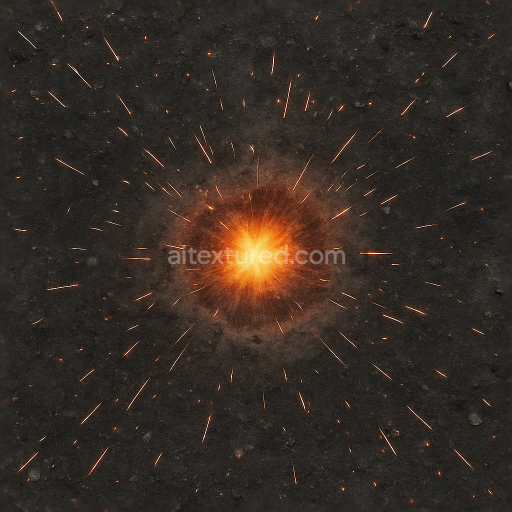
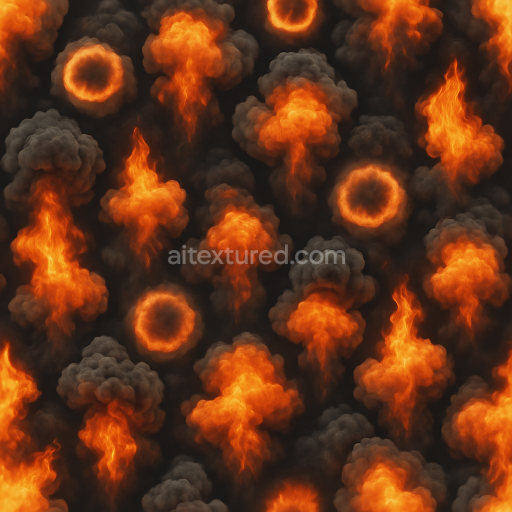
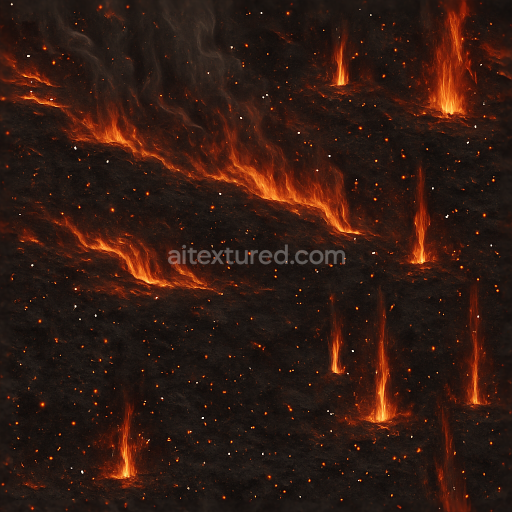
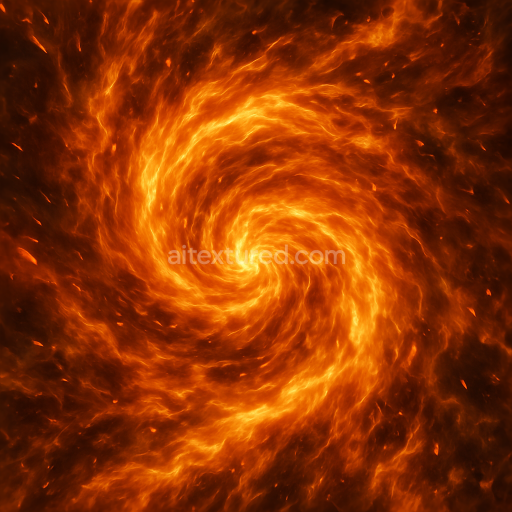
Seamless 8K PBR 3D texture of fire vortex with burning debris and explosion shock
Seamless texture (tileable) · PNG, WEBP, PBR ZIP. License: AITextured Free Commercial License (FCL) v1.1. Free personal and commercial use. Raw resale, standalone redistribution, mirroring/scraping, competing asset packs, and AI/ML training are not allowed without written permission. Attribution is not required, but appreciated..

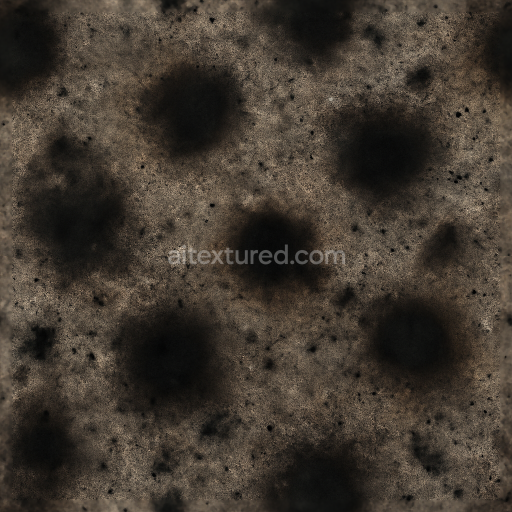
| ID | seamless-8k-pbr-3d-texture-showing-shockwave-with-scorch-marks-and-blast-crater-from-explosion |
|---|---|
| Category | Explosion |
| Formats | PNG, WEBP, PBR ZIP |
| Size | 1k (1024x1024px), 2k (2048x2048px), 4k (4096x4096px), 8k (8192x8192px) |
| Color | sRGB |
| Tileable | Yes |
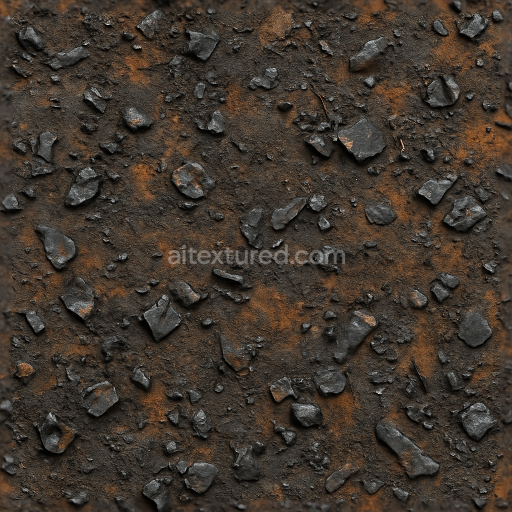
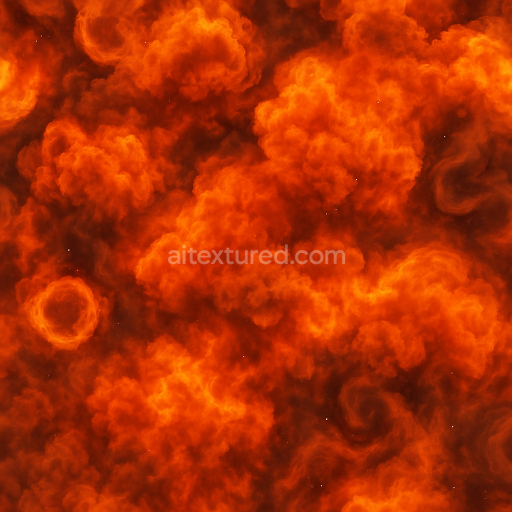
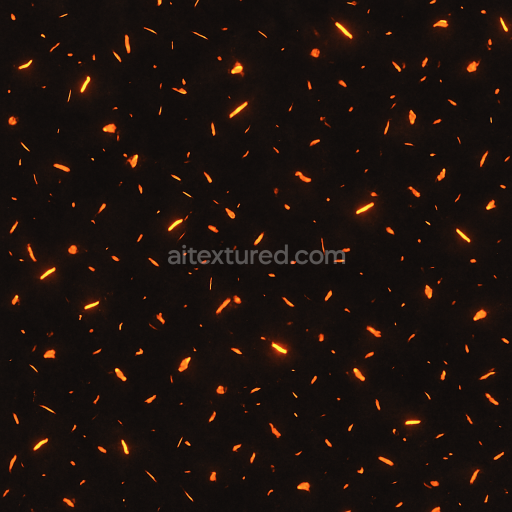
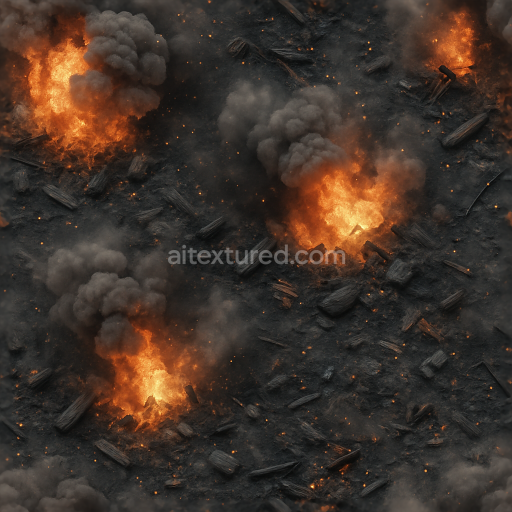
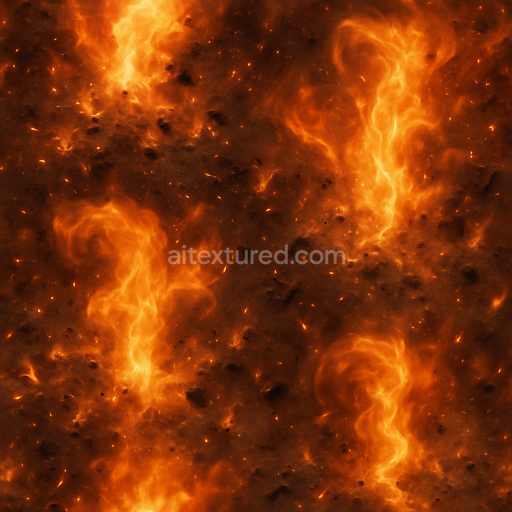
This seamless 8k PBR texture captures the raw aftermath of an explosion centered on a rugged blast crater embedded within a fractured concrete substrate. The base material resembles aged weathered concrete mixed with granular aggregates and fine dust creating a dense porous surface common in urban or industrial environments. Embedded within the crater's rough geometry are scorch marks and burnt paint remnants formed by chemical binders and pigments altered by intense heat and fire. The surface finish is predominantly matte and rough interrupted by patches of oxidized metal debris and subtle thermal glows that simulate residual heat emission. This complex composition lends itself to a highly detailed interplay of color and relief with the base color channel showcasing muted greys charred blacks and rusty browns accented by incandescent orange sparks and faint smoke trails.
Normal and height maps intricately define the crater’s depth and the shockwave’s radial fractures emphasizing the uneven cracked geometry and emphasizing micro-details such as fissures and pocked surfaces. The roughness map varies across the texture to represent different material states: smoother heat-melted edges near the blast center contrast with coarse weathered concrete farther away. Metallic elements such as scorched steel fragments are isolated in the metallic channel providing realistic specular reflections that respond dynamically to lighting. Ambient occlusion enhances shadowed recesses within the crater and crevices formed by the shockwave pattern adding spatial depth and grounding the texture convincingly in 3D space.
Designed for photorealistic 3D applications this texture is optimized for use in Blender Unreal Engine and Unity supporting high-fidelity renders and real-time workflows alike. The 8k resolution ensures that fine details including explosive residue incendiary sparks and drifting smoke trails remain crisp even under close inspection. The texture tiles seamlessly allowing for scalable environments without visible repetition artifacts. The subtle thermal glow effect is encoded to work with emissive materials simulating lingering heat and enhancing visual storytelling in destructive or explosive scenes.
For practical implementation it is recommended to carefully adjust the UV scale to maintain the realism of the crater size relative to the scene and to fine-tune the roughness values to balance between burnt glossy metal fragments and matte concrete areas. Additionally blending height and normal maps can create enhanced parallax effects adding an impression of depth to the blast crater and shockwave cracks which significantly improves immersion in close-up shots or VR experiences.
Import the texture maps into Blender with sRGB color space for albedo/base color and Non-Color for normal, roughness, metallic, AO, height, and ORM maps. Connect normal maps through a Normal Map node, then adjust UV scale with a Mapping node so the material repeats naturally on your model.
For the full step-by-step setup, see How to Use Seamless Textures in Blender. Browse related material examples in wood, concrete, and metal.
Yes. This texture is designed as a seamless tileable PBR material, so it can repeat across large surfaces without visible borders.
You can download PNG/WEBP versions and use 1K, 2K, 4K and 8K download options when available on the page.
Yes. The download options and engine-mapped ZIP workflow are designed for Blender, Unreal Engine, Unity Standard, URP and HDRP material pipelines.
Yes. The texture is available under the AITextured free commercial license. Review the license page for redistribution and AI-training restrictions.

Build, preview, and export seamless PBR materials. Generate full map sets from a single image, inspect them in a real-time WebGL viewer, and re-package maps for Unreal, Unity, and Blender—directly in your browser.
AI text-to-texture: type a prompt and get a seamless, tileable base image ready for PBR workflows (great starting point for materials).
Create a full PBR set (Normal, Roughness, AO, Metallic, etc.) from a single image. Seamless and tiling-friendly.
Instant WebGL viewer: inspect materials on a sphere, plane, and cube. Check tiling and lighting in real time.
Re-packages maps per engine: Unreal (BaseColor + ORM), Unity (Mask/MetallicSmoothness), Blender (separate channels).
PNG ↔ JPG ↔ SVG: fast convert, SVG rasterize, embed/trace options, quality & background controls.