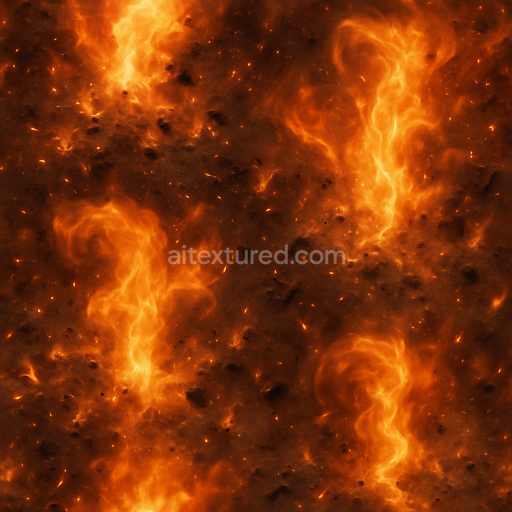
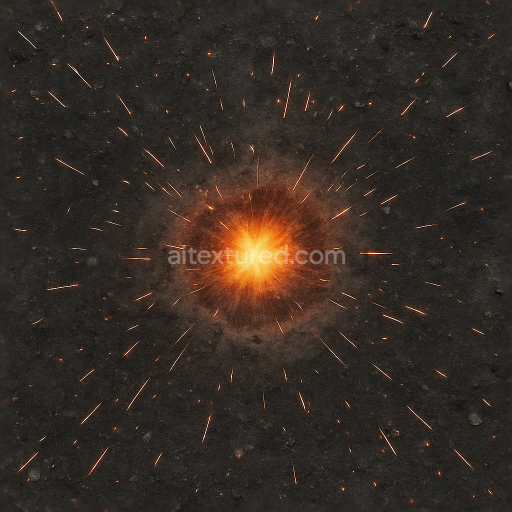
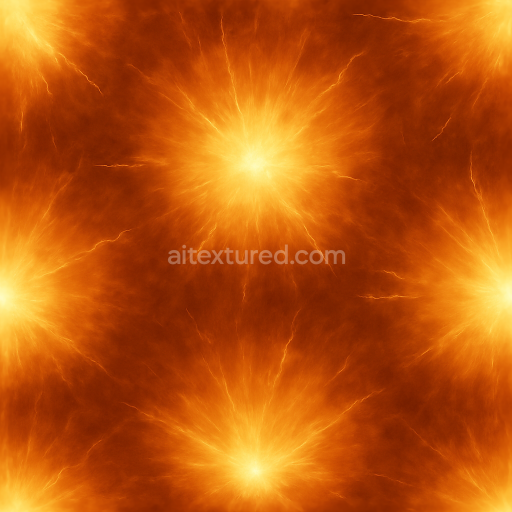
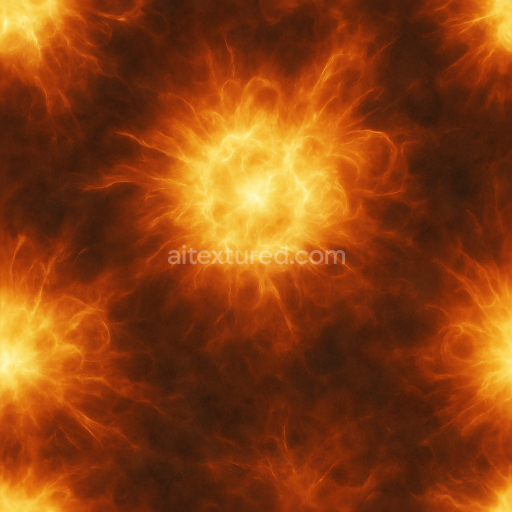
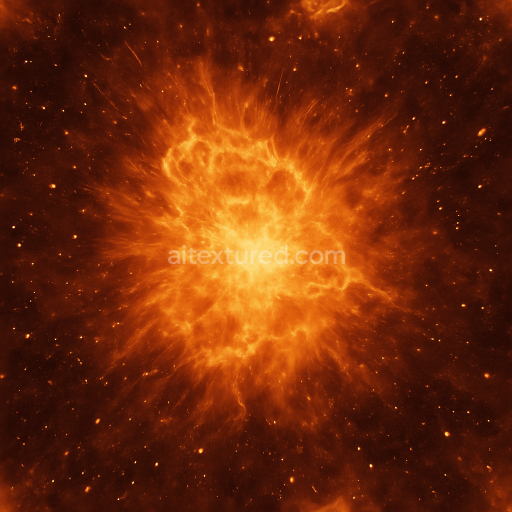
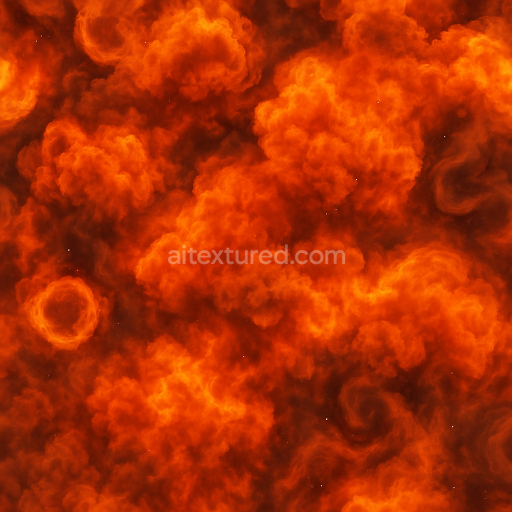
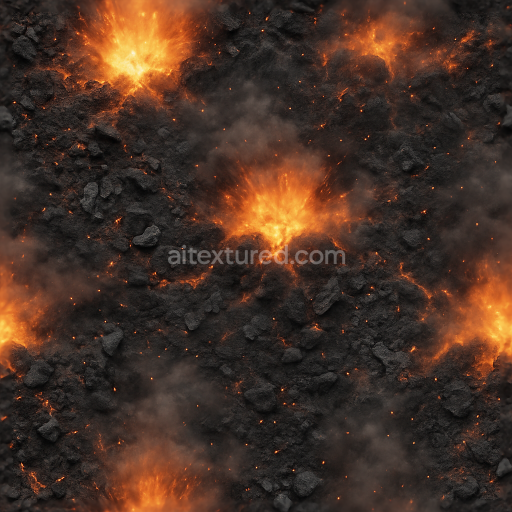
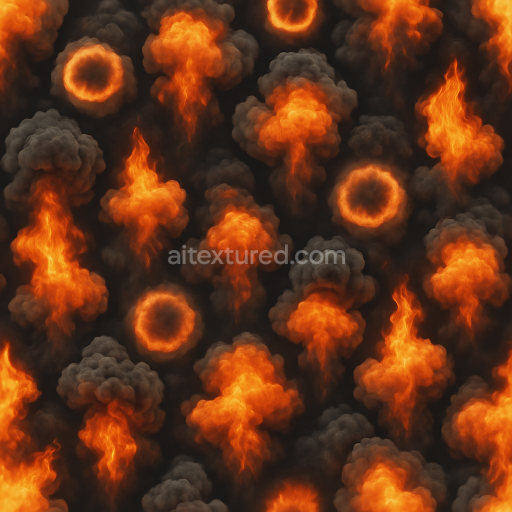
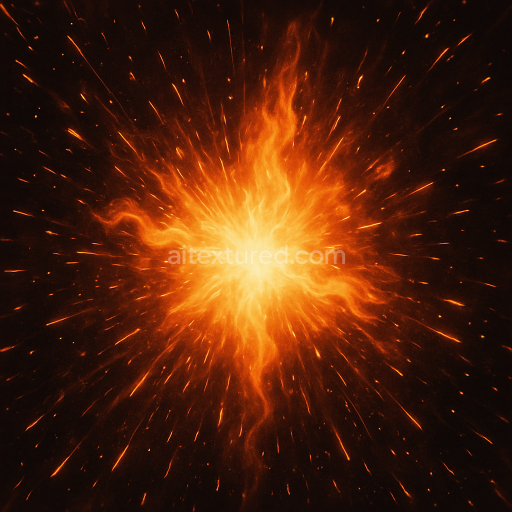
Showing Explosive Ignition With Firestorm And Burning Fragments In Detailed 8K PBR
Seamless texture (tileable) · PNG, WEBP, PBR ZIP. License: AITextured Free Commercial License (FCL) v1.1. Free personal and commercial use. Raw resale, standalone redistribution, mirroring/scraping, competing asset packs, and AI/ML training are not allowed without written permission. Attribution is not required, but appreciated..

| ID | seamless-8k-pbr-3d-texture-of-blast-damage-with-ignition-source-and-burn-marks-details |
|---|---|
| Category | Explosion |
| Formats | PNG, WEBP, PBR ZIP |
| Size | 1k (1024x1024px), 2k (2048x2048px), 4k (4096x4096px), 8k (8192x8192px) |
| Color | sRGB |
| Tileable | Yes |
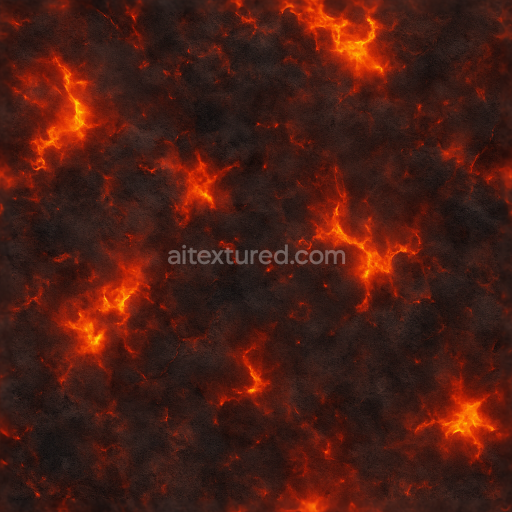
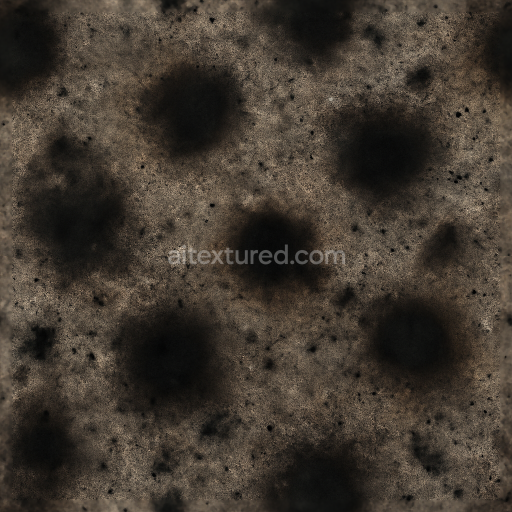
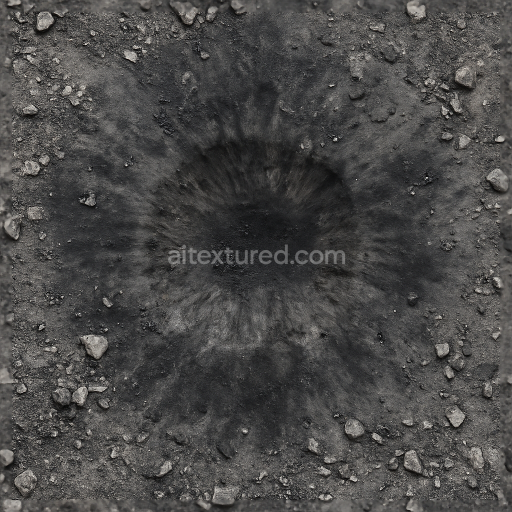
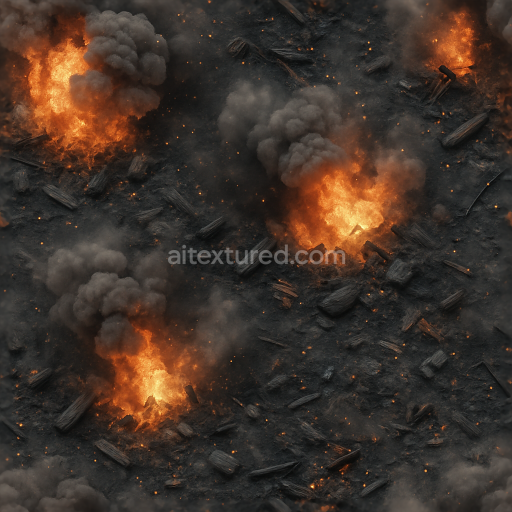
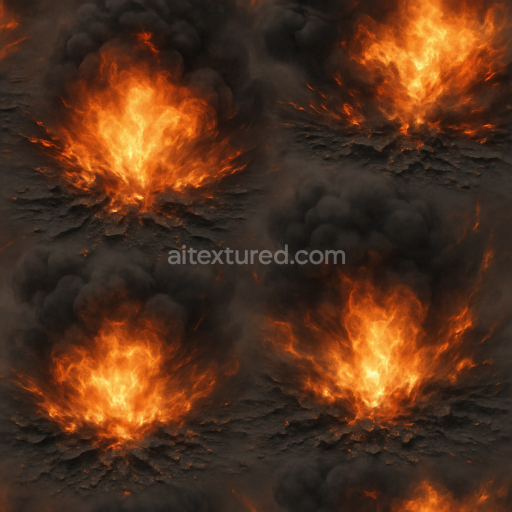
This seamless 8k PBR 3D texture captures the intricate aftermath of intense blast damage characterized by a complex substrate resembling scorched concrete or aged metal panels warped by explosive forces. The base material appears as a dense fractured composite with a rough uneven surface exhibiting cracks and pits formed from the explosion’s impact. The geometric form follows an irregular fractured pattern where shards and debris-like shapes overlap creating a natural chaotic tessellation ideal for simulating damaged industrial surfaces or battle-worn environments. Embedded within the substrate are layers of explosive powder residues and charred binders which contribute to the surface’s granular texture and subtle porosity hinting at localized erosion and material burnout.
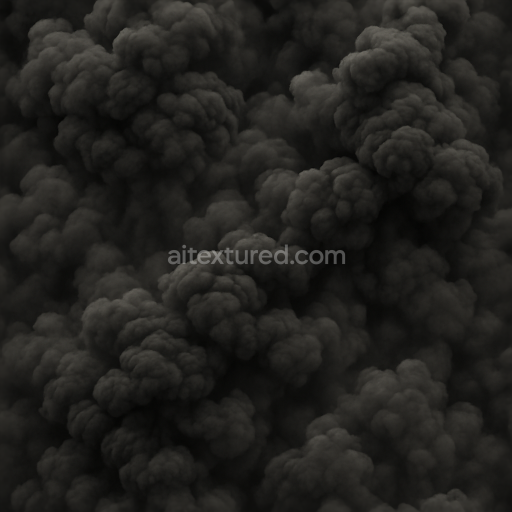
The surface finish is predominantly oxidized and heavily weathered with areas of blistering and peeling revealing darker burnt layers beneath a faded ashen outer coating. Burn marks and ignition sources manifest as highly detailed discolorations and soot deposits blending organically with the underlying material’s roughness and height variations. These features are enhanced through the texture’s diverse color palette incorporating muted grays blacks burnt oranges and deep reds achieved via pigment scattering that mimics combustion staining and thermal degradation. The presence of combustion smoke and flame jets introduces dynamic visual interest reflected in subtle emissive cues and high-contrast normal map details that simulate flame-induced surface warping and billowing smoke patterns.
From a PBR workflow perspective the BaseColor (Albedo) channel accurately conveys the burned and oxidized pigments without baked lighting preserving color fidelity under various environmental conditions. The Normal map delivers fine-grained surface detail capturing cracks debris edges and flame jet indentations enhancing depth perception. Roughness values vary across the surface to represent smooth melted metal areas juxtaposed with gritty powdery explosive residues while the Metallic channel remains low to moderate reflecting a predominantly non-metallic composite with sporadic metal fragments. Ambient Occlusion adds realistic shadowing within cracks and crevices amplifying the texture’s three-dimensionality. Height and Displacement maps provide precise elevation data for simulating surface deformation caused by blast pressure and flame erosion ideal for parallax or tessellation techniques.
Rendered at 8k resolution this texture ensures exceptional clarity and detail when applied to large-scale models or close-up shots fully optimized for use in Blender Unreal Engine and Unity. Its seamless tiling capability allows for expansive surface coverage without visible repetition making it suitable for environments requiring photorealistic explosion aftermath effects. For practical application adjusting UV scale to match the scale of damage features is recommended alongside fine-tuning roughness to control the balance between charred matte regions and glossy melted patches. Blending height and normal maps carefully can further enhance the illusion of depth and surface complexity ensuring a convincing representation of blast-induced destruction in 3D scenes.
Import the texture maps into Blender with sRGB color space for albedo/base color and Non-Color for normal, roughness, metallic, AO, height, and ORM maps. Connect normal maps through a Normal Map node, then adjust UV scale with a Mapping node so the material repeats naturally on your model.
For the full step-by-step setup, see How to Use Seamless Textures in Blender. Browse related material examples in wood, concrete, and metal.
Yes. This texture is designed as a seamless tileable PBR material, so it can repeat across large surfaces without visible borders.
You can download PNG/WEBP versions and use 1K, 2K, 4K and 8K download options when available on the page.
Yes. The download options and engine-mapped ZIP workflow are designed for Blender, Unreal Engine, Unity Standard, URP and HDRP material pipelines.
Yes. The texture is available under the AITextured free commercial license. Review the license page for redistribution and AI-training restrictions.

Build, preview, and export seamless PBR materials. Generate full map sets from a single image, inspect them in a real-time WebGL viewer, and re-package maps for Unreal, Unity, and Blender—directly in your browser.
AI text-to-texture: type a prompt and get a seamless, tileable base image ready for PBR workflows (great starting point for materials).
Create a full PBR set (Normal, Roughness, AO, Metallic, etc.) from a single image. Seamless and tiling-friendly.
Instant WebGL viewer: inspect materials on a sphere, plane, and cube. Check tiling and lighting in real time.
Re-packages maps per engine: Unreal (BaseColor + ORM), Unity (Mask/MetallicSmoothness), Blender (separate channels).
PNG ↔ JPG ↔ SVG: fast convert, SVG rasterize, embed/trace options, quality & background controls.