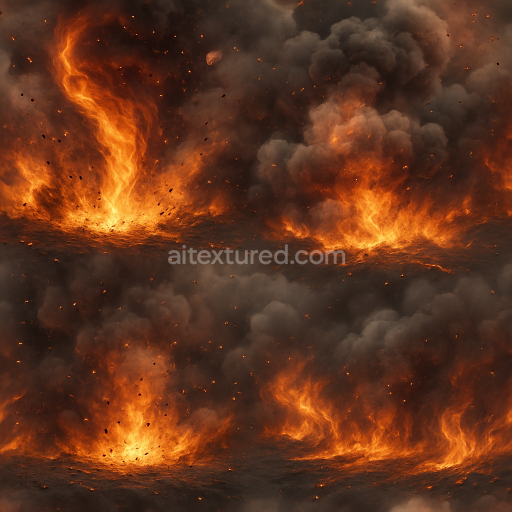
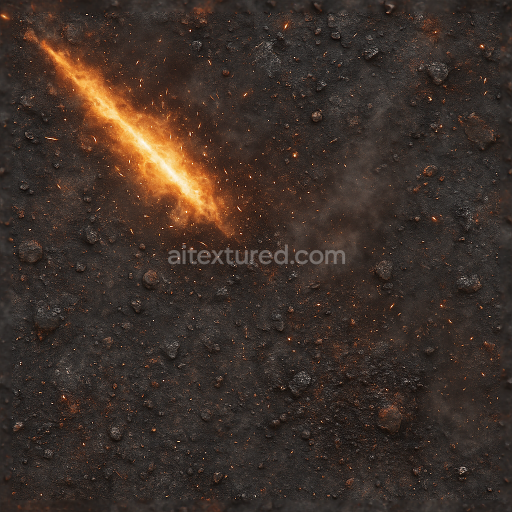
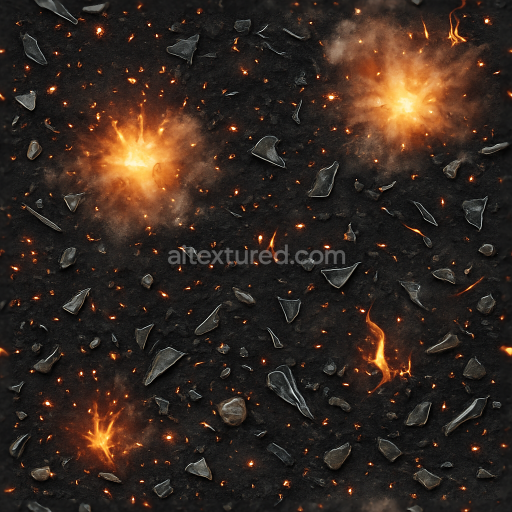
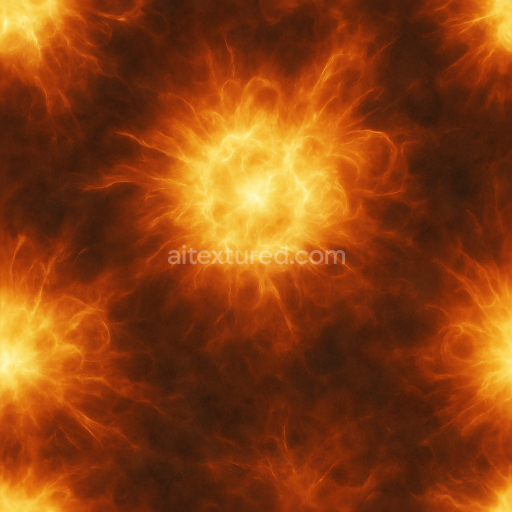
Seamless 8K PBR 3D texture of fire vortex with burning debris and explosion shock
Seamless texture (tileable) · PNG, WEBP, PBR ZIP. License: AITextured Free Commercial License (FCL) v1.1. Free personal and commercial use. Raw resale, standalone redistribution, mirroring/scraping, competing asset packs, and AI/ML training are not allowed without written permission. Attribution is not required, but appreciated..

| ID | seamless-3d-texture-of-flash-smoke-and-fire-plume-from-sudden-explosion-in-crisp-8k-pbr-quality |
|---|---|
| Category | Explosion |
| Formats | PNG, WEBP, PBR ZIP |
| Size | 1k (1024x1024px), 2k (2048x2048px), 4k (4096x4096px), 8k (8192x8192px) |
| Color | sRGB |
| Tileable | Yes |
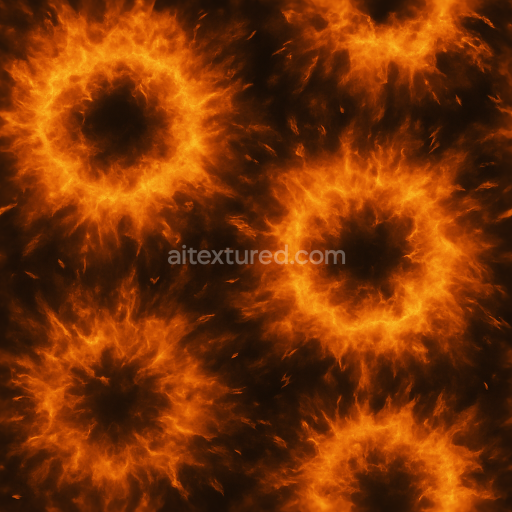
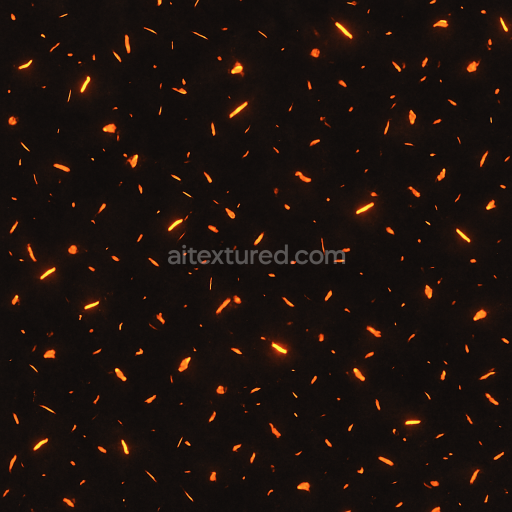
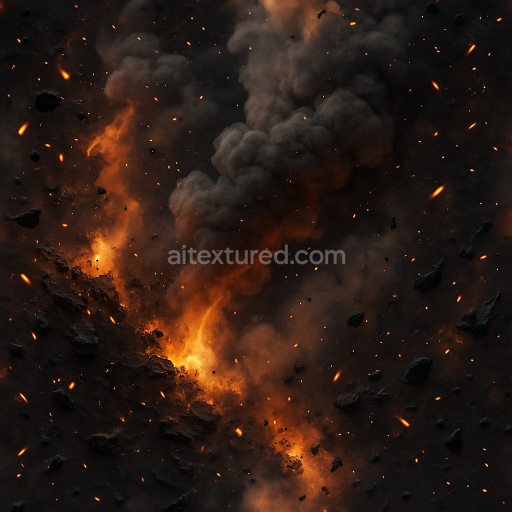
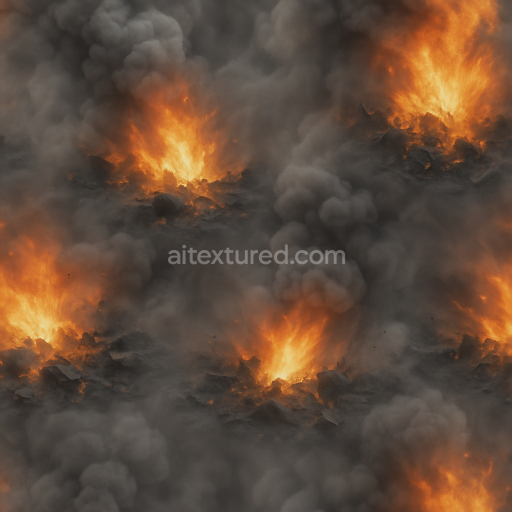
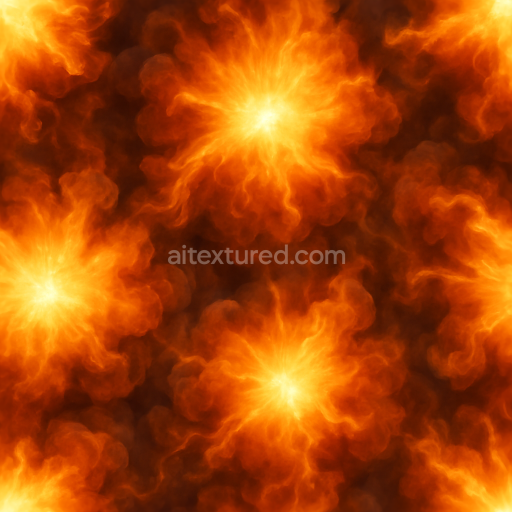
This seamless 3D texture captures the intricate interplay of flash smoke and fire plume generated by a sudden intense explosion. The base material suggests a dynamic composite of volatile gaseous emissions and incandescent particulate matter suspended in turbulent air. Visually this forms a swirling smoke ring and fiery tongues that radiate outward resembling a transient fire cloud with embedded thermal scorch patterns. The geometric form is complex and amorphous characterized by soft flowing contours and layered wisps that simulate the chaotic expansion of smoke and flame. The texture’s surface finish is matte with subtle translucency replicating the diffused light scattering through smoke particles while the fire tongues exhibit a semi-glossy glowing aspect that conveys incandescence and heat.*
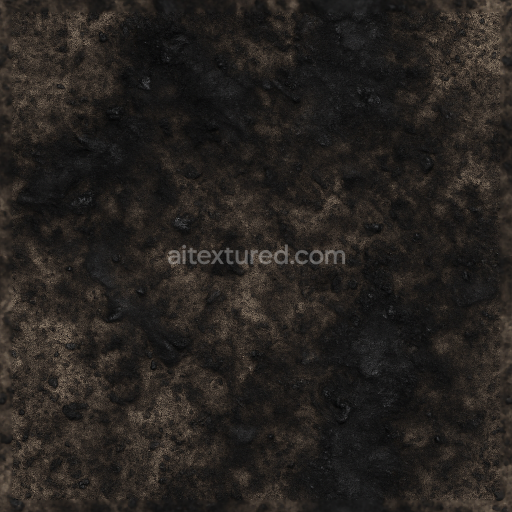
From a materials perspective the substrate can be interpreted as a dense mixture of fine ash particles and combustion byproducts acting as aggregates bound by transient hot gases and plasma-like binders that rapidly evolve and dissipate. This results in a porous semi-opaque structure with localized variations in density and opacity reflecting the turbulent nature of explosive ignition. Colorants range from deep charred blacks and grays within the smoke ring to vivid oranges reds and yellows in the fiery plume and scorched areas. These pigments create a gradient effect across the texture enhancing depth and realism. Weathering is represented by thermal scorch marks and subtle fading at the edges simulating the cooling and dispersal phases post-explosion.*
In terms of PBR mapping the BaseColor channel accurately conveys the varied albedo of smoke and fire blending smoky grays with fiery hues. The Normal map provides detailed surface irregularities emphasizing billowing smoke curls and the undulating fire tongues adding volumetric depth without excessive geometry. Roughness is finely tuned with higher roughness in dense smoke areas to simulate diffuse light scattering contrasted by lower roughness values on the fire tongues giving a semi-glossy glow effect. The Metallic channel remains minimal or zero as fire and smoke lack metallic properties while Ambient Occlusion accentuates shadowed folds within the smoke ring and fire cloud for enhanced realism. Height or Displacement maps subtly define volumetric height cues enabling parallax effects to mimic the layered three-dimensional nature of the plume.*
Rendered at a crisp 8K resolution this texture ensures exceptional detail and clarity suitable for high-fidelity projects in Blender Unreal Engine and Unity. Its seamless tiling capability allows for scalable application across large surfaces without visible repetition ideal for dynamic environments or visual effects requiring continuous explosive phenomena. For practical usage it is recommended to adjust the UV scale carefully to preserve the natural flow of smoke and fire forms avoiding overly large or small repetitions that can break immersion. Additionally blending height or parallax maps with normals can enhance the volumetric appearance while fine-tuning roughness values helps balance the contrast between matte smoke and glossy flames adapting the texture to different lighting scenarios effectively.
Import the texture maps into Blender with sRGB color space for albedo/base color and Non-Color for normal, roughness, metallic, AO, height, and ORM maps. Connect normal maps through a Normal Map node, then adjust UV scale with a Mapping node so the material repeats naturally on your model.
For the full step-by-step setup, see How to Use Seamless Textures in Blender. Browse related material examples in wood, concrete, and metal.
Yes. This texture is designed as a seamless tileable PBR material, so it can repeat across large surfaces without visible borders.
You can download PNG/WEBP versions and use 1K, 2K, 4K and 8K download options when available on the page.
Yes. The download options and engine-mapped ZIP workflow are designed for Blender, Unreal Engine, Unity Standard, URP and HDRP material pipelines.
Yes. The texture is available under the AITextured free commercial license. Review the license page for redistribution and AI-training restrictions.

Build, preview, and export seamless PBR materials. Generate full map sets from a single image, inspect them in a real-time WebGL viewer, and re-package maps for Unreal, Unity, and Blender—directly in your browser.
AI text-to-texture: type a prompt and get a seamless, tileable base image ready for PBR workflows (great starting point for materials).
Create a full PBR set (Normal, Roughness, AO, Metallic, etc.) from a single image. Seamless and tiling-friendly.
Instant WebGL viewer: inspect materials on a sphere, plane, and cube. Check tiling and lighting in real time.
Re-packages maps per engine: Unreal (BaseColor + ORM), Unity (Mask/MetallicSmoothness), Blender (separate channels).
PNG ↔ JPG ↔ SVG: fast convert, SVG rasterize, embed/trace options, quality & background controls.