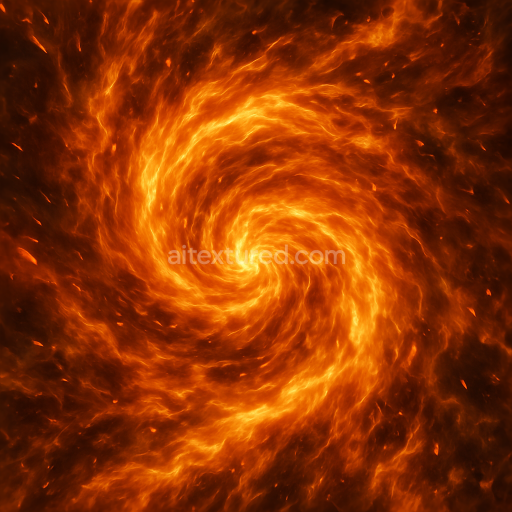
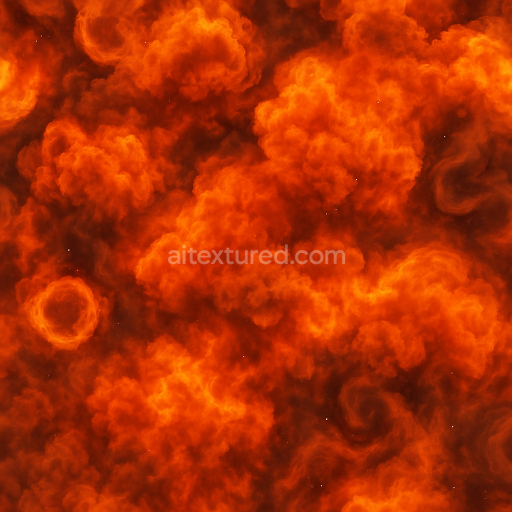
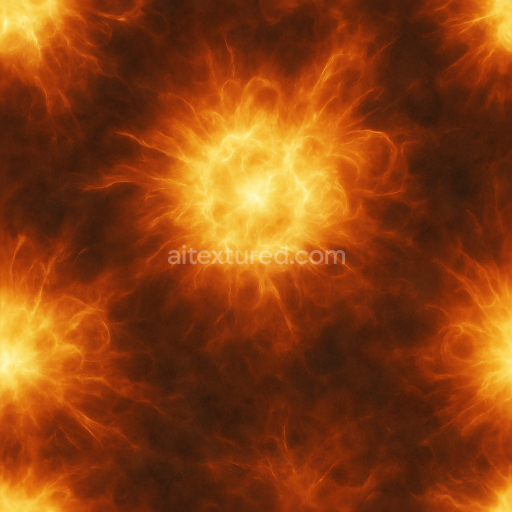
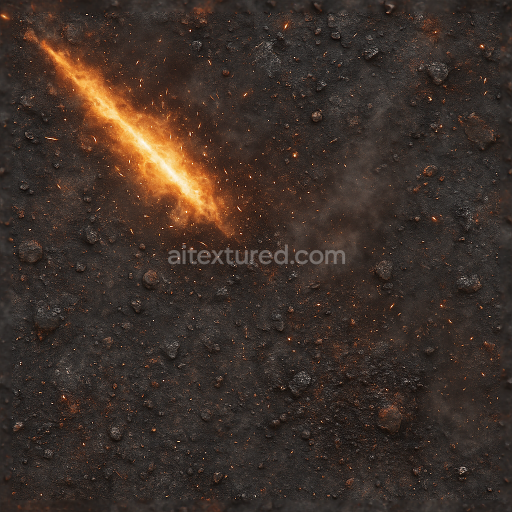
Fire Vortex And Heat Distortion From Intense Explosion In Vivid 8K PBR Detail
Seamless texture (tileable) · PNG, WEBP, PBR ZIP. License: AITextured Free Commercial License (FCL) v1.1. Free personal and commercial use. Raw resale, standalone redistribution, mirroring/scraping, competing asset packs, and AI/ML training are not allowed without written permission. Attribution is not required, but appreciated..

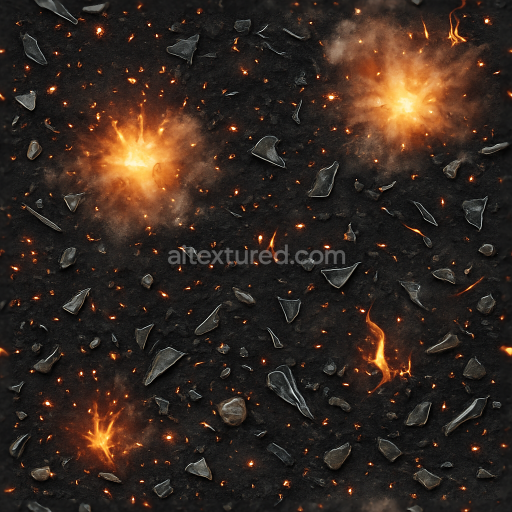
| ID | seamless-8k-pbr-3d-texture-of-explosive-residue-with-incendiary-sparks-and-smoke-trails |
|---|---|
| Category | Explosion |
| Formats | PNG, WEBP, PBR ZIP |
| Size | 1k (1024x1024px), 2k (2048x2048px), 4k (4096x4096px), 8k (8192x8192px) |
| Color | sRGB |
| Tileable | Yes |
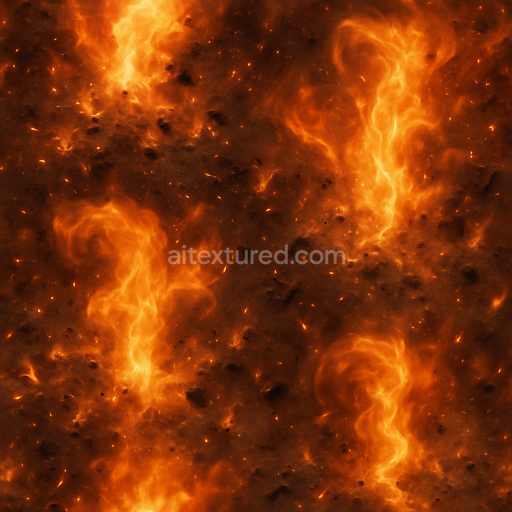
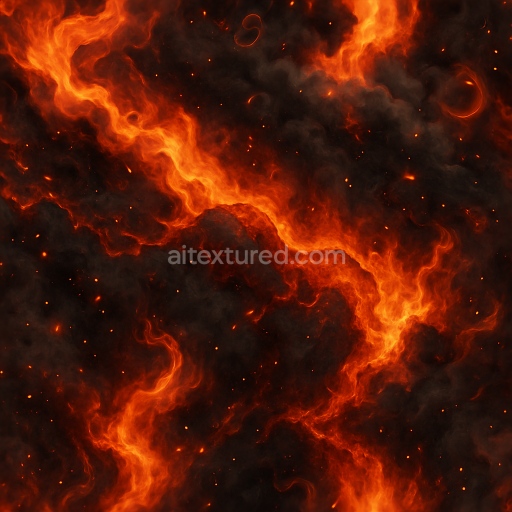
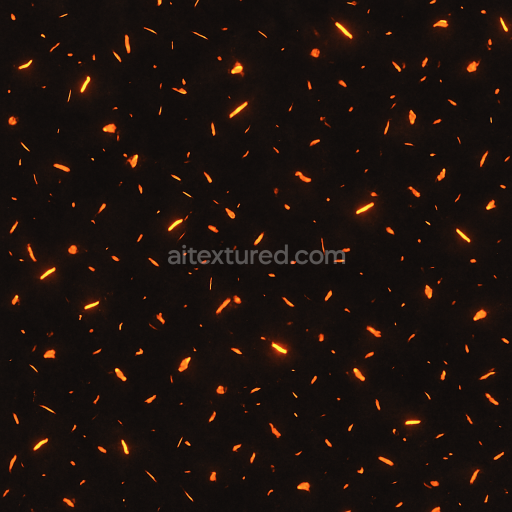
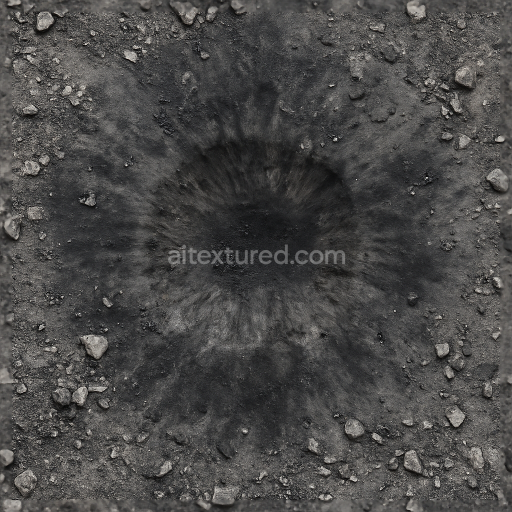
This seamless 8k PBR 3d texture depicts explosive residue layered over a rugged substrate resembling scorched concrete or charred earth. The base material is a dense coarse aggregate interspersed with fine ash and burnt paint fragments creating a heterogeneous surface with variable porosity. The form is irregular and fractured reflecting the chaotic dispersal of debris after detonation. Blackened ground patches contrast against thermal glow zones where residual heat causes subtle emissive effects. Incendiary sparks appear as minute glowing particles embedded within the surface while curling smoke trails suggest transient gaseous residues clinging to depressions and crevices.
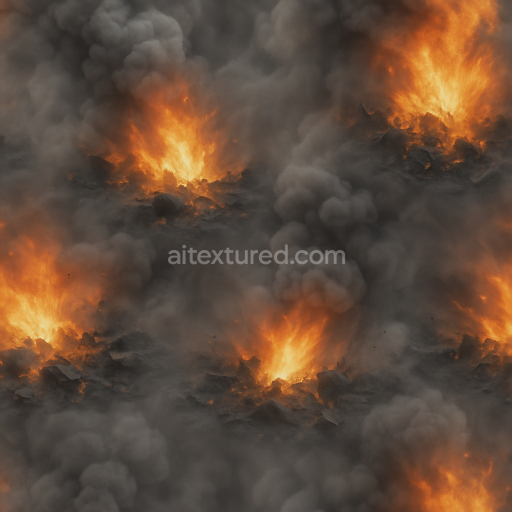
Compositionally the texture combines a matte weathered binder—likely a mix of burnt organic binders and oxidized mineral deposits—with rough aggregates that exhibit fractured grain and micro-cracks. The burnt paint layers introduce localized discoloration and peeling effects adding depth and visual complexity. The surface finish is predominantly oxidized and rough with sporadic glossy highlights where thermal glow and fire embers intensify the light reflection. The detonation flash is represented through sharp high-contrast transitions in color and brightness enhancing the realism of explosive aftermath. These material characteristics translate across the PBR channels: the BaseColor (Albedo) captures the charred blacks deep reds and glowing oranges; the Normal map emphasizes surface irregularities and micro-fractures; Roughness varies to distinguish between matte ash and reflective embers; Metallic is minimal but present in some thermally altered metallic residues; Ambient Occlusion accentuates crevices and depth; Height/Displacement maps define the cracked uneven topography.
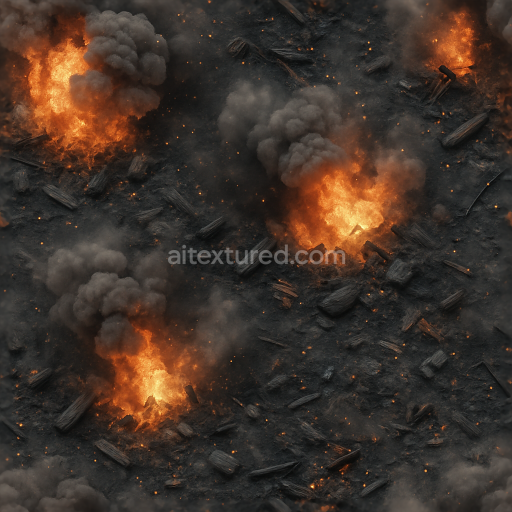
Rendered at 8k resolution this texture ensures exceptional detail and sharpness suitable for close-up views and high-fidelity visualizations. It is fully compatible with Blender Unreal Engine and Unity facilitating seamless integration into diverse pipelines. The texture’s seamless tiling supports expansive terrain or surface applications without visible repetition preserving immersion in explosion aftermath scenes under neutral lighting conditions.
For optimal practical use careful adjustment of the UV scale is recommended to maintain realistic grain size and spark distribution. Additionally fine-tuning the roughness channel can help balance the interplay between matte burnt surfaces and glossy thermal highlights. When using height or displacement maps blending them subtly with normal maps enhances the perception of depth without excessive geometric distortion ensuring efficient rendering performance across real-time and offline platforms.
Import the texture maps into Blender with sRGB color space for albedo/base color and Non-Color for normal, roughness, metallic, AO, height, and ORM maps. Connect normal maps through a Normal Map node, then adjust UV scale with a Mapping node so the material repeats naturally on your model.
For the full step-by-step setup, see How to Use Seamless Textures in Blender. Browse related material examples in wood, concrete, and metal.
Yes. This texture is designed as a seamless tileable PBR material, so it can repeat across large surfaces without visible borders.
You can download PNG/WEBP versions and use 1K, 2K, 4K and 8K download options when available on the page.
Yes. The download options and engine-mapped ZIP workflow are designed for Blender, Unreal Engine, Unity Standard, URP and HDRP material pipelines.
Yes. The texture is available under the AITextured free commercial license. Review the license page for redistribution and AI-training restrictions.

Build, preview, and export seamless PBR materials. Generate full map sets from a single image, inspect them in a real-time WebGL viewer, and re-package maps for Unreal, Unity, and Blender—directly in your browser.
AI text-to-texture: type a prompt and get a seamless, tileable base image ready for PBR workflows (great starting point for materials).
Create a full PBR set (Normal, Roughness, AO, Metallic, etc.) from a single image. Seamless and tiling-friendly.
Instant WebGL viewer: inspect materials on a sphere, plane, and cube. Check tiling and lighting in real time.
Re-packages maps per engine: Unreal (BaseColor + ORM), Unity (Mask/MetallicSmoothness), Blender (separate channels).
PNG ↔ JPG ↔ SVG: fast convert, SVG rasterize, embed/trace options, quality & background controls.