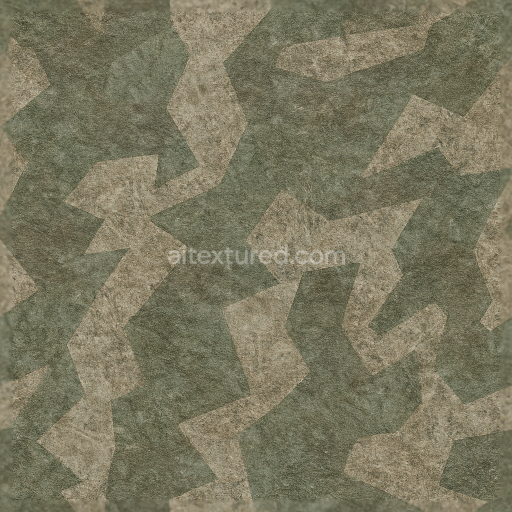
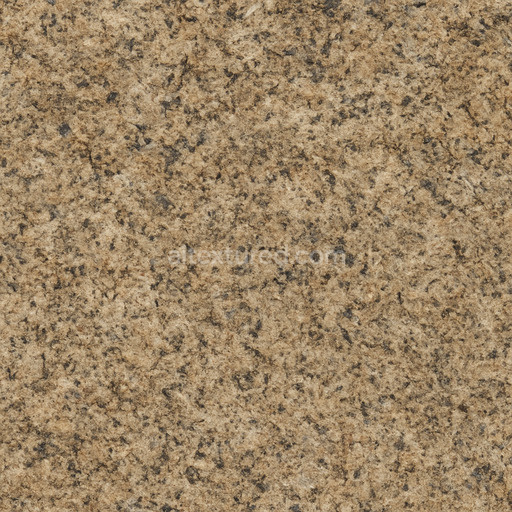
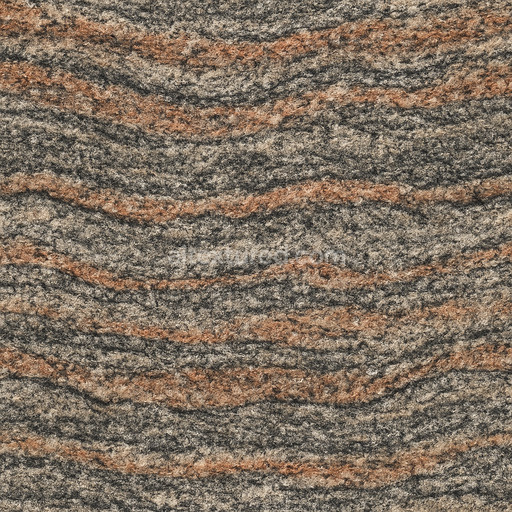
Granite Stone Splinter Camouflage Material
Seamless texture (tileable) · PNG, WEBP, PBR ZIP. License: AITextured Free Commercial License (FCL) v1.1. Free personal and commercial use. Raw resale, standalone redistribution, mirroring/scraping, competing asset packs, and AI/ML training are not allowed without written permission. Attribution is not required, but appreciated..

| ID | seamless-8k-granite-tile-3d-texture-pbr-featuring-granite-chips-and-granite-pores-with-natural-surface-roughness |
|---|---|
| Category | Granite |
| Formats | PNG, WEBP, PBR ZIP |
| Size | 1k (1024x1024px), 2k (2048x2048px), 4k (4096x4096px), 8k (8192x8192px) |
| Color | sRGB |
| Tileable | Yes |
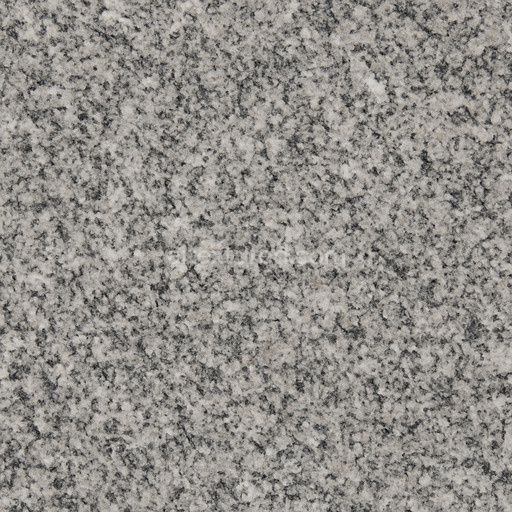
This seamless 8K granite tile 3D texture PBR offers an exquisitely detailed and naturalistic portrayal of granite stone emphasizing the complex composition of granite chips and granite pores embedded within a durable mineral substrate. The tile’s structure predominantly consists of interlocking quartz feldspar and mica crystals which form a dense granular matrix visible across the surface. These mineral grains vary subtly in size and shape contributing to the texture’s authentic unevenness and natural roughness. Fine granite pores and slight micro-fissures simulate natural weathering and erosion adding tactile depth and realism. The surface finish is moderately polished retaining a soft gloss that enhances the stone’s natural coloration—ranging from cool grays to warm earthy tones—without excessive reflectivity thereby preserving the intricate granular patterns and mineral inclusions characteristic of genuine granite tiles.
From a materials science perspective this granite tile texture accurately conveys the physical and optical properties of granite through its PBR channels. The BaseColor (Albedo) map captures heterogeneous coloration and subtle hue variations including environmental staining effects that mimic natural pigmentation in granite surfaces. The Normal map defines the micro-geometry of granite chips and pores enhancing surface relief and depth perception on otherwise flat planes. Roughness maps reveal nuanced surface smoothness with rougher areas accentuating pores and grain boundaries to simulate weathered or unpolished regions authentically. As granite is a non-metallic stone the Metallic channel remains uniformly black. Ambient Occlusion maps emphasize shadowed crevices and recessed grain boundaries improving depth and realism while finely tuned Height/Displacement maps replicate the uneven surface topology for realistic parallax and tessellation effects in modern rendering engines.
Designed for seamless tiling this granite tile 3D texture ensures consistent and natural visual continuity across expansive surfaces making it ideal for architectural visualizations interior design and photorealistic environment creation. Its ultra-high 8K resolution guarantees exceptional detail retention even under close scrutiny perfectly supporting workflows in Blender Unreal Engine and Unity. The combination of high-resolution normal and height data enables advanced shading techniques and physically accurate lighting responses essential for achieving authentic granite tile flooring and wall renderings. For optimal practical use adjusting the UV scale carefully is recommended to preserve fine details when applied to large surfaces. Additionally fine-tuning the roughness channel allows simulation of finishes ranging from polished to honed granite providing versatile options tailored to specific scene requirements. Utilizing both height and normal maps in tandem further enhances surface complexity especially when employing parallax occlusion mapping or tessellation for added realism in real-time engines.
Import the texture maps into Blender with sRGB color space for albedo/base color and Non-Color for normal, roughness, metallic, AO, height, and ORM maps. Connect normal maps through a Normal Map node, then adjust UV scale with a Mapping node so the material repeats naturally on your model.
For the full step-by-step setup, see How to Use Seamless Textures in Blender. Browse related material examples in wood, concrete, and metal.
Yes. This texture is designed as a seamless tileable PBR material, so it can repeat across large surfaces without visible borders.
You can download PNG/WEBP versions and use 1K, 2K, 4K and 8K download options when available on the page.
Yes. The download options and engine-mapped ZIP workflow are designed for Blender, Unreal Engine, Unity Standard, URP and HDRP material pipelines.
Yes. The texture is available under the AITextured free commercial license. Review the license page for redistribution and AI-training restrictions.


Build, preview, and export seamless PBR materials. Generate full map sets from a single image, inspect them in a real-time WebGL viewer, and re-package maps for Unreal, Unity, and Blender—directly in your browser.
AI text-to-texture: type a prompt and get a seamless, tileable base image ready for PBR workflows (great starting point for materials).
Create a full PBR set (Normal, Roughness, AO, Metallic, etc.) from a single image. Seamless and tiling-friendly.
Instant WebGL viewer: inspect materials on a sphere, plane, and cube. Check tiling and lighting in real time.
Re-packages maps per engine: Unreal (BaseColor + ORM), Unity (Mask/MetallicSmoothness), Blender (separate channels).
PNG ↔ JPG ↔ SVG: fast convert, SVG rasterize, embed/trace options, quality & background controls.