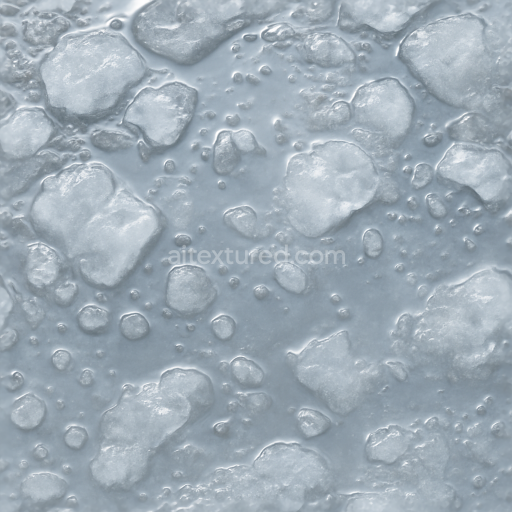
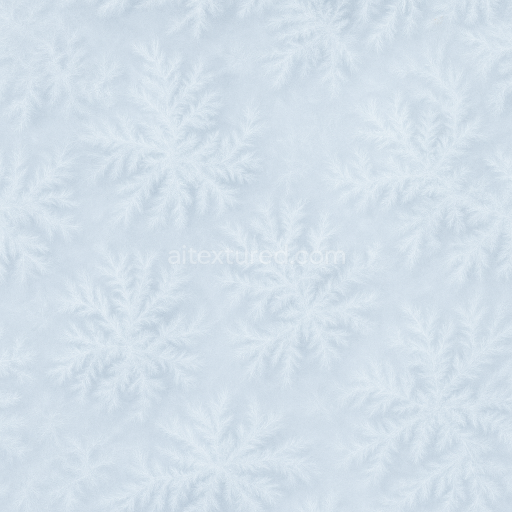
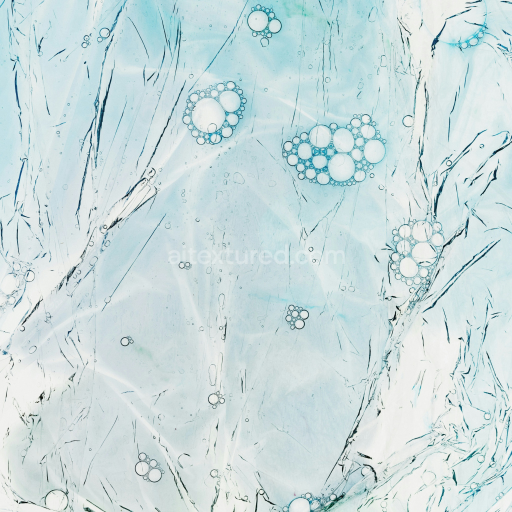
Presenting Melting Ice With Wet Ice And Ice Melt Puddle Details
Seamless texture (tileable) · PNG, WEBP, PBR ZIP. License: AITextured Free Commercial License (FCL) v1.1. Free personal and commercial use. Raw resale, standalone redistribution, mirroring/scraping, competing asset packs, and AI/ML training are not allowed without written permission. Attribution is not required, but appreciated..

| ID | seamless-3d-texture-pbr-8k-frosted-ice-with-ice-crystals-and-icy-frost-glaze |
|---|---|
| Category | Ice |
| Formats | PNG, WEBP, PBR ZIP |
| Size | 1k (1024x1024px), 2k (2048x2048px), 4k (4096x4096px), 8k (8192x8192px) |
| Color | sRGB |
| Tileable | Yes |
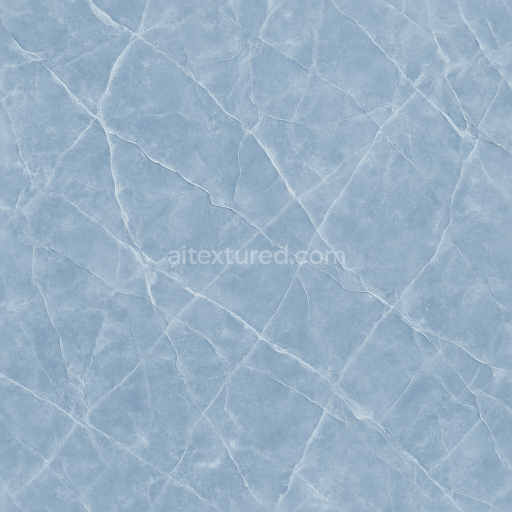
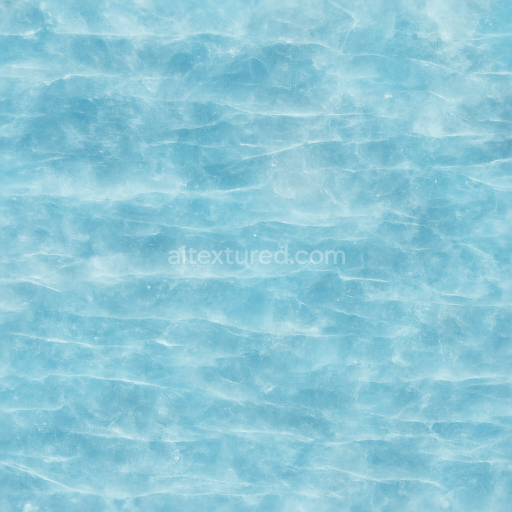
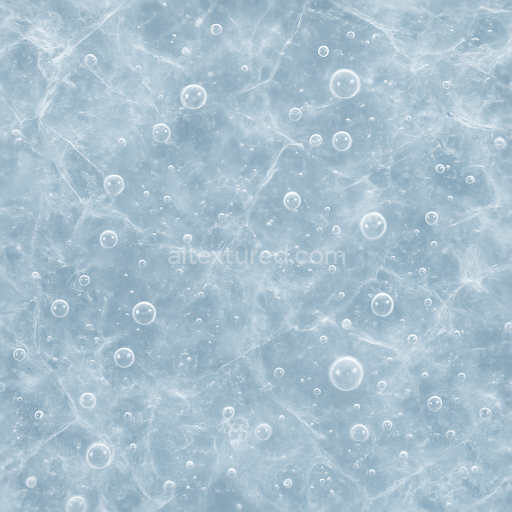
This seamless 3D texture showcases a photorealistic frosted ice surface exquisitely detailed with intricate ice crystals and a delicate icy frost glaze that captures the unique characteristics of early morning ice formation. The base substrate mimics a naturally occurring mineral ice matrix combining a semi-transparent frozen water polymer with microscopic crystalline aggregates. These ice crystals are arranged with fine grain orientation resulting in a continuous richly detailed surface that conveys subtle micro-variation and natural frost layering. The texture’s surface finish balances a smooth icy sheen with a soft bloom effect creating a visually immersive cold atmosphere that enhances visual depth and realism in any winter or frozen environment scene.
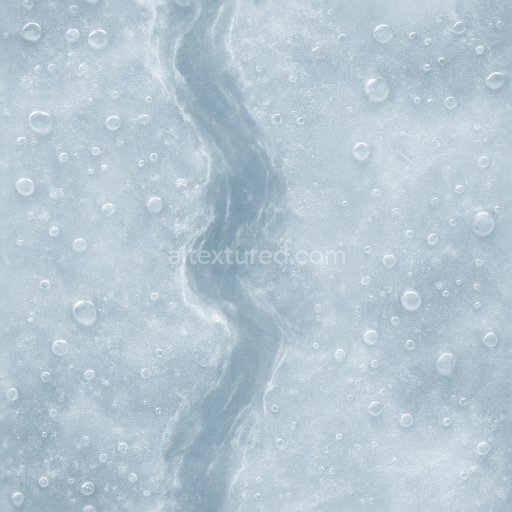
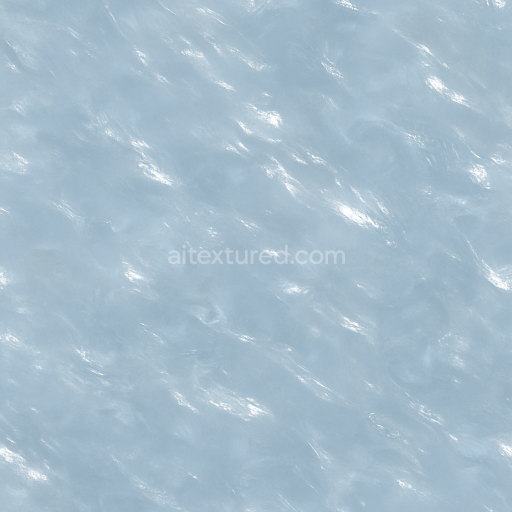
In terms of PBR composition the BaseColor (Albedo) channel reflects a pale translucent icy blue with delicate white frost patterns while the Normal map emphasizes the fine relief of frost crystals and subtle frost glaze layering. The Roughness map captures the interplay between smooth glazed areas and more textured frost patches enabling realistic light scattering and reflections typical of frozen ice. The Metallic channel remains minimal to non-existent as the frozen water surface is non-metallic while Ambient Occlusion adds depth to crevices between ice crystals enhancing subtle shadowing. The Height/Displacement map effectively conveys the micro-relief of the ice crystal formations and the delicate frosting further improving the surface’s tactile quality and realism in 3D renders.
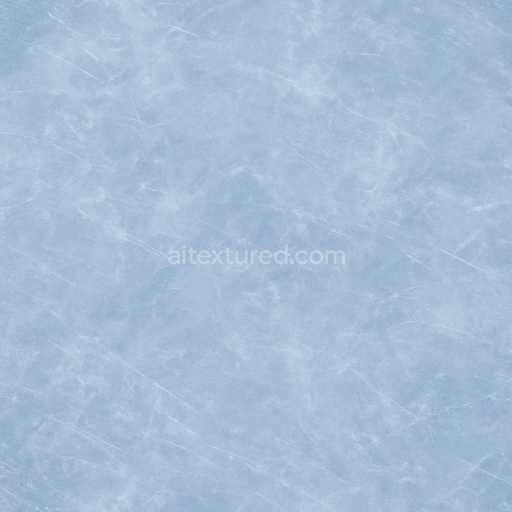
Rendered at an ultra-high 8K resolution this texture is optimized for seamless tiling and is fully compatible with major 3D software such as Blender Unreal Engine and Unity ensuring smooth integration into physically based rendering workflows. When using this texture it’s recommended to adjust the UV scale carefully to avoid repetition artifacts and to fine-tune roughness values to match different lighting conditions—lower roughness for shinier freshly glazed ice or higher roughness for aged weathered frost. This flexibility makes the frosted ice texture highly versatile for realistic environmental effects architectural visualizations and immersive game design projects requiring detailed cold surface materials.
Import the texture maps into Blender with sRGB color space for albedo/base color and Non-Color for normal, roughness, metallic, AO, height, and ORM maps. Connect normal maps through a Normal Map node, then adjust UV scale with a Mapping node so the material repeats naturally on your model.
For the full step-by-step setup, see How to Use Seamless Textures in Blender. Browse related material examples in wood, concrete, and metal.
Yes. This texture is designed as a seamless tileable PBR material, so it can repeat across large surfaces without visible borders.
You can download PNG/WEBP versions and use 1K, 2K, 4K and 8K download options when available on the page.
Yes. The download options and engine-mapped ZIP workflow are designed for Blender, Unreal Engine, Unity Standard, URP and HDRP material pipelines.
Yes. The texture is available under the AITextured free commercial license. Review the license page for redistribution and AI-training restrictions.

Generate, preview, and export seamless PBR materials for Blender, Unity, and Unreal Engine—directly in your browser.
AI text-to-texture: type a prompt and get a seamless, tileable base image ready for PBR workflows (great starting point for materials).
Create a full PBR set (Normal, Roughness, AO, Metallic, etc.) from a single image. Seamless and tiling-friendly.
Instant WebGL viewer: inspect materials on a sphere, plane, and cube. Check tiling and lighting in real time.
Re-packages maps per engine: Unreal (BaseColor + ORM), Unity (Mask/MetallicSmoothness), Blender (separate channels).
PNG ↔ JPG ↔ SVG: fast convert, SVG rasterize, embed/trace options, quality & background controls.