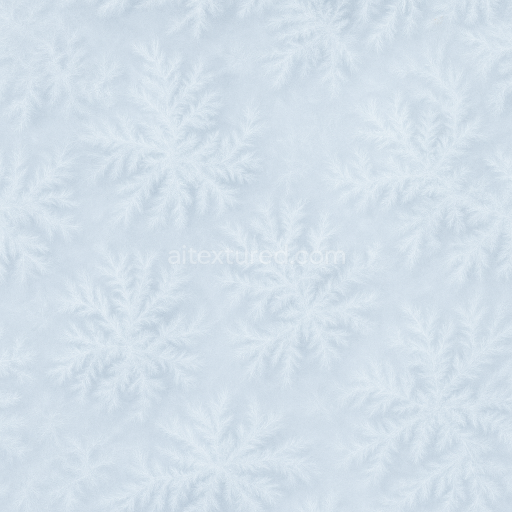
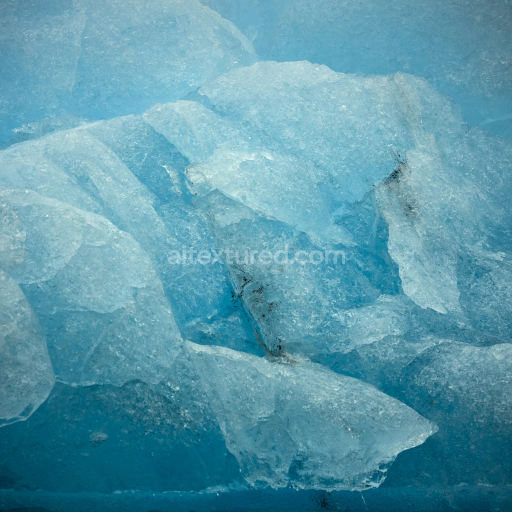
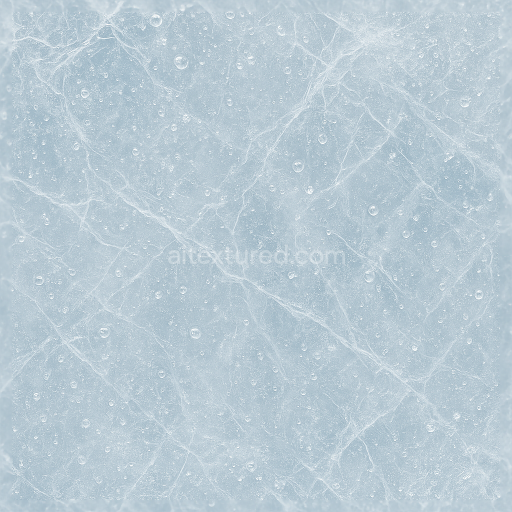
Ice Fog Crystals With Ice Fogging And Icy Fog Rim Effects
Seamless texture (tileable) · PNG, WEBP, PBR ZIP. License: AITextured Free Commercial License (FCL) v1.1. Free personal and commercial use. Raw resale, standalone redistribution, mirroring/scraping, competing asset packs, and AI/ML training are not allowed without written permission. Attribution is not required, but appreciated..

| ID | seamless-3d-texture-pbr-8k-melting-ice-with-wet-ice-and-ice-meltwater-details |
|---|---|
| Category | Ice |
| Formats | PNG, WEBP, PBR ZIP |
| Size | 1k (1024x1024px), 2k (2048x2048px), 4k (4096x4096px), 8k (8192x8192px) |
| Color | sRGB |
| Tileable | Yes |
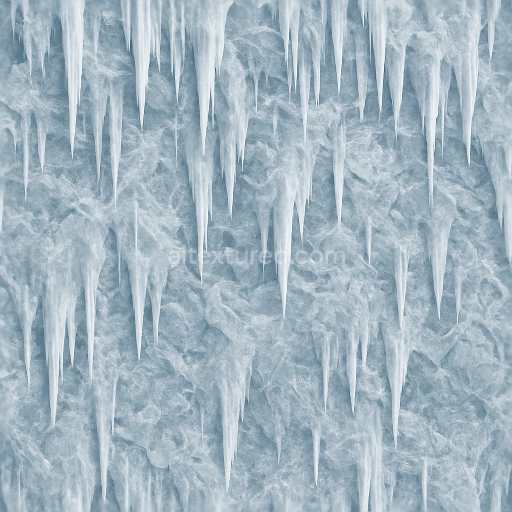
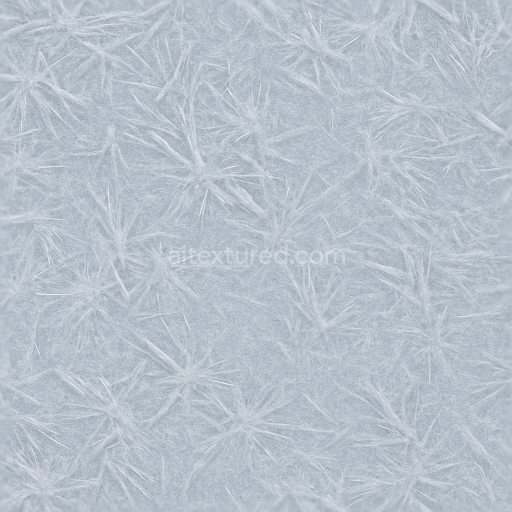
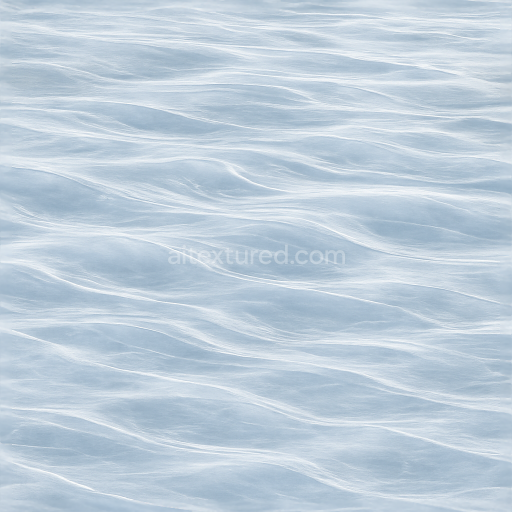
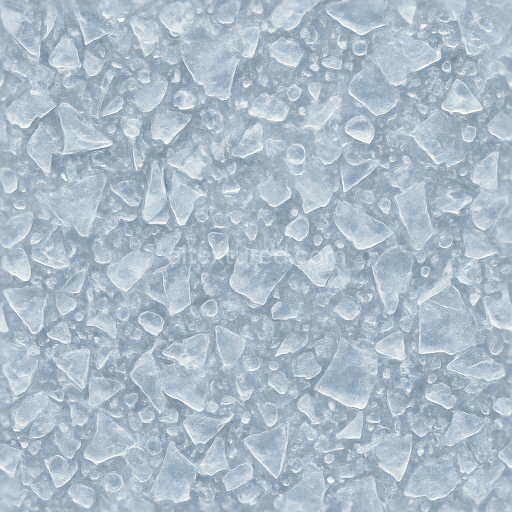
This seamless 3D texture in stunning 8K resolution captures the intricate details of melting ice featuring wet ice surfaces and visible meltwater droplets. Composed primarily of natural crystalline ice as its base substrate the texture conveys the organic structure of ice with subtle porosity and microfractures that arise during the thawing process. The surface finish is distinctly wet and glossy simulating the smooth yet irregular aqueous film formed by accumulated meltwater and thaw droplets. These details are enriched by fine icy ripple effects that suggest ongoing temperature changes in natural environments. The material’s composition includes thin layers of water acting as binders that visually blend with the ice granules creating a convincing transition state between solid ice and liquid meltwater. Colorants are minimal relying on natural translucency with slight blue and white oxide layers that enhance the cold crystalline appearance without overpowering the subtle wetness.*
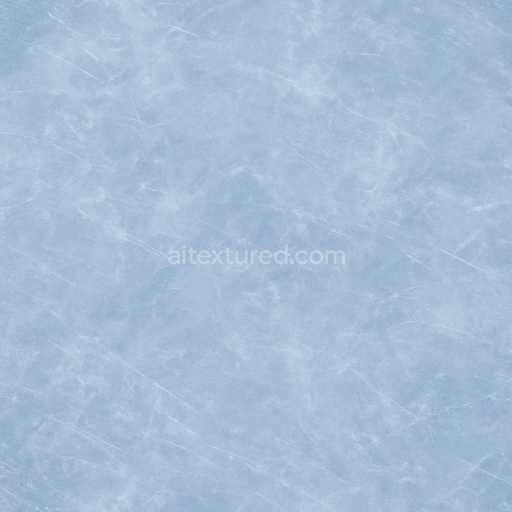
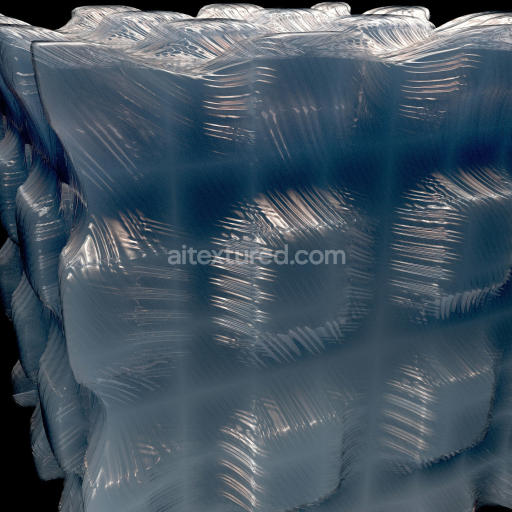
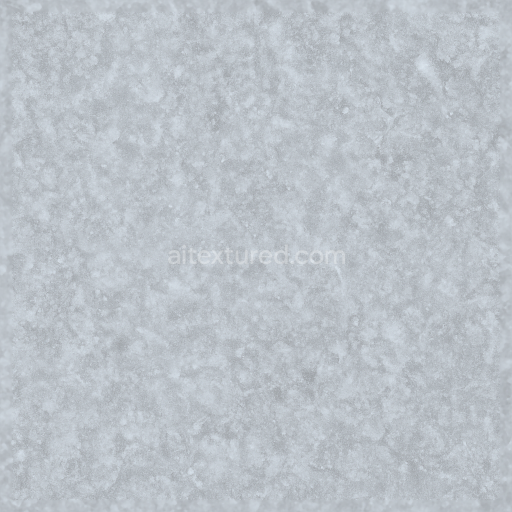
In the PBR workflow this melting ice texture excels across multiple channels to achieve photorealism. The BaseColor (Albedo) map presents a predominantly cool palette with varying hues of icy blues and semi-transparent white reflecting the natural color variations of melting ice and wet surfaces. The Normal map intricately captures the microtopography of the ice crystals combined with the delicate ripple patterns of thaw water adding depth and tactile realism. The Roughness channel is finely tuned to represent the glossy wet ice surfaces where water accumulates contrasting with slightly rougher areas of frost or grainy ice. Metallic values remain near zero as ice and water are non-metallic materials preserving authenticity. Ambient Occlusion subtly enhances crevices and micro-shadows formed by ice fractures and water pooling. Finally the Height/Displacement map provides realistic depth for surface undulations ideal for parallax effects and detailed rendering of the melting transition.*
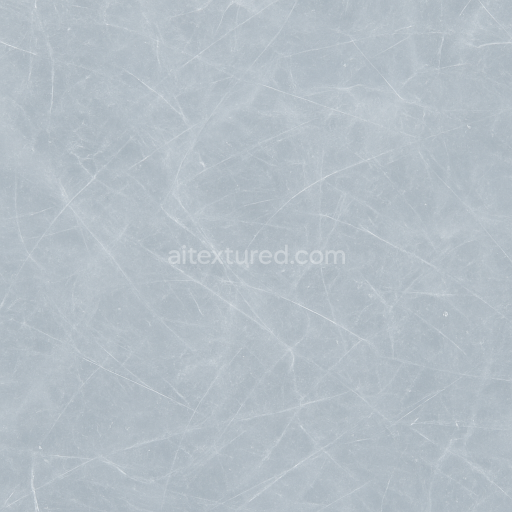
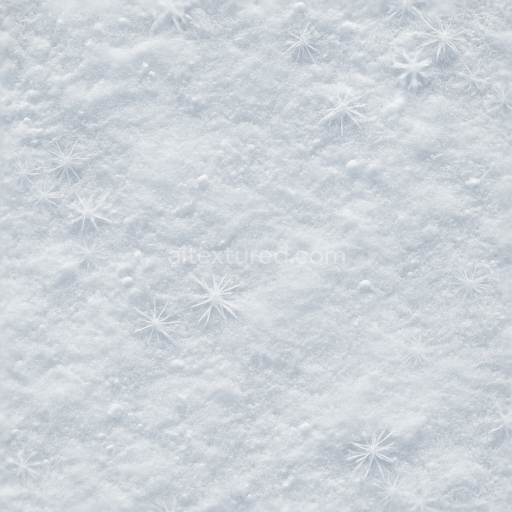
Designed for seamless tiling this texture ensures smooth repetition without visible seams making it ideal for large-scale environments or close-up simulations where realistic ice melting is required. Its 8K resolution guarantees high fidelity and crisp detail fully optimized and ready for use in Blender Unreal Engine and Unity workflows. For practical application adjusting the UV scale to match the environment’s intended size enhances realism while fine-tuning the roughness slider allows users to simulate varying degrees of wetness—from freshly thawed ice with glossy meltwater to drier frostier patches. This makes the texture versatile for natural scene creation weathering effects or scientific simulations involving temperature-driven phase changes on icy surfaces.*
Import the texture maps into Blender with sRGB color space for albedo/base color and Non-Color for normal, roughness, metallic, AO, height, and ORM maps. Connect normal maps through a Normal Map node, then adjust UV scale with a Mapping node so the material repeats naturally on your model.
For the full step-by-step setup, see How to Use Seamless Textures in Blender. Browse related material examples in wood, concrete, and metal.
Yes. This texture is designed as a seamless tileable PBR material, so it can repeat across large surfaces without visible borders.
You can download PNG/WEBP versions and use 1K, 2K, 4K and 8K download options when available on the page.
Yes. The download options and engine-mapped ZIP workflow are designed for Blender, Unreal Engine, Unity Standard, URP and HDRP material pipelines.
Yes. The texture is available under the AITextured free commercial license. Review the license page for redistribution and AI-training restrictions.
Generate, preview, and export seamless PBR materials for Blender, Unity, and Unreal Engine—directly in your browser.
AI text-to-texture: type a prompt and get a seamless, tileable base image ready for PBR workflows (great starting point for materials).
Create a full PBR set (Normal, Roughness, AO, Metallic, etc.) from a single image. Seamless and tiling-friendly.
Instant WebGL viewer: inspect materials on a sphere, plane, and cube. Check tiling and lighting in real time.
Re-packages maps per engine: Unreal (BaseColor + ORM), Unity (Mask/MetallicSmoothness), Blender (separate channels).
PNG ↔ JPG ↔ SVG: fast convert, SVG rasterize, embed/trace options, quality & background controls.