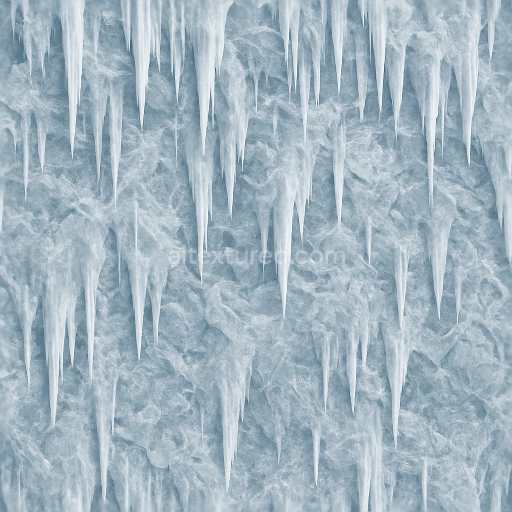
Capturing Clear Ice With Translucent Ice And Ice Bubbles
Seamless texture (tileable) · PNG, WEBP, PBR ZIP. License: AITextured Free Commercial License (FCL) v1.1. Free personal and commercial use. Raw resale, standalone redistribution, mirroring/scraping, competing asset packs, and AI/ML training are not allowed without written permission. Attribution is not required, but appreciated..

| ID | seamless-3d-texture-pbr-8k-frozen-lake-with-ice-fog-haze-and-icy-mist-effects |
|---|---|
| Category | Ice |
| Formats | PNG, WEBP, PBR ZIP |
| Size | 1k (1024x1024px), 2k (2048x2048px), 4k (4096x4096px), 8k (8192x8192px) |
| Color | sRGB |
| Tileable | Yes |
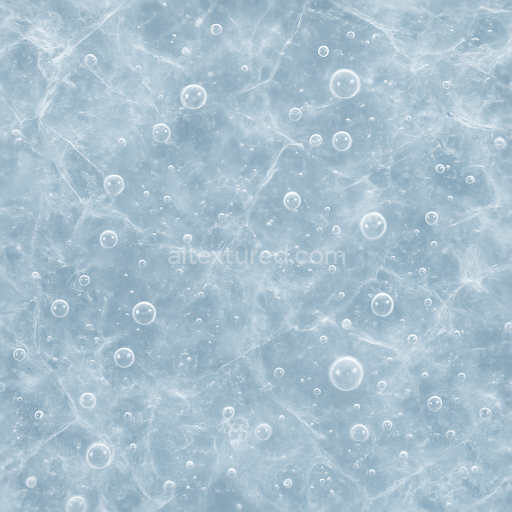
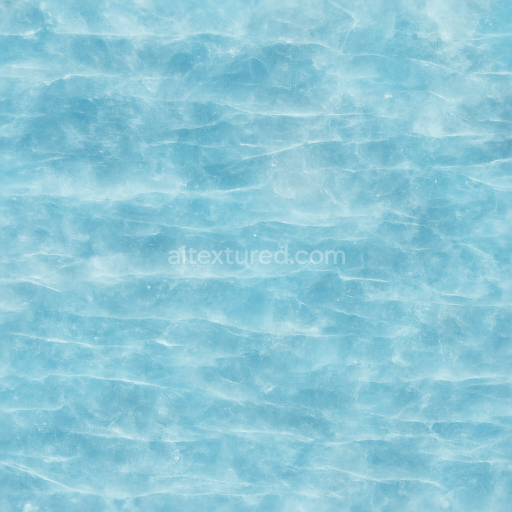
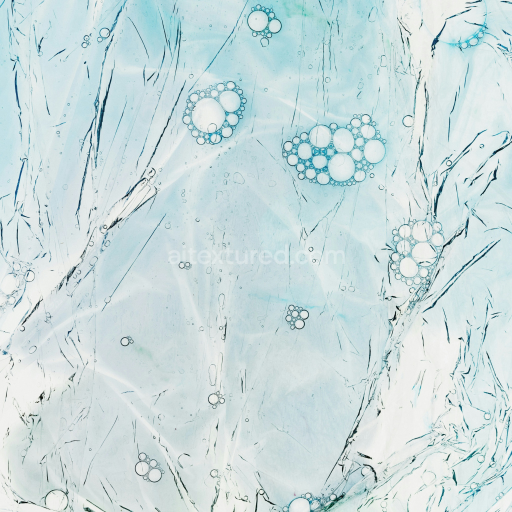
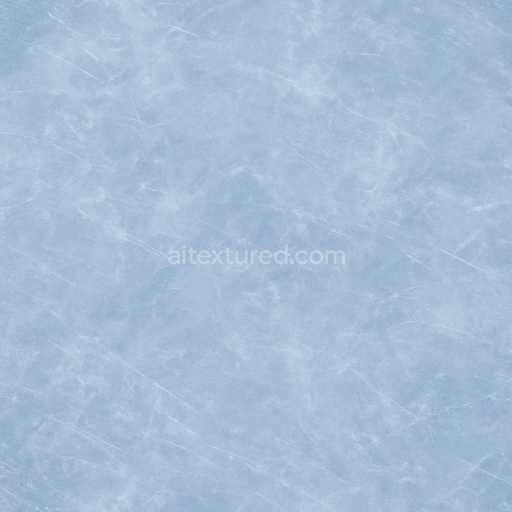
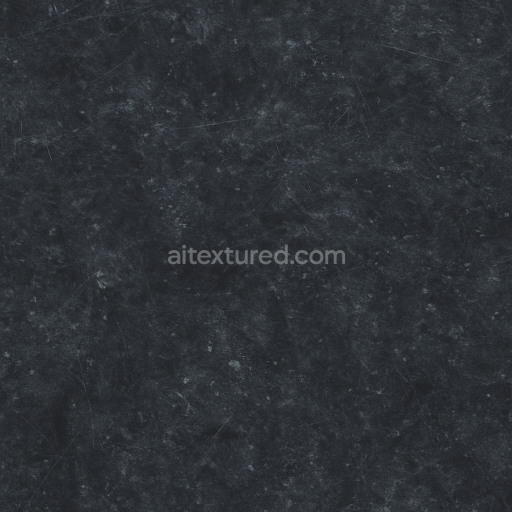
This seamless 3D texture in stunning 8K resolution masterfully replicates the surface of a frozen lake showcasing a delicate interplay of ice fog haze and icy mist effects that evoke a serene cold environment. The base substrate appears as naturally compacted frozen water characterized by a subtle crystalline structure formed from frost and ice crystals. The texture’s composition suggests a smooth yet slightly weathered surface finish with fine frost layers and thin ice sheets creating a visually complex and photorealistic material. The presence of minute ice particles and haze implies microscopic porosity and subtle surface irregularities lending authenticity to the frozen lake’s atmospheric ambiance.
From a PBR perspective the BaseColor/Albedo channel captures the subdued pale blue-gray tones of ice and frost interspersed with faint white highlights where frost crystals catch the light. The Normal map intricately defines the delicate bumps and ridges of ice fog haze and frost patterns enhancing surface detail without overpowering the smoothness typical of frozen water. Roughness is finely tuned to balance between glossy icy patches and diffused matte frost areas delivering realistic light scattering and reflection variability. The Metallic channel remains minimal consistent with the non-metallic organic nature of frozen water while Ambient Occlusion emphasizes subtle shadowing around frost clusters and ice formations. Height and Displacement maps provide precise depth cues to replicate the layered ice and mist effects enriching the texture's dimensionality in 3D environments.
Designed for seamless tiling this texture ensures no visible seams when applied over large surfaces making it ideal for expansive winter or arctic scene visualizations. It is fully optimized and ready for use in Blender Unreal Engine and Unity supporting photorealistic rendering workflows. For best results adjusting the UV scale to a moderately fine level is recommended allowing the intricate frost and haze details to retain clarity without appearing overly repetitive. Additionally fine-tuning the roughness parameter can help simulate varying ice conditions—from freshly frozen smoothness to weathered frost buildup—enhancing realism according to the scene’s atmospheric needs.
Import the texture maps into Blender with sRGB color space for albedo/base color and Non-Color for normal, roughness, metallic, AO, height, and ORM maps. Connect normal maps through a Normal Map node, then adjust UV scale with a Mapping node so the material repeats naturally on your model.
For the full step-by-step setup, see How to Use Seamless Textures in Blender. Browse related material examples in wood, concrete, and metal.
Yes. This texture is designed as a seamless tileable PBR material, so it can repeat across large surfaces without visible borders.
You can download PNG/WEBP versions and use 1K, 2K, 4K and 8K download options when available on the page.
Yes. The download options and engine-mapped ZIP workflow are designed for Blender, Unreal Engine, Unity Standard, URP and HDRP material pipelines.
Yes. The texture is available under the AITextured free commercial license. Review the license page for redistribution and AI-training restrictions.


Generate, preview, and export seamless PBR materials for Blender, Unity, and Unreal Engine—directly in your browser.
AI text-to-texture: type a prompt and get a seamless, tileable base image ready for PBR workflows (great starting point for materials).
Create a full PBR set (Normal, Roughness, AO, Metallic, etc.) from a single image. Seamless and tiling-friendly.
Instant WebGL viewer: inspect materials on a sphere, plane, and cube. Check tiling and lighting in real time.
Re-packages maps per engine: Unreal (BaseColor + ORM), Unity (Mask/MetallicSmoothness), Blender (separate channels).
PNG ↔ JPG ↔ SVG: fast convert, SVG rasterize, embed/trace options, quality & background controls.