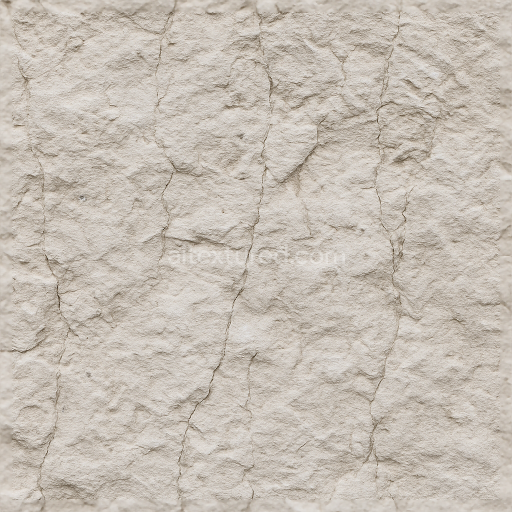
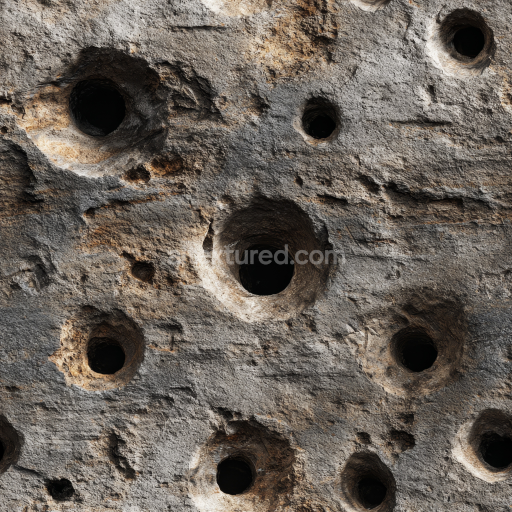
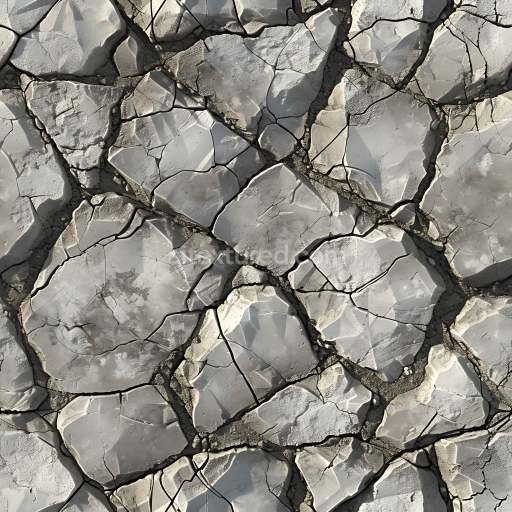
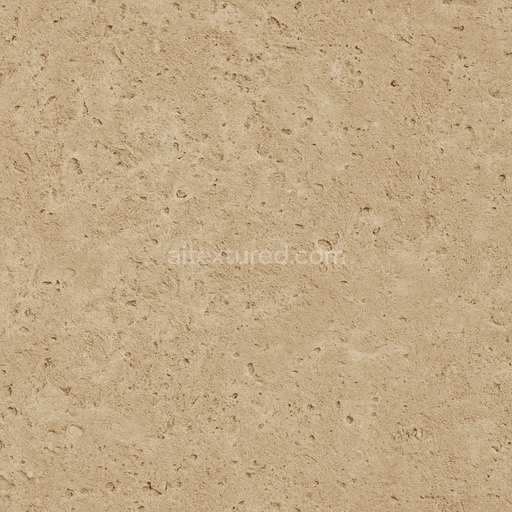
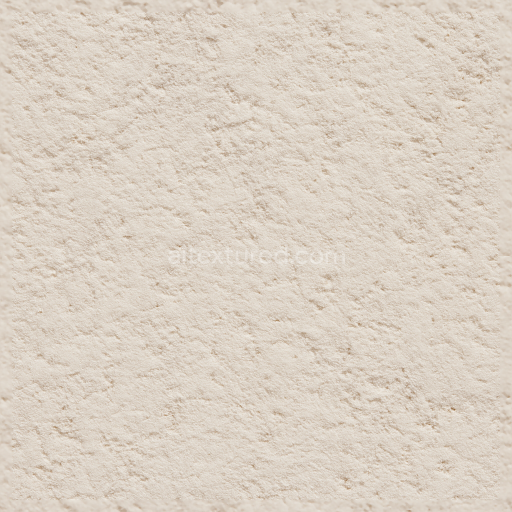
Chalk Sedimentary Rock Porous Stone Weathered Stone Rough
Seamless texture (tileable) · PNG, WEBP, PBR ZIP. License: AITextured Free Commercial License (FCL) v1.1. Free personal and commercial use. Raw resale, standalone redistribution, mirroring/scraping, competing asset packs, and AI/ML training are not allowed without written permission. Attribution is not required, but appreciated..

| ID | seamless-3d-texture-pbr-8k-andesite-dark-rough-volcanic-stone-surface |
|---|---|
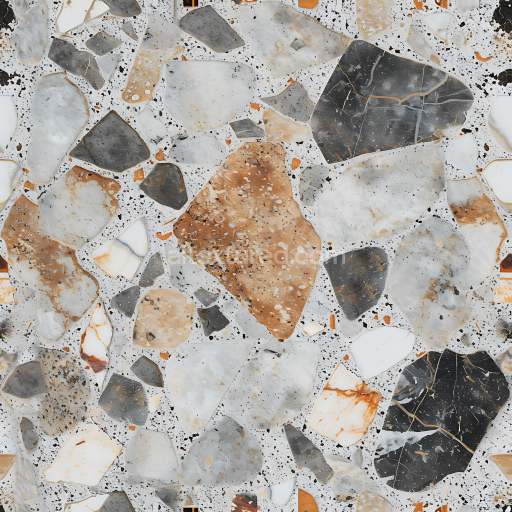
| Category | Stone |
| Formats | PNG, WEBP, PBR ZIP |
| Size | 1k (1024x1024px), 2k (2048x2048px), 4k (4096x4096px), 8k (8192x8192px) |
| Color | sRGB |
| Tileable | Yes |
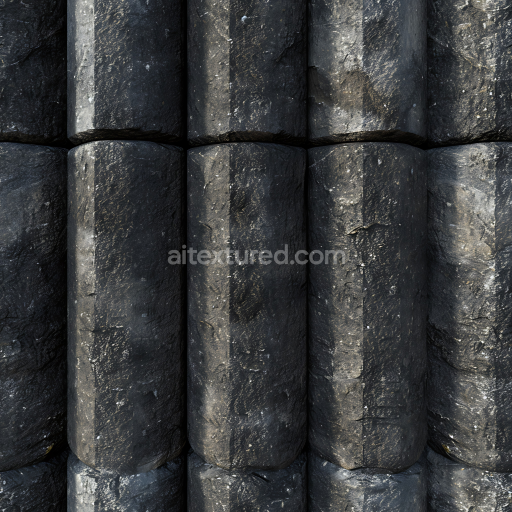
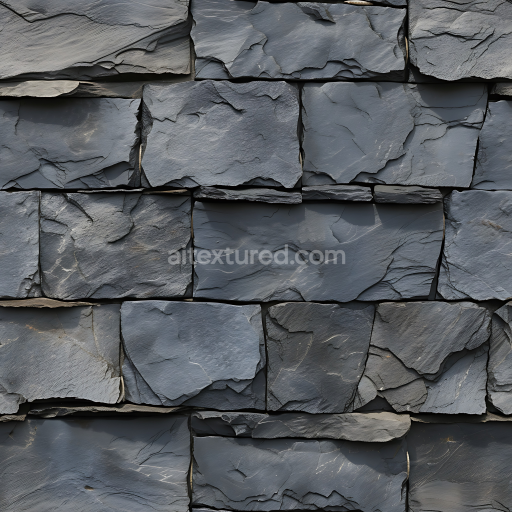
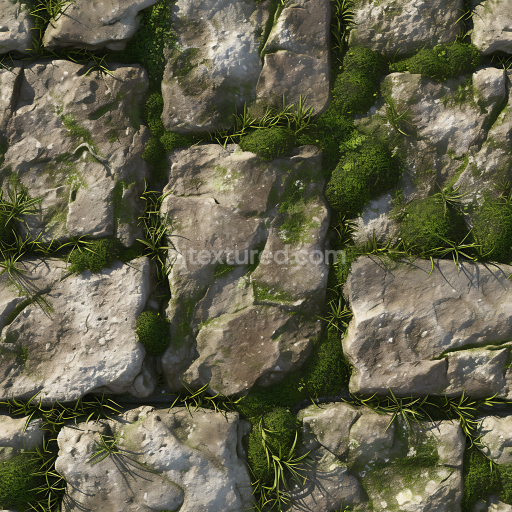
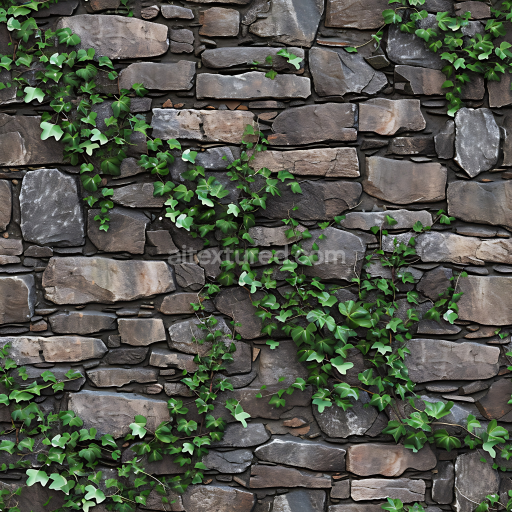
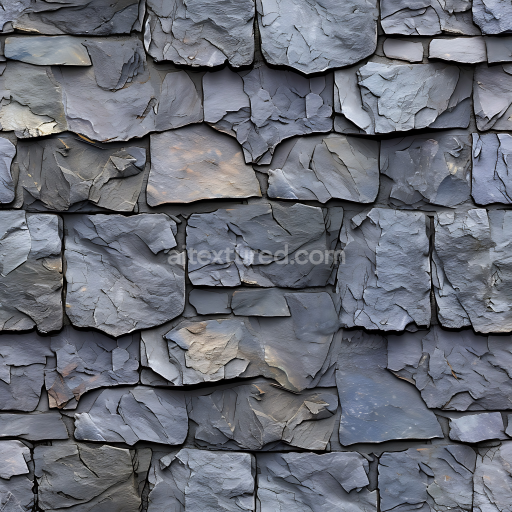
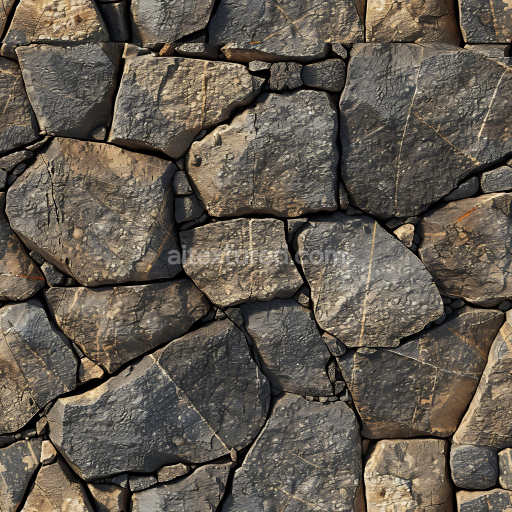
This seamless 3D texture presents a detailed andesite surface characterized by its dark rough volcanic stone appearance rendered at an impressive 8K resolution. Andesite an extrusive igneous rock forms as a dense fine-grained substrate composed primarily of plagioclase feldspar and volcanic glass interspersed with mineral aggregates such as amphibole and pyroxene. The texture reflects this complex composition through subtle variations in grain size and mineral distribution producing a natural coarse rockface pattern that is both rugged and irregular. Its overall form is non-uniform with natural fissures and weathered crevices shaping the stone’s surface morphology creating a realistic volcanic rock impression perfect for geological and natural environment simulations.
The material’s surface finish is inherently rough and unpolished emphasizing the tactile qualities of volcanic stone exposed to natural weathering processes. This texture captures the matte grainy feel of andesite’s oxidized and porous exterior where fine particulate aggregates contribute to subtle variations in color and micro-geometry. Dark gray to nearly black pigments dominate the base coloration with muted earthy undertones that replicate mineral inclusions and subtle iron oxide staining. These elements are mapped precisely across the PBR channels: the BaseColor (Albedo) channel conveys the natural dark tones and mineral speckling while the Normal map defines the intricate micro-relief of roughness and fissures. The Roughness map highlights the uneven matte surface quality without any metallic reflection as volcanic rocks lack metallic properties resulting in a zero value on the Metallic channel. Ambient Occlusion enhances the depth perception within cracks and crevices and the Height/Displacement map provides additional realism by simulating surface elevation changes crucial for close-up renders.
Optimized for physically based rendering workflows this seamless andesite texture integrates seamlessly with major 3D engines such as Blender Unreal Engine and Unity. Its tileable design ensures that large surfaces can be covered without visible repetition or seams making it suitable for rockfaces cliffs and volcanic terrain backgrounds. The high 8K resolution allows for close inspection in detailed shots without loss of clarity preserving the natural granularity and subtle color gradations essential for authentic volcanic stone representation.
For practical application it is recommended to fine-tune the UV scale to prevent excessive stretching which can distort the natural grain pattern and reduce realism. Adjusting the Roughness map intensity can help customize the surface’s tactile feel—from slightly smoother to highly abrasive—depending on the environmental context. When working with height or parallax mapping subtle blending with the Normal map enhances depth cues without introducing harsh artificial edges maintaining the organic quality of the volcanic stone surface. This texture provides a reliable base for any project requiring detailed dark and rugged volcanic stone materials with accurate physical properties and visual fidelity.
Import the texture maps into Blender with sRGB color space for albedo/base color and Non-Color for normal, roughness, metallic, AO, height, and ORM maps. Connect normal maps through a Normal Map node, then adjust UV scale with a Mapping node so the material repeats naturally on your model.
For the full step-by-step setup, see How to Use Seamless Textures in Blender. Browse related material examples in wood, concrete, and metal.
Yes. This texture is designed as a seamless tileable PBR material, so it can repeat across large surfaces without visible borders.
You can download PNG/WEBP versions and use 1K, 2K, 4K and 8K download options when available on the page.
Yes. The download options and engine-mapped ZIP workflow are designed for Blender, Unreal Engine, Unity Standard, URP and HDRP material pipelines.
Yes. The texture is available under the AITextured free commercial license. Review the license page for redistribution and AI-training restrictions.
Build, preview, and export seamless PBR materials. Generate full map sets from a single image, inspect them in a real-time WebGL viewer, and re-package maps for Unreal, Unity, and Blender—directly in your browser.
AI text-to-texture: type a prompt and get a seamless, tileable base image ready for PBR workflows (great starting point for materials).
Create a full PBR set (Normal, Roughness, AO, Metallic, etc.) from a single image. Seamless and tiling-friendly.
Instant WebGL viewer: inspect materials on a sphere, plane, and cube. Check tiling and lighting in real time.
Re-packages maps per engine: Unreal (BaseColor + ORM), Unity (Mask/MetallicSmoothness), Blender (separate channels).
PNG ↔ JPG ↔ SVG: fast convert, SVG rasterize, embed/trace options, quality & background controls.