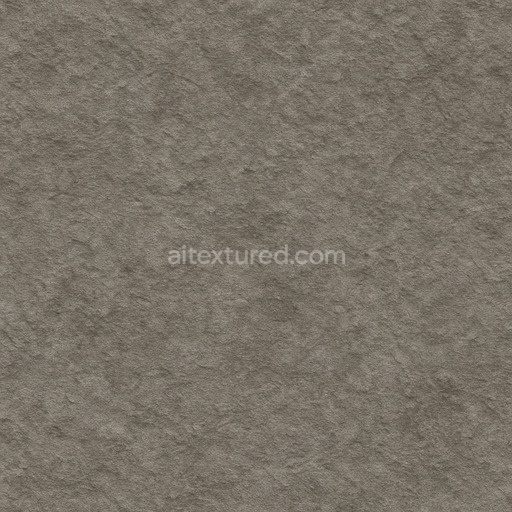
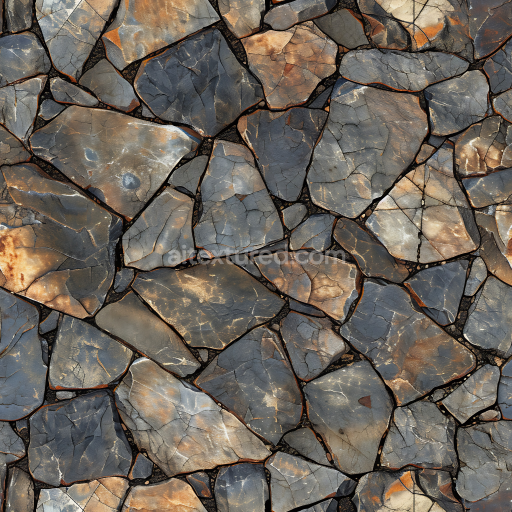
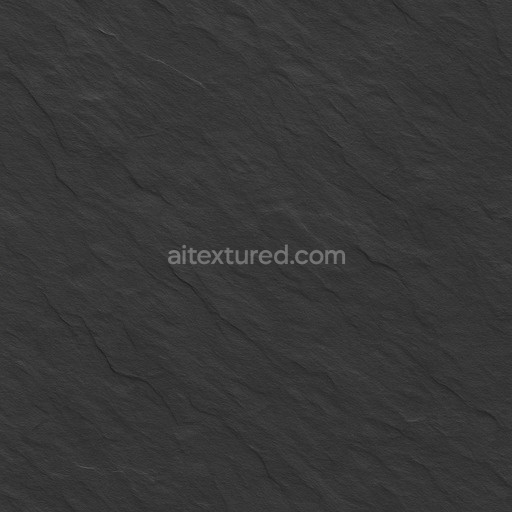
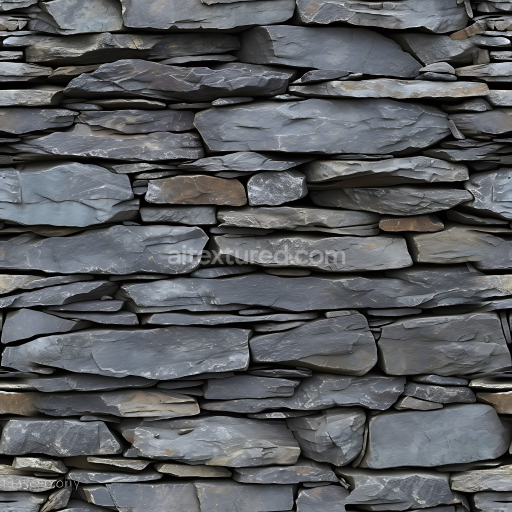
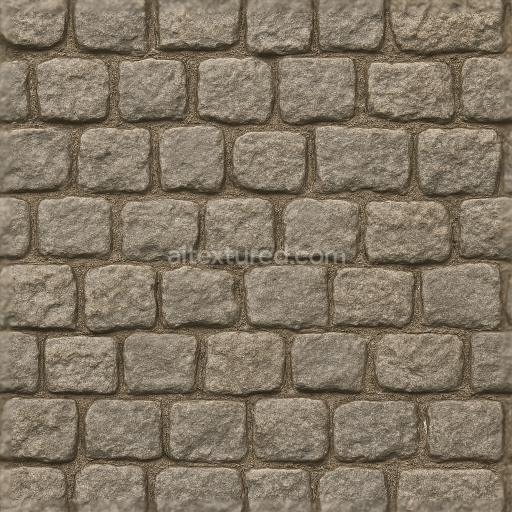
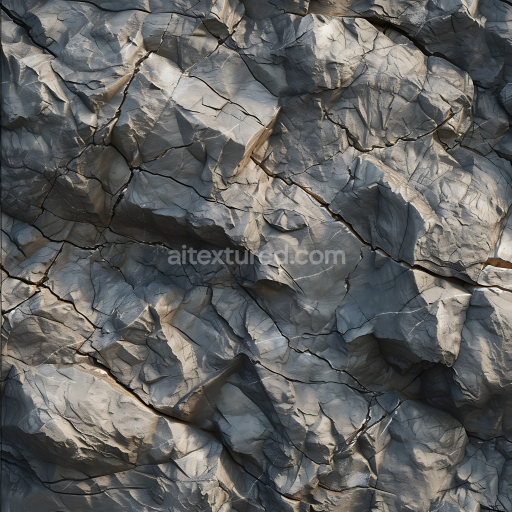
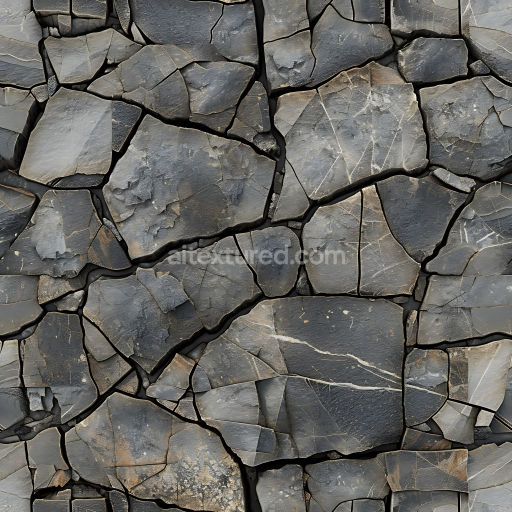
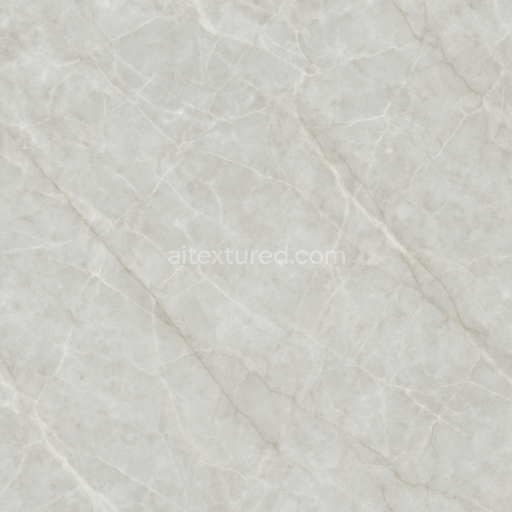
Dull Stone Seamless Texture
Seamless texture (tileable) · PNG, WEBP, PBR ZIP. License: AITextured Free Commercial License (FCL) v1.1. Free personal and commercial use. Raw resale, standalone redistribution, mirroring/scraping, competing asset packs, and AI/ML training are not allowed without written permission. Attribution is not required, but appreciated..

| ID | seamless-3d-texture-pbr-8k-dolomite-light-veined-rough-natural-stone-surface |
|---|---|
| Category | Stone |
| Formats | PNG, WEBP, PBR ZIP |
| Size | 1k (1024x1024px), 2k (2048x2048px), 4k (4096x4096px), 8k (8192x8192px) |
| Color | sRGB |
| Tileable | Yes |
This seamless 8K PBR texture captures the distinctive look of light dolomite stone characterized by its coarsegrain rough surface and subtle veining patterns that naturally occur within the mineral matrix. Dolomite a sedimentary carbonate rock composed primarily of calcium magnesium carbonate exhibits a fine to medium grain size with an earthy muted palette of soft whites creams and pale greys. The texture reflects the stone’s natural formation where mineral layers and veins intersect creating irregular linear patterns that emphasize the stone’s organic veined structure. Its surface is uneven and slightly porous displaying weathered characteristics such as micro-fissures and gentle abrasion marks which contribute to a tactile aged appearance.
The material composition is modeled with a solid dolomite substrate where the primary mineral grains form a compact but rough aggregate. These grains are lightly cemented together giving the stone moderate porosity and a naturally rough finish rather than a polished or glossy one. The binders in this natural stone are mineralogical resulting in a matte surface that diffuses light softly. The subtle veins are mineral inclusions or compositional variations which disrupt the uniformity of the base color and add depth to the texture. The colorants are inherent to the stone’s mineral content rather than artificial pigments creating a realistic and earthy visual tone. This texture’s geometry mimics the irregular veined pattern typical of natural dolomite slabs with no visible tiling due to its seamless design suitable for large-scale applications.
In terms of PBR mapping the BaseColor (Albedo) channel portrays the soft light tones and natural veining without any baked-in lighting allowing for accurate real-time shading. The Normal map encodes the roughness and fine surface details of the coarse grain and veins providing depth and surface variation. The Roughness map is calibrated to highlight the stone’s matte non-reflective qualities emphasizing its natural roughness without gloss. The Metallic channel is kept at zero reflecting the non-metallic nature of dolomite. Ambient Occlusion enhances the subtle crevices between grains and veins adding realistic shadowing for depth perception. The Height/Displacement map captures the coarse surface relief and vein elevation enabling effective parallax or tessellation effects in engines like Unreal Engine Unity and Blender.
This texture is optimized for use in 3D environments requiring natural stone materials such as architectural visualization game environments or digital heritage reconstructions. When applying this texture it is advisable to adjust the UV scale to match real-world stone slab dimensions to preserve the natural grain size and veining proportions. Additionally fine-tuning the roughness map can help simulate variations in weathering or polishing on different surface areas. For enhanced realism blending the height map with normal maps can improve depth perception without excessive geometry particularly useful in real-time rendering workflows.
Import the texture maps into Blender with sRGB color space for albedo/base color and Non-Color for normal, roughness, metallic, AO, height, and ORM maps. Connect normal maps through a Normal Map node, then adjust UV scale with a Mapping node so the material repeats naturally on your model.
For the full step-by-step setup, see How to Use Seamless Textures in Blender. Browse related material examples in wood, concrete, and metal.
Yes. This texture is designed as a seamless tileable PBR material, so it can repeat across large surfaces without visible borders.
You can download PNG/WEBP versions and use 1K, 2K, 4K and 8K download options when available on the page.
Yes. The download options and engine-mapped ZIP workflow are designed for Blender, Unreal Engine, Unity Standard, URP and HDRP material pipelines.
Yes. The texture is available under the AITextured free commercial license. Review the license page for redistribution and AI-training restrictions.

Build, preview, and export seamless PBR materials. Generate full map sets from a single image, inspect them in a real-time WebGL viewer, and re-package maps for Unreal, Unity, and Blender—directly in your browser.
AI text-to-texture: type a prompt and get a seamless, tileable base image ready for PBR workflows (great starting point for materials).
Create a full PBR set (Normal, Roughness, AO, Metallic, etc.) from a single image. Seamless and tiling-friendly.
Instant WebGL viewer: inspect materials on a sphere, plane, and cube. Check tiling and lighting in real time.
Re-packages maps per engine: Unreal (BaseColor + ORM), Unity (Mask/MetallicSmoothness), Blender (separate channels).
PNG ↔ JPG ↔ SVG: fast convert, SVG rasterize, embed/trace options, quality & background controls.