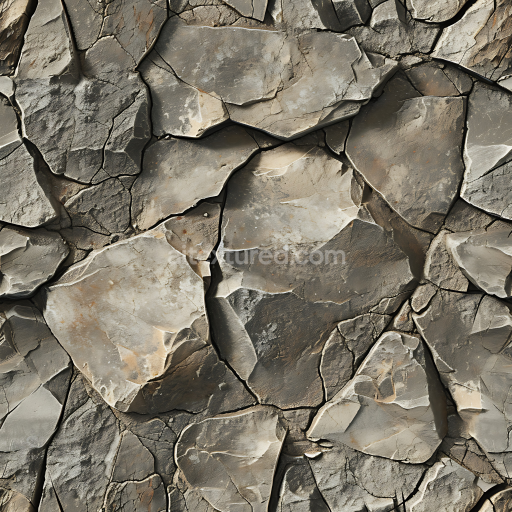
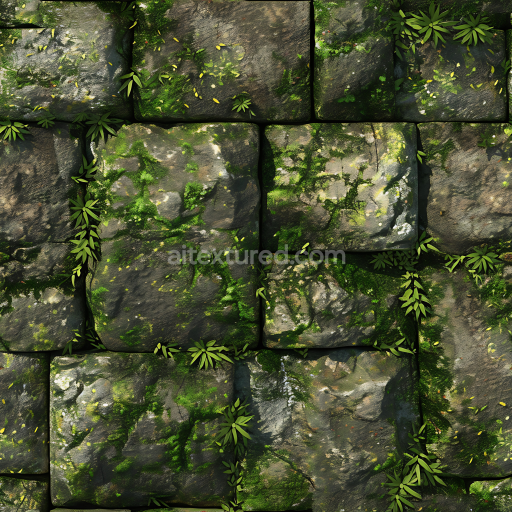
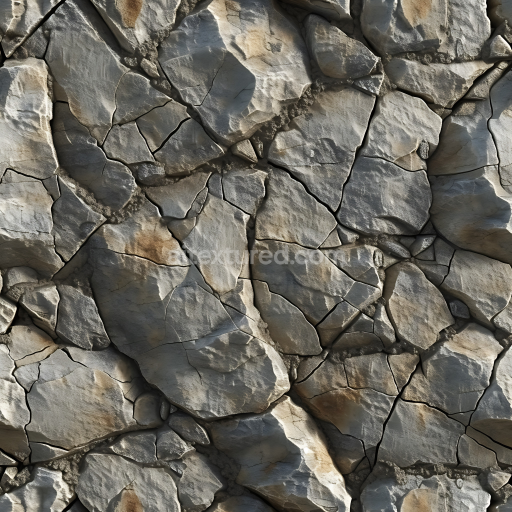
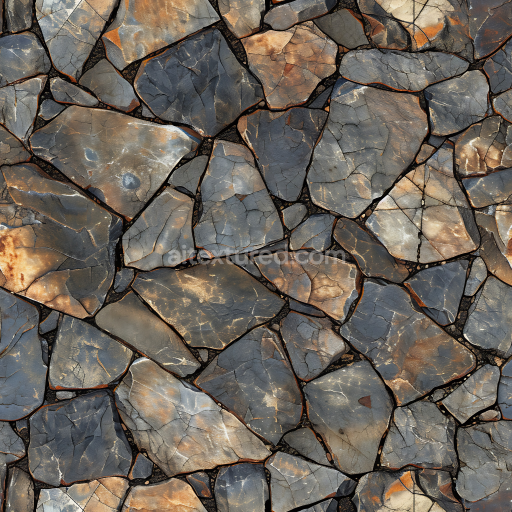
Cracked Layered Stone Wall Seamless Texture with Natural Erosion Patterns
Seamless texture (tileable) · PNG, WEBP, PBR ZIP. License: AITextured Free Commercial License (FCL) v1.1. Free personal and commercial use. Raw resale, standalone redistribution, mirroring/scraping, competing asset packs, and AI/ML training are not allowed without written permission. Attribution is not required, but appreciated..

| ID | seamless-3d-texture-pbr-8k-polished-marble-stone-surface-for-elegant-designs |
|---|---|
| Category | Stone |
| Formats | PNG, WEBP, PBR ZIP |
| Size | 1k (1024x1024px), 2k (2048x2048px), 4k (4096x4096px), 8k (8192x8192px) |
| Color | sRGB |
| Tileable | Yes |
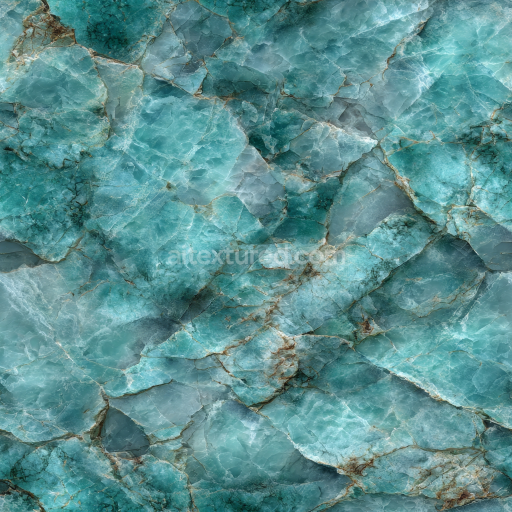
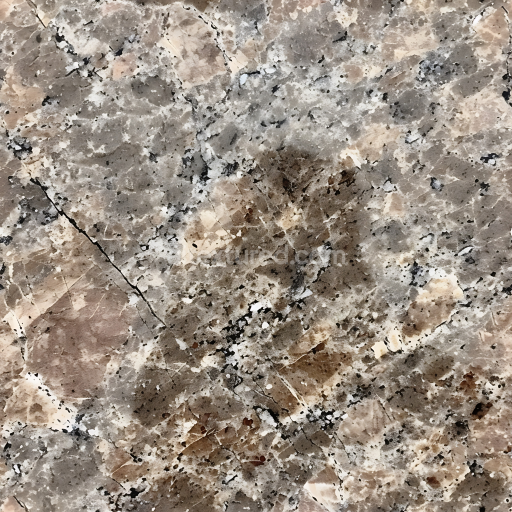
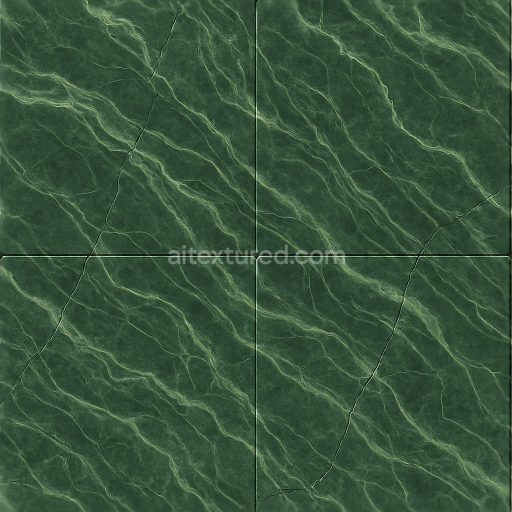
This seamless 3D texture presents a highly detailed 8K PBR polished marble stone surface meticulously crafted to replicate the refined appearance of veined marble slabs commonly used in elegant architectural and interior design applications. The material primarily consists of a natural calcite substrate with interspersed mineral veins forming characteristic stone cracks and organic patterns. These veins and fissures visible through the BaseColor (Albedo) map display subtle variations in tone and translucency that enhance the realism. The polished surface finish results from fine grinding and buffing processes producing a smooth glossy top layer that reflects light softly captured effectively in the Roughness map with low roughness values indicating high reflectivity.
The geometric form of this texture is based on large rectangular stone slabs typically found in upscale stone floors and countertops. The texture’s seamless tiling allows it to cover expansive surfaces without visible repetition or edge artifacts maintaining the illusion of continuous marble. The Normal map encodes the gentle undulations and micro-surface imperfections inherent to natural stone while the Height (Displacement) map subtly emphasizes minor surface depth variations such as shallow veins and cracks. Ambient Occlusion enhances shadowing in crevices and around edges accentuating the three-dimensional feel. The Metallic channel is appropriately set to near zero as marble is a non-metallic material ensuring physically accurate light interaction.
Compositionally the marble texture simulates a compact low-porosity stone structure with minimal weathering typical of polished interior stone slabs. The mineral aggregates within the marble create the veined patterns ranging in color from soft whites and creams to deeper grays and subtle blues reflected in the BaseColor map for natural color variation. The surface’s smooth edges and refined polishing contribute to its sophisticated appearance and tactile quality making this texture especially suitable for high-fidelity renders in Blender Unreal Engine and Unity where realistic lighting and reflections are essential.
For optimal use it is advisable to adjust the UV scale carefully to align with the expected stone slab dimensions in your scene preventing overly repetitive patterns or disproportionate veining. Additionally fine-tuning the roughness map can help balance the glossiness for different lighting environments while blending the Height and Normal maps can enhance depth perception without overloading the shader. This texture’s high resolution and detailed material maps ensure flexibility and realism across a variety of digital projects requiring premium polished marble surfaces.
Import the texture maps into Blender with sRGB color space for albedo/base color and Non-Color for normal, roughness, metallic, AO, height, and ORM maps. Connect normal maps through a Normal Map node, then adjust UV scale with a Mapping node so the material repeats naturally on your model.
For the full step-by-step setup, see How to Use Seamless Textures in Blender. Browse related material examples in wood, concrete, and metal.
Yes. This texture is designed as a seamless tileable PBR material, so it can repeat across large surfaces without visible borders.
You can download PNG/WEBP versions and use 1K, 2K, 4K and 8K download options when available on the page.
Yes. The download options and engine-mapped ZIP workflow are designed for Blender, Unreal Engine, Unity Standard, URP and HDRP material pipelines.
Yes. The texture is available under the AITextured free commercial license. Review the license page for redistribution and AI-training restrictions.

Build, preview, and export seamless PBR materials. Generate full map sets from a single image, inspect them in a real-time WebGL viewer, and re-package maps for Unreal, Unity, and Blender—directly in your browser.
AI text-to-texture: type a prompt and get a seamless, tileable base image ready for PBR workflows (great starting point for materials).
Create a full PBR set (Normal, Roughness, AO, Metallic, etc.) from a single image. Seamless and tiling-friendly.
Instant WebGL viewer: inspect materials on a sphere, plane, and cube. Check tiling and lighting in real time.
Re-packages maps per engine: Unreal (BaseColor + ORM), Unity (Mask/MetallicSmoothness), Blender (separate channels).
PNG ↔ JPG ↔ SVG: fast convert, SVG rasterize, embed/trace options, quality & background controls.