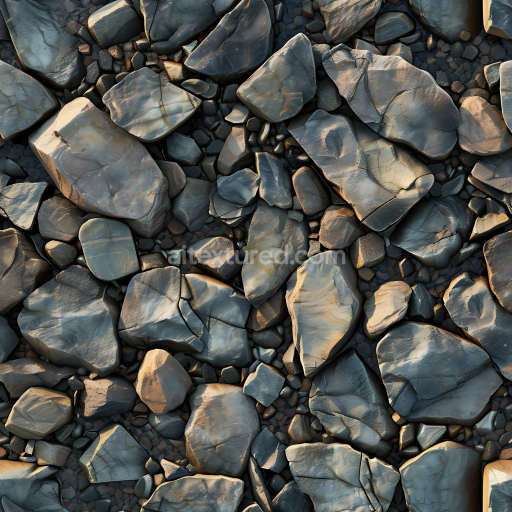
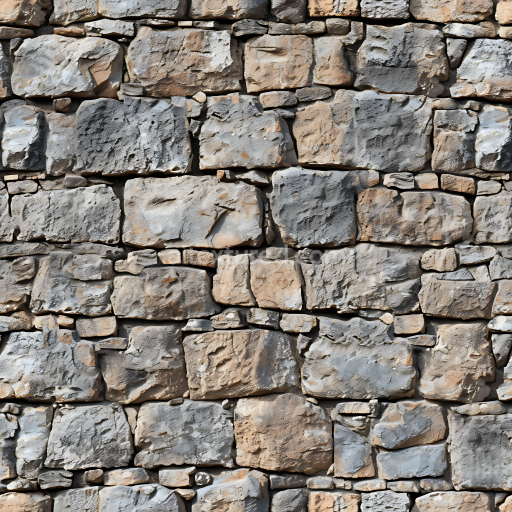
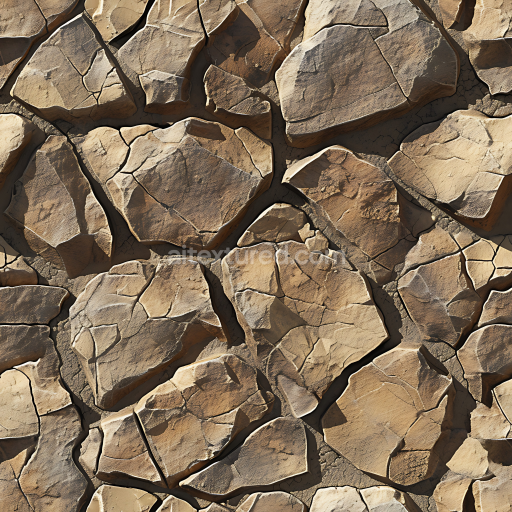
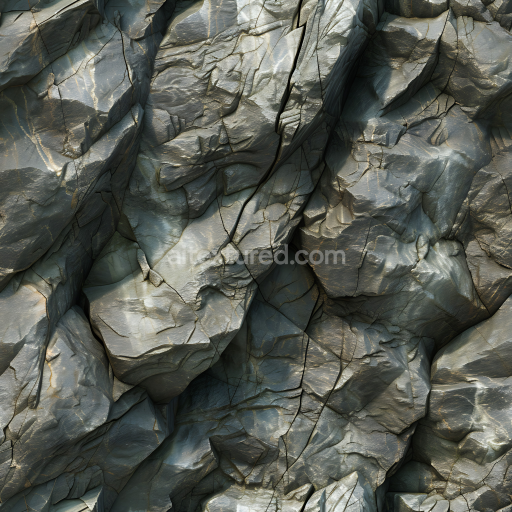
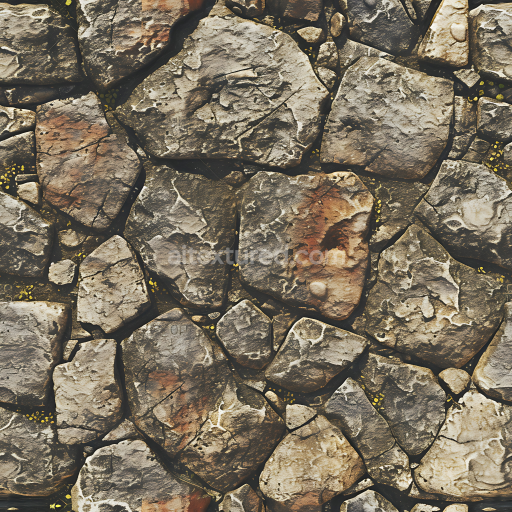
Slate Stone Ground PBR Texture with Weathered Smooth Rocks
Seamless texture (tileable) · PNG, WEBP, PBR ZIP. License: AITextured Free Commercial License (FCL) v1.1. Free personal and commercial use. Raw resale, standalone redistribution, mirroring/scraping, competing asset packs, and AI/ML training are not allowed without written permission. Attribution is not required, but appreciated..

| ID | seamless-3d-texture-pbr-8k-wet-stone-rough-stone-porous-stone-grainy-stone-natural-surface |
|---|---|
| Category | Stone |
| Formats | PNG, WEBP, PBR ZIP |
| Size | 1k (1024x1024px), 2k (2048x2048px), 4k (4096x4096px), 8k (8192x8192px) |
| Color | sRGB |
| Tileable | Yes |
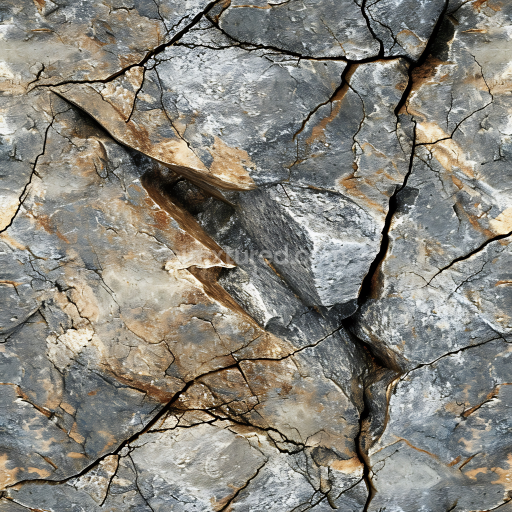
This seamless 3D PBR texture presents a highly detailed wet stone surface characterized by roughness porosity and a distinctly grainy composition. The base material reflects a natural sedimentary rock likely a combination of sandstone or limestone where mineral grains and fine aggregates form the core substrate. These grains are cemented together by natural binders such as silica or calcite creating a durable yet uneven surface. The texture exhibits weathering effects that emphasize erosion and moisture absorption resulting in subtle cavities and pits that contribute to the porous appearance. The stone's surface finish is matte with a damp sheen simulating water retention typical of rain-soaked or river-worn rock faces enhancing realism through natural surface wetness without glossiness or polish.
In terms of geometric form the texture captures an irregular naturally fractured rock face pattern with no repetitive tiling artifacts thanks to its seamless design. The surface texture reveals a complex grain structure where fine and coarse aggregates coexist forming a rough tactile quality. These grains are visible in the BaseColor (Albedo) channel as varying earth tones—ranging from muted greys and browns to subtle ochres—while darker patches simulate moisture saturation. The Normal map intricately reproduces small bumps crevices and pores providing depth and tactile variation. Roughness is calibrated to reflect a moderate to high roughness level emphasizing the stone’s uneven grainy feel while the Metallic channel remains near zero to accurately represent the non-metallic rock material. Ambient Occlusion enhances shadowing in crevices and pores adding dimensionality and the Height/Displacement map captures the subtle elevation changes caused by weathering and grain protrusions.
This texture’s 8K resolution ensures exceptional clarity and detail making it ideal for high-fidelity visualization in Blender Unreal Engine and Unity. Its seamless nature allows artists to tile the texture across extensive surfaces—such as stone walls boulder exteriors or rugged rock faces—without visible repetition or seams. The wet stone appearance is accentuated by physically accurate moisture effects embedded within the maps providing a convincing natural surface that reacts well under varying lighting conditions in PBR workflows.
For optimal use it is recommended to adjust the UV scale to match the desired real-world stone size ensuring the grain detail remains consistent and believable. Additionally fine-tuning the roughness map can help simulate different levels of wetness or dryness depending on the scene context. When working with height and normal maps blending them carefully can enhance surface depth while avoiding overly sharp or unrealistic geometry displacement effects. This approach preserves the natural porous and grainy characteristics critical to authentic stone material representation in digital 3D environments.
Import the texture maps into Blender with sRGB color space for albedo/base color and Non-Color for normal, roughness, metallic, AO, height, and ORM maps. Connect normal maps through a Normal Map node, then adjust UV scale with a Mapping node so the material repeats naturally on your model.
For the full step-by-step setup, see How to Use Seamless Textures in Blender. Browse related material examples in wood, concrete, and metal.
Yes. This texture is designed as a seamless tileable PBR material, so it can repeat across large surfaces without visible borders.
You can download PNG/WEBP versions and use 1K, 2K, 4K and 8K download options when available on the page.
Yes. The download options and engine-mapped ZIP workflow are designed for Blender, Unreal Engine, Unity Standard, URP and HDRP material pipelines.
Yes. The texture is available under the AITextured free commercial license. Review the license page for redistribution and AI-training restrictions.

Build, preview, and export seamless PBR materials. Generate full map sets from a single image, inspect them in a real-time WebGL viewer, and re-package maps for Unreal, Unity, and Blender—directly in your browser.
AI text-to-texture: type a prompt and get a seamless, tileable base image ready for PBR workflows (great starting point for materials).
Create a full PBR set (Normal, Roughness, AO, Metallic, etc.) from a single image. Seamless and tiling-friendly.
Instant WebGL viewer: inspect materials on a sphere, plane, and cube. Check tiling and lighting in real time.
Re-packages maps per engine: Unreal (BaseColor + ORM), Unity (Mask/MetallicSmoothness), Blender (separate channels).
PNG ↔ JPG ↔ SVG: fast convert, SVG rasterize, embed/trace options, quality & background controls.