
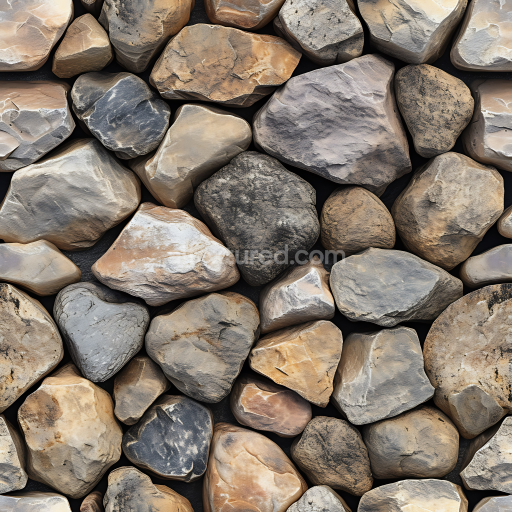
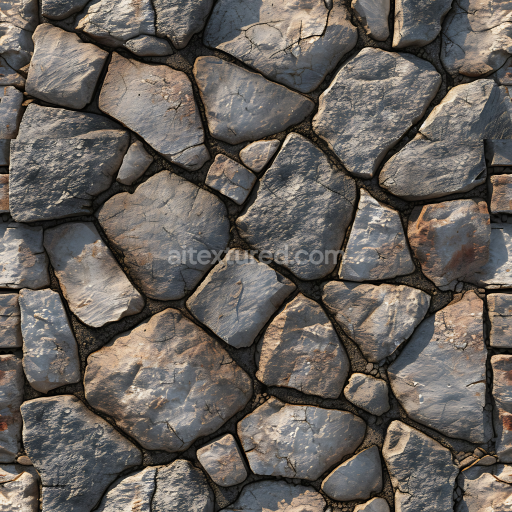
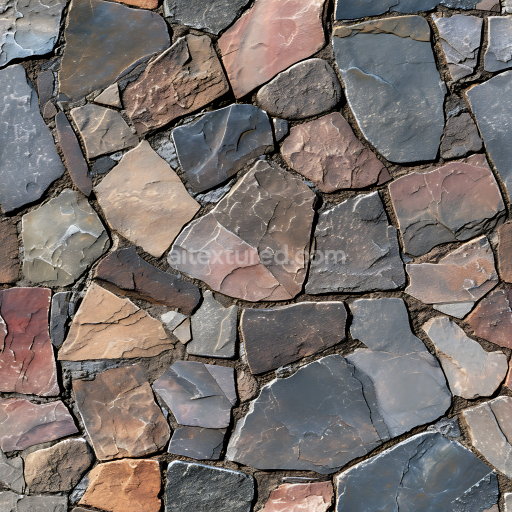
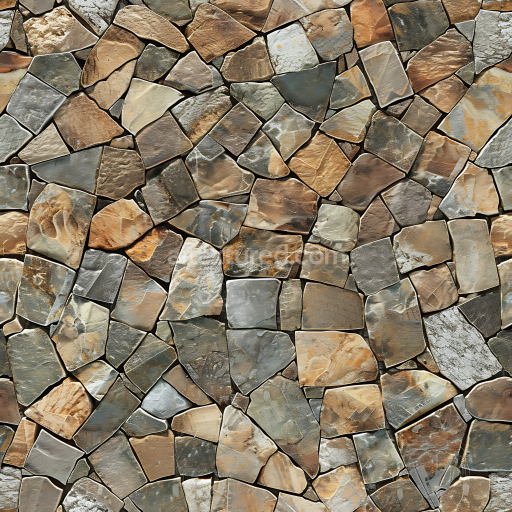
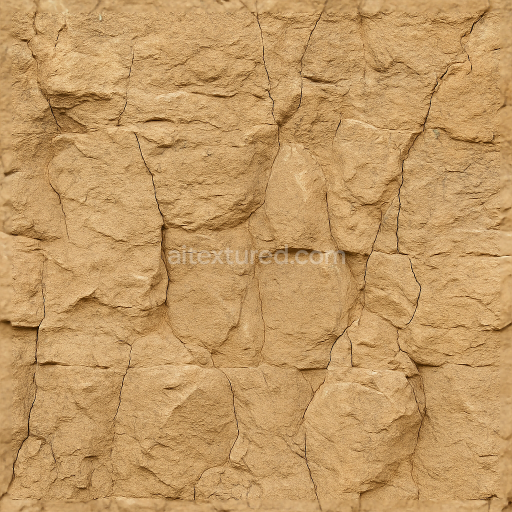
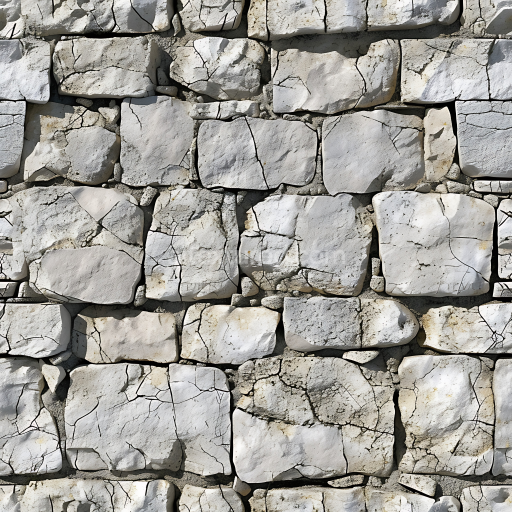
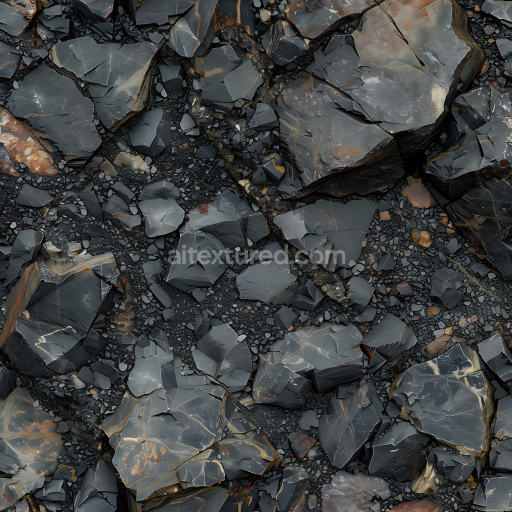
stone PBR texture featuring natural multicolor rocky ground
Seamless texture (tileable) · PNG, WEBP, PBR ZIP. License: AITextured Free Commercial License (FCL) v1.1. Free personal and commercial use. Raw resale, standalone redistribution, mirroring/scraping, competing asset packs, and AI/ML training are not allowed without written permission. Attribution is not required, but appreciated..

| ID | travertine-filled-pores-honed |
|---|---|
| Category | Stone |
| Formats | PNG, WEBP, PBR ZIP |
| Size | 1k (1024x1024px), 2k (2048x2048px), 4k (4096x4096px), 8k (8192x8192px) |
| Color | sRGB |
| Tileable | Yes |
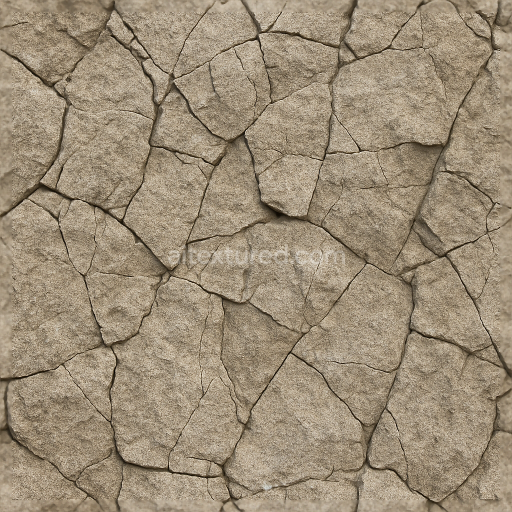
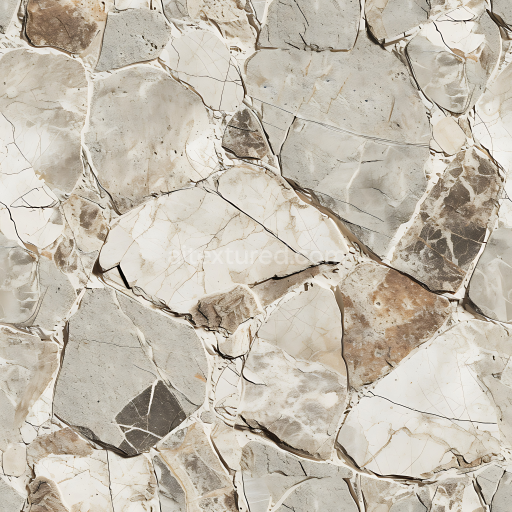
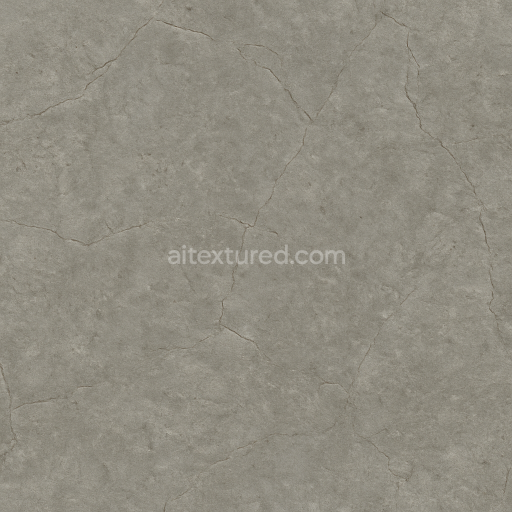
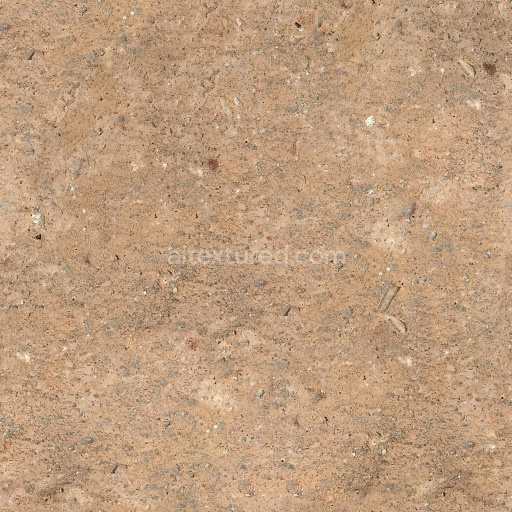
The travertine filled pores honed texture presents a meticulously crafted stone surface that harmonizes natural mineral composition with advanced finishing techniques to deliver a smooth refined appearance. This texture is based on travertine a sedimentary rock primarily composed of calcium carbonate distinguished by its characteristic porous formations. These naturally occurring cavities have been expertly filled with mineral-based binders or resins significantly reducing open porosity and resulting in a dense durable substrate. The honed finish imparts a subtle low-gloss matte sheen achieved through careful polishing that enhances the stone’s tactile quality while preserving its authentic grain and aggregate distribution. Warm beige and cream tones influenced by iron oxide and other mineral impurities are faithfully captured in the BaseColor/Albedo channel offering a true-to-life coloration with delicate shading nuances that reflect the natural variability of the stone surface.
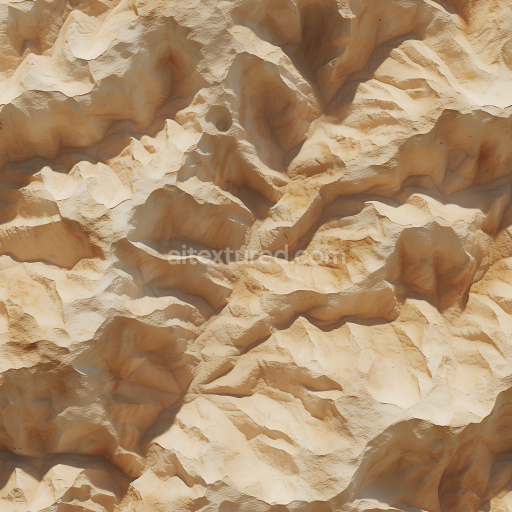
This generated seamless travertine filled pores honed texture is optimized for physically based rendering workflows making it ideal for use in Blender Unreal Engine and Unity. The Normal map intricately encodes the micro-relief of the honed stone emphasizing smooth transitions between the filled pores and surrounding matrix for a realistic depth effect. The Roughness map governs the soft matte reflection typical of honed surfaces while the Metallic channel remains minimal accurately representing the non-metallic nature of natural travertine. Ambient Occlusion enhances shadow details in recessed areas adding further realism and the Height/Displacement maps provide precise surface contouring suitable for parallax effects or subtle geometry displacement. Rendered at an ultra-high resolution of up to 8K this tileable travertine filled pores honed texture ensures exceptional clarity and detail free from visible seams or repetitive artifacts making it highly versatile for detailed real-time scenes and cinematic renders.
For best integration into your 3D projects it is recommended to fine-tune the Roughness and Normal map intensities to suit your specific lighting conditions preserving the honed stone’s natural matte finish and tactile depth. Adjusting the UV scale can also enhance realism; increasing the UV scale will reduce the apparent pore density and highlight the smooth expanses of larger travertine slabs while decreasing it will emphasize fine grain detail ideal for close-up views or smaller surfaces. This flexibility combined with the carefully engineered material properties and seamless tileability makes the PBR texture travertine filled pores honed an invaluable asset for accelerating workflows and achieving photorealistic stone textures with authentic surface detail and depth. A detailed 3D preview further supports accurate material representation facilitating confident application across diverse stone surface projects.
Import the texture maps into Blender with sRGB color space for albedo/base color and Non-Color for normal, roughness, metallic, AO, height, and ORM maps. Connect normal maps through a Normal Map node, then adjust UV scale with a Mapping node so the material repeats naturally on your model.
For the full step-by-step setup, see How to Use Seamless Textures in Blender. Browse related material examples in wood, concrete, and metal.
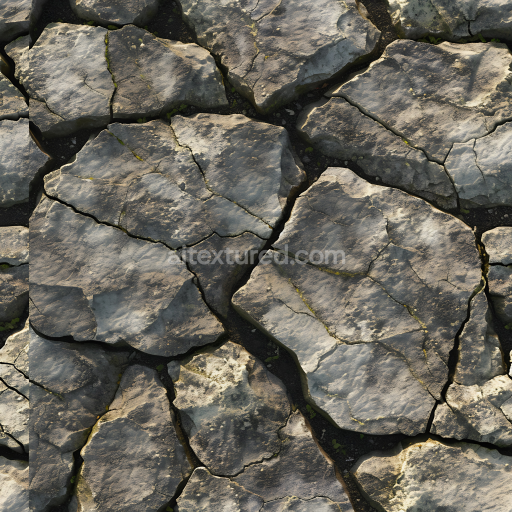
Yes. This texture is designed as a seamless tileable PBR material, so it can repeat across large surfaces without visible borders.
You can download PNG/WEBP versions and use 1K, 2K, 4K and 8K download options when available on the page.
Yes. The download options and engine-mapped ZIP workflow are designed for Blender, Unreal Engine, Unity Standard, URP and HDRP material pipelines.
Yes. The texture is available under the AITextured free commercial license. Review the license page for redistribution and AI-training restrictions.
Generate, preview, and export seamless PBR materials for Blender, Unity, and Unreal Engine—directly in your browser.
AI text-to-texture: type a prompt and get a seamless, tileable base image ready for PBR workflows (great starting point for materials).
Create a full PBR set (Normal, Roughness, AO, Metallic, etc.) from a single image. Seamless and tiling-friendly.
Instant WebGL viewer: inspect materials on a sphere, plane, and cube. Check tiling and lighting in real time.
Re-packages maps per engine: Unreal (BaseColor + ORM), Unity (Mask/MetallicSmoothness), Blender (separate channels).
PNG ↔ JPG ↔ SVG: fast convert, SVG rasterize, embed/trace options, quality & background controls.