
Blue Decorated Wall with Geometric Squares and Diagonals | Free PBR
Seamless texture (tileable) · PNG, WEBP, PBR ZIP. License: AITextured Free Commercial License (FCL) v1.1. Free personal and commercial use. Raw resale, standalone redistribution, mirroring/scraping, competing asset packs, and AI/ML training are not allowed without written permission. Attribution is not required, but appreciated..

| ID | toilet-tile-texture-free-pbr |
|---|---|
| Category | Tile |
| Formats | PNG, WEBP, PBR ZIP |
| Size | 1k (1024x1024px), 2k (2048x2048px), 4k (4096x4096px), 8k (8192x8192px) |
| Color | sRGB |
| Tileable | Yes |
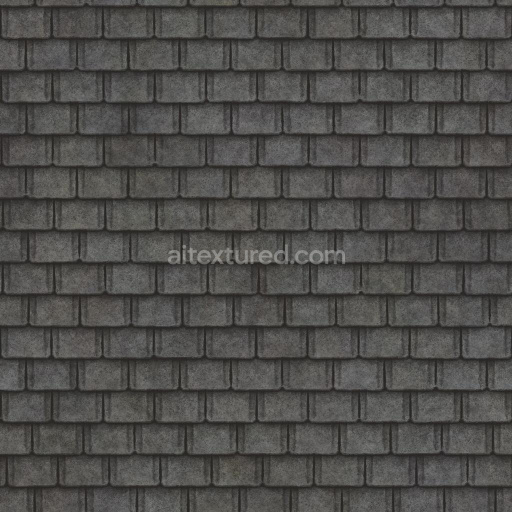
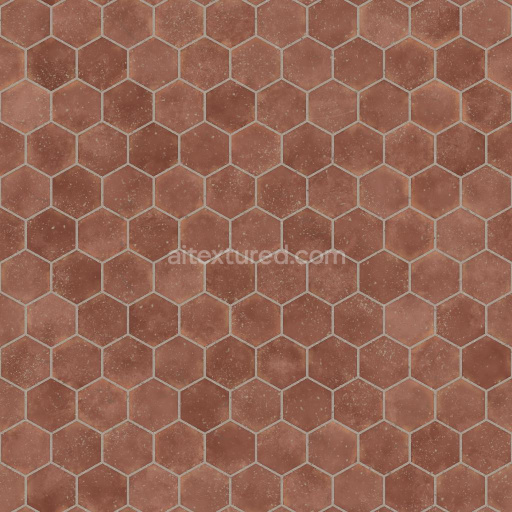
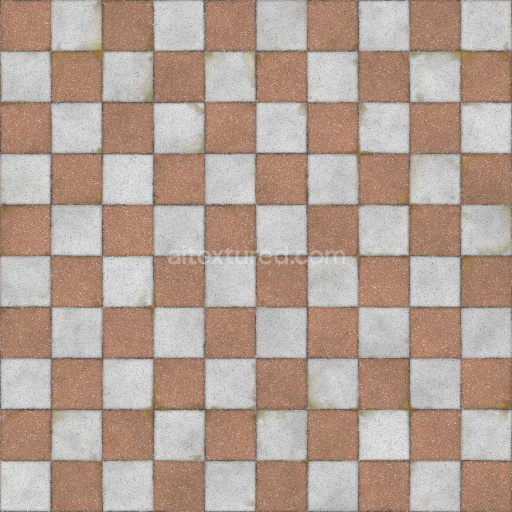
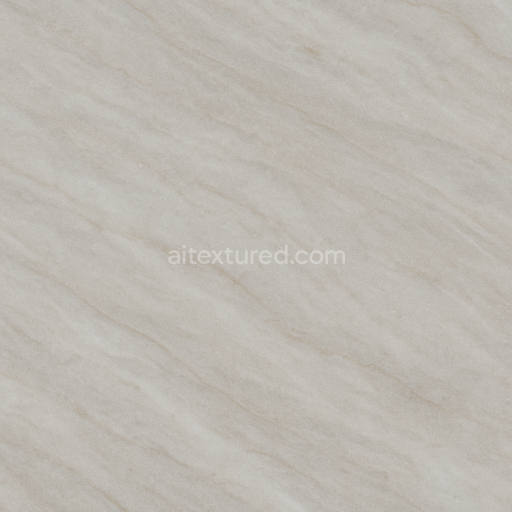
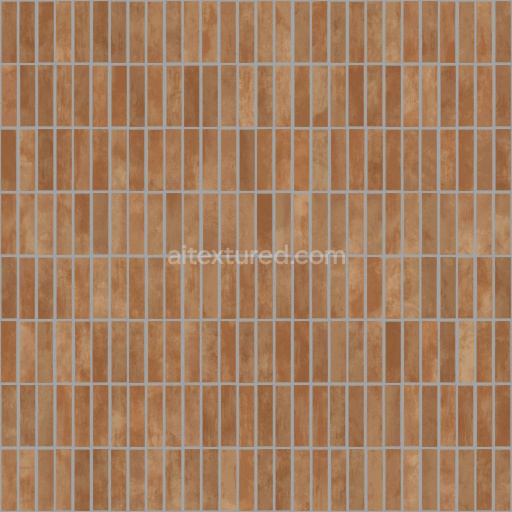
This high-quality seamless toilet tile texture is designed to replicate the authentic appearance of ceramic tile commonly used in bathroom environments. The base substrate is a dense, mineral-rich ceramic material, composed primarily of finely ground clays and silicates that are fired at high temperatures to achieve a durable and water-resistant surface. Binding agents within the ceramic matrix ensure structural cohesion, while the tile’s surface exhibits a smooth, glazed finish achieved through multiple layers of vitreous coating. This glaze not only enhances the tile’s polished look but also contributes to its subtle reflectivity and resistance to moisture. Pigments and oxide layers embedded within the glaze provide the characteristic soft white or pastel hues, with slight variations in color tone that add realism to the texture.
In the PBR channels, this texture’s BaseColor/Albedo map captures the nuanced color gradients and subtle imperfections found in real toilet tiles, avoiding overly uniform tones. The Normal map simulates the slight undulations and grout line indentations on the tile surface, enhancing depth without compromising smoothness. Roughness is finely tuned to reflect the semi-glossy glaze, offering moderate specularity that reacts naturally to lighting conditions in Blender, Unreal Engine, and Unity. The Metallic channel remains neutral, as ceramic materials are non-metallic, while the Ambient Occlusion map adds realistic shadowing in crevices and joints. Height or Displacement maps provide gentle surface relief for grout lines and tile edges, supporting advanced shading techniques such as parallax occlusion for enhanced realism.
AITextured Free Commercial License (FCL) v1.1. Free personal and commercial use. Raw resale, standalone redistribution, mirroring/scraping, competing asset packs, and AI/ML training are not allowed without written permission. Attribution is not required, but appreciated.
Import the texture maps into Blender with sRGB color space for albedo/base color and Non-Color for normal, roughness, metallic, AO, height, and ORM maps. Connect normal maps through a Normal Map node, then adjust UV scale with a Mapping node so the material repeats naturally on your model.
For the full step-by-step setup, see How to Use Seamless Textures in Blender. Browse related material examples in wood, concrete, and metal.
Yes. This texture is designed as a seamless tileable PBR material, so it can repeat across large surfaces without visible borders.
You can download PNG/WEBP versions and use 1K, 2K, 4K and 8K download options when available on the page.
Yes. The download options and engine-mapped ZIP workflow are designed for Blender, Unreal Engine, Unity Standard, URP and HDRP material pipelines.
Yes. The texture is available under the AITextured free commercial license. Review the license page for redistribution and AI-training restrictions.


Build, preview, and export seamless PBR materials. Generate full map sets from a single image, inspect them in a real-time WebGL viewer, and re-package maps for Unreal, Unity, and Blender—directly in your browser.
AI text-to-texture: type a prompt and get a seamless, tileable base image ready for PBR workflows (great starting point for materials).
Create a full PBR set (Normal, Roughness, AO, Metallic, etc.) from a single image. Seamless and tiling-friendly.
Instant WebGL viewer: inspect materials on a sphere, plane, and cube. Check tiling and lighting in real time.
Re-packages maps per engine: Unreal (BaseColor + ORM), Unity (Mask/MetallicSmoothness), Blender (separate channels).
PNG ↔ JPG ↔ SVG: fast convert, SVG rasterize, embed/trace options, quality & background controls.