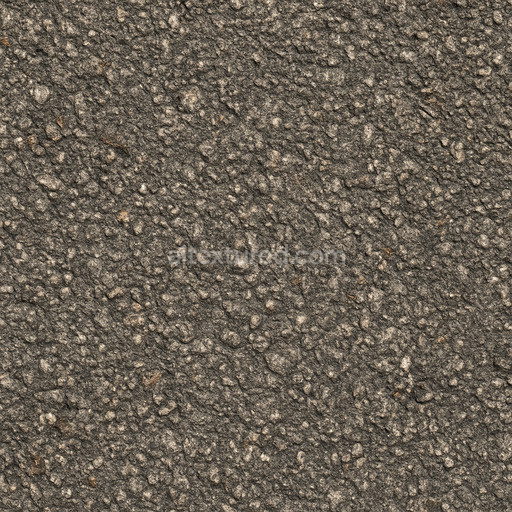
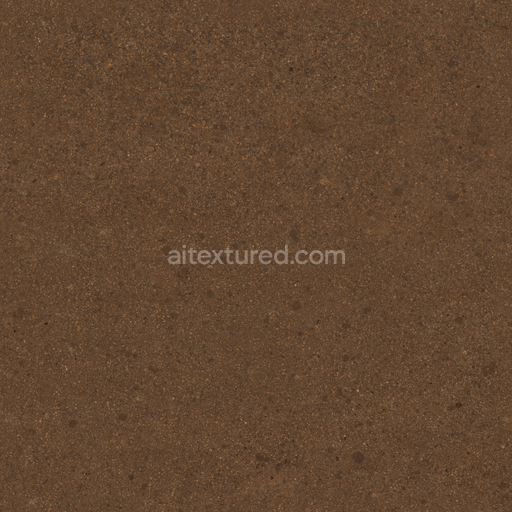
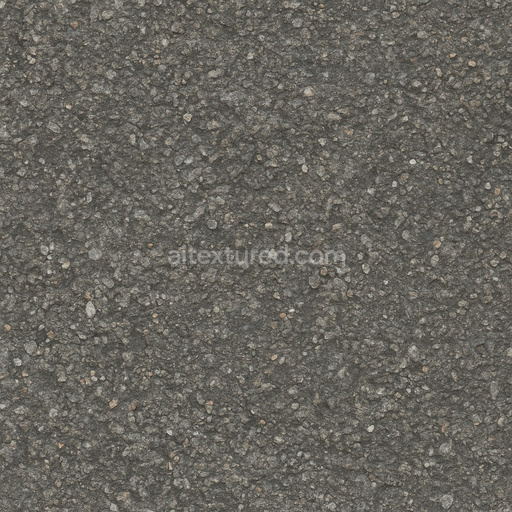
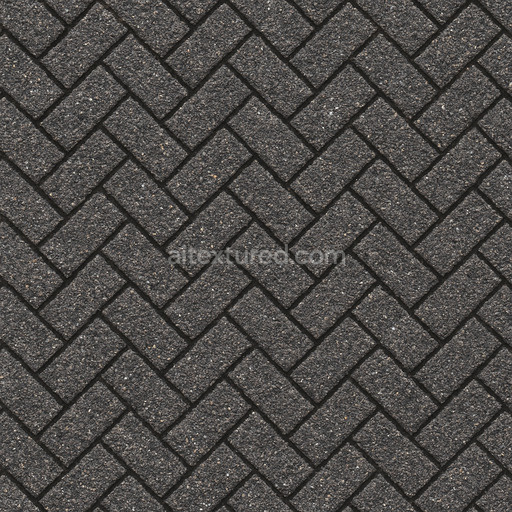
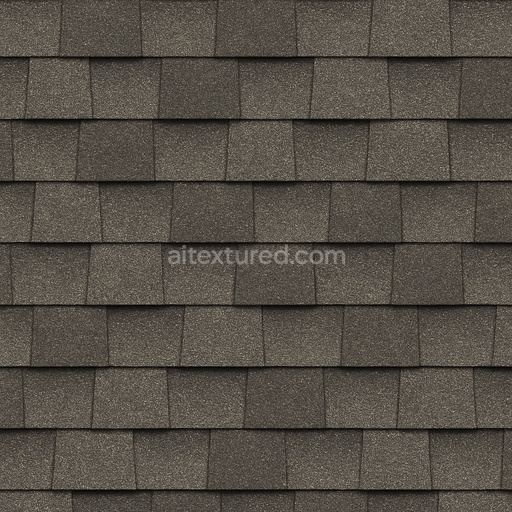
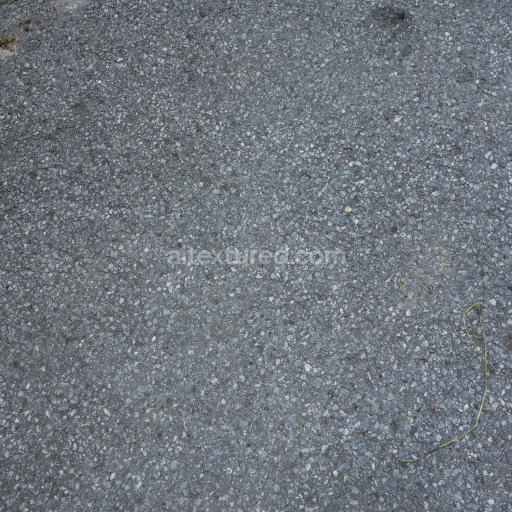
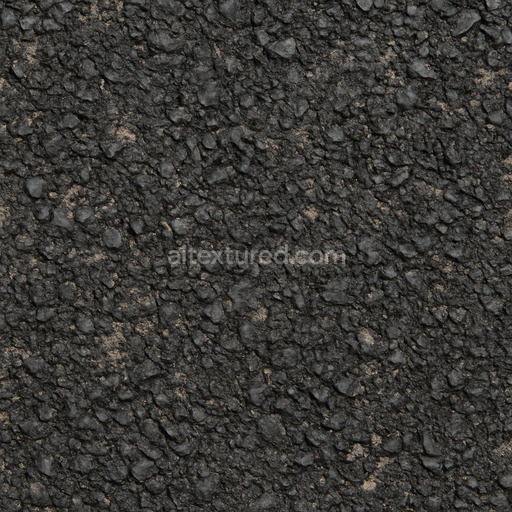
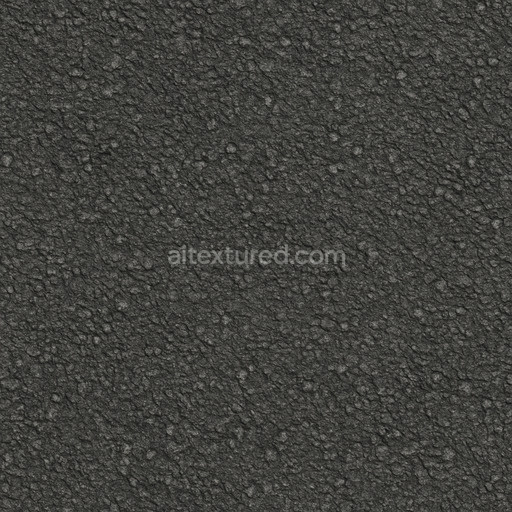
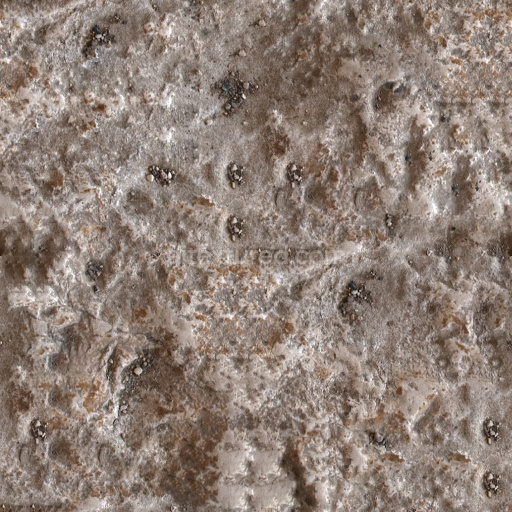
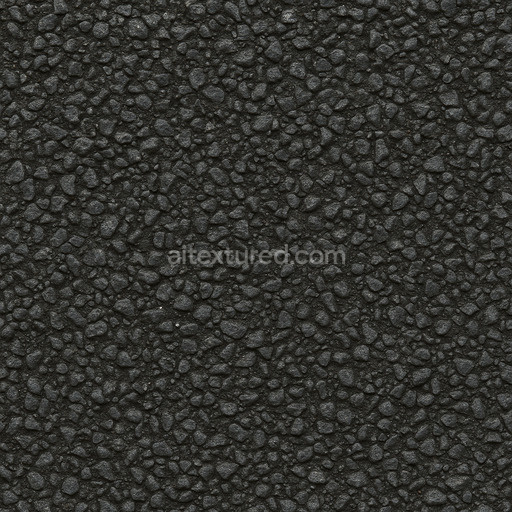
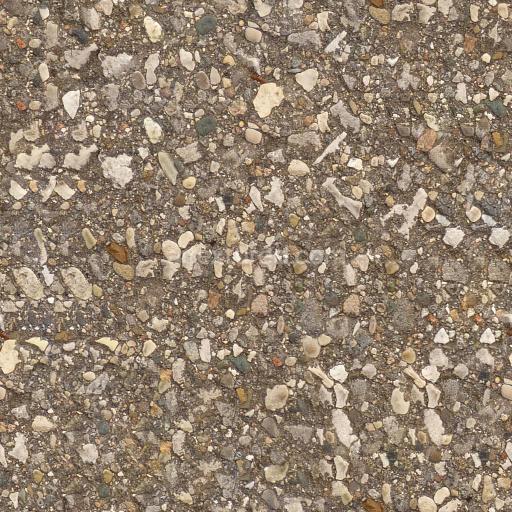
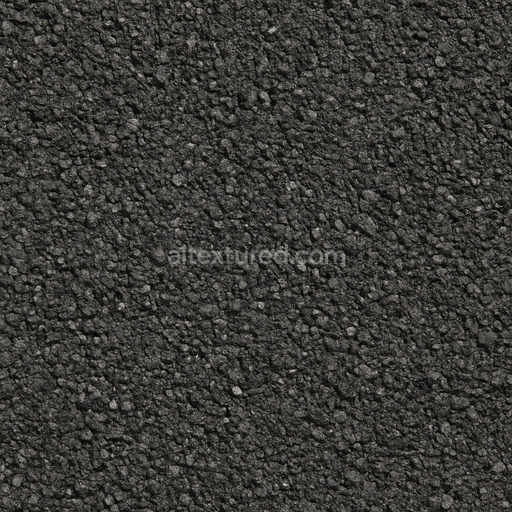
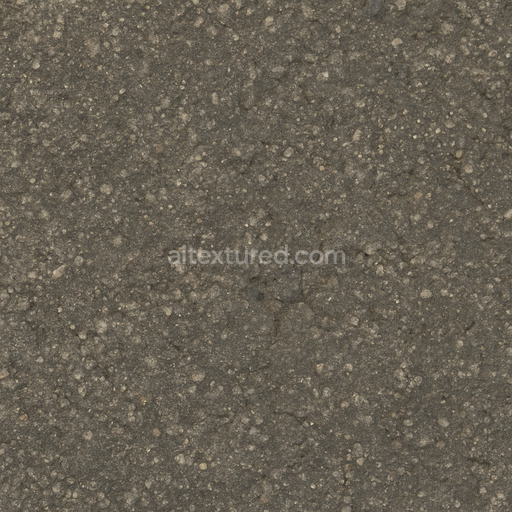
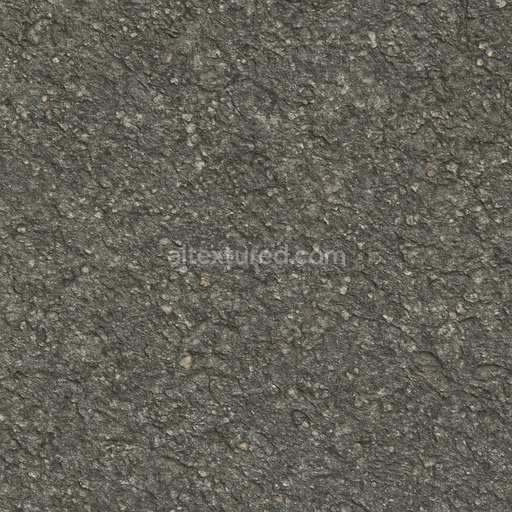
The Asphalt Coarse Brown texture is a meticulously crafted seamless 3D material designed to replicate the complex composition and weathered appearance of coarse brown asphalt commonly found on roads streets and roadways. This physically based rendering (PBR) texture accurately reflects the mineral-rich substrate of asphalt where aggregates such as crushed stone sand and gravel are bound together by a bituminous binder. The surface finish is naturally rough and uneven exhibiting realistic porosity and subtle signs of wear from exposure to traffic and environmental conditions. The brown coloration results from natural pigments and oxide layers within the binder and aggregates lending an authentic tonal variation that enhances visual depth and realism in 3D scenes. This texture’s detailed composition is expertly captured across all PBR channels to deliver consistent shading and surface interaction in both real-time and offline renderers.
Included in this 4K resolution texture set—offering an optional upgrade to 8K for high-end projects—are all essential maps for a complete physically based workflow: albedo (BaseColor) captures the rich brown hues and subtle color shifts of the asphalt surface; normal maps convey the pronounced coarse aggregate grain orientation and surface irregularities; roughness maps define the material’s non-reflective matte finish with natural variations; ambient occlusion (AO) enhances shadowing in crevices and texture depth; and height maps provide precise displacement data to simulate surface porosity and weathering effects. The texture is provided in both PNG and EXR formats optimized for seamless tiling and versatile use across popular design and game development platforms including Blender Unreal Engine and Unity. Its calibration supports metal/rough workflow standards ensuring reliable physically accurate results without manual tweaking delivering balanced detail and performance across diverse digital content creation systems and game engines.
Optimized for modern production pipelines this asphalt coarse texture performs exceptionally well on floors roads and street surfaces where realistic coarse aggregate detail and natural color variation are critical. The texture’s seamless design allows for easy repetition without visible borders making it ideal for large-scale roadway environments or close-up floor surfaces. When applying this material it is recommended to adjust the UV scale to match the physical size of coarse asphalt aggregates to maintain authenticity. Additionally fine-tuning the roughness parameter can help achieve the desired level of surface reflectivity under different lighting conditions while leveraging the height map can enhance depth through parallax or tessellation techniques for added realism.
Overall this Asphalt Coarse Brown PBR texture is a highly versatile and physically based material that faithfully reproduces the complex interplay of aggregates binders and weathering found in real-world asphalt surfaces. Ready for seamless integration into Blender Unreal Engine and Unity projects it supports both real-time and offline rendering workflows and is suitable for a wide range of applications from architectural visualization and urban environments to detailed game assets. Its free-download availability combined with comprehensive channel maps and up to 8K resolution ensures it meets the demands of modern digital artists and developers seeking reliable high-quality asphalt textures without the need for additional manual adjustments.
How to Use These Seamless PBR Textures in Blender
This guide shows how to connect a full PBR texture set to Principled BSDF in Blender (Cycles or Eevee). Works with any of our seamless textures free download, including PBR PNG materials for Blender / Unreal / Unity.
What’s inside the download
*_albedo.png — Base Color (sRGB)*_normal.png — Normal map (Non-Color)*_roughness.png — Roughness (Non-Color)*_metallic.png — Metallic (Non-Color)*_ao.png — Ambient Occlusion (Non-Color)*_height.png — Height / Displacement (Non-Color)*_ORM.png — Packed map (R=AO, G=Roughness, B=Metallic, Non-Color)

Quick start (Node Wrangler, 30 seconds)
- Enable the addon: Edit → Preferences → Add-ons → Node Wrangler.
- Create a material and select the Principled BSDF node.
- Press Ctrl + Shift + T and select the maps
albedo, normal, roughness, metallic (skip height and ORM for now) → Open.
The addon wires Base Color, Normal (with a Normal Map node), Roughness, and Metallic automatically.
- Add AO and Height using the “Manual wiring” steps below (5 and 6).
Manual wiring (full control)
- Create a material (Material Properties → New) and open the Shader Editor.
- Add an Image Texture node for each map. Set Color Space:
- Albedo → sRGB
- AO, Roughness, Metallic, Normal, Height, ORM → Non-Color
- Connect to Principled BSDF:
albedo → Base Colorroughness → Roughnessmetallic → Metallic (for wood this often stays near 0)normal → Normal Map node (Type: Tangent Space) → Normal of Principled.
If details look “inverted”, enable Invert Y on the Normal Map node.
- Ambient Occlusion (AO):
- Add a MixRGB (or Mix Color) node in mode Multiply.
- Input A =
albedo, Input B = ao, Factor = 1.0.
- Output of Mix → Base Color of Principled (replaces the direct albedo connection).
- Height / Displacement:
Cycles — true displacement
- Material Properties → Settings → Displacement: Displacement and Bump.
- Add a Displacement node: connect
height → Height, set Midlevel = 0.5, Scale = 0.02–0.08 (tune to taste).
- Output of Displacement → Material Output → Displacement.
- Add geometry density (e.g., Subdivision Surface) so displacement has polygons to work with.
Eevee (or lightweight Cycles) — bump only
- Add a Bump node:
height → Height.
- Set Strength = 0.2–0.5, Distance = 0.05–0.1, and connect Normal output to Principled’s Normal.
Using the packed ORM texture (optional)
Instead of separate AO/Roughness/Metallic maps you can use the single *_ORM.png:
- Add one Image Texture (Non-Color) → Separate RGB (or Separate Color).
- R (red) → AO (use it in the Multiply node with albedo as above).
- G (green) → Roughness of Principled.
- B (blue) → Metallic of Principled.
UVs & seamless tiling
- These textures are seamless. If your mesh has no UVs, go to UV Editing → Smart UV Project.
- For scale/repeat, add Texture Coordinate (UV) → Mapping and plug it into all texture nodes.
Increase Mapping → Scale (e.g., 2/2/2) to tile more densely.
Recommended starter values
- Normal Map Strength: 0.5–1.0
- Bump Strength: ~0.3
- Displacement Scale (Cycles): ~0.03
Common pitfalls
- Wrong Color Space (normals/roughness/etc. must be Non-Color).
- “Inverted” details → enable Invert Y on the Normal Map node.
- Over-strong relief → lower Displacement Scale or Bump Strength.
Example: Download Wood Textures and instantly apply parquet or rustic planks inside Blender for architectural visualization.
To add the downloaded texture, go to Add — Texture — Image Texture.

Add a node and click the Open button.

Select the required texture on your hard drive and connect Color to Base Color.

