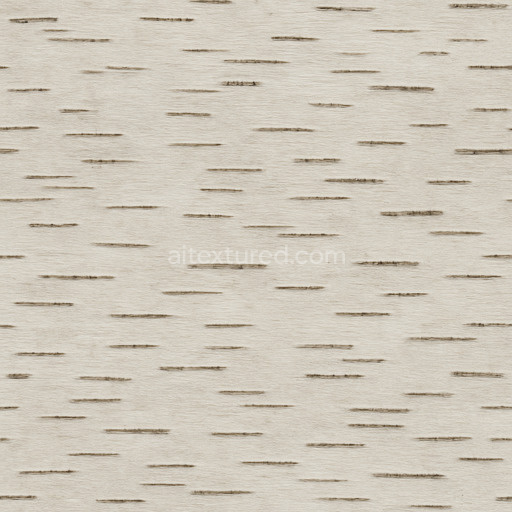
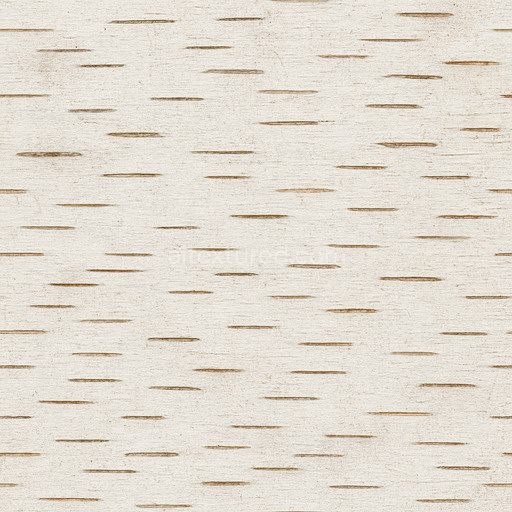
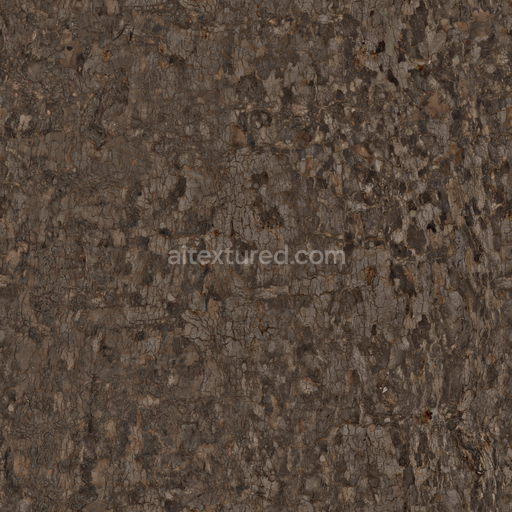
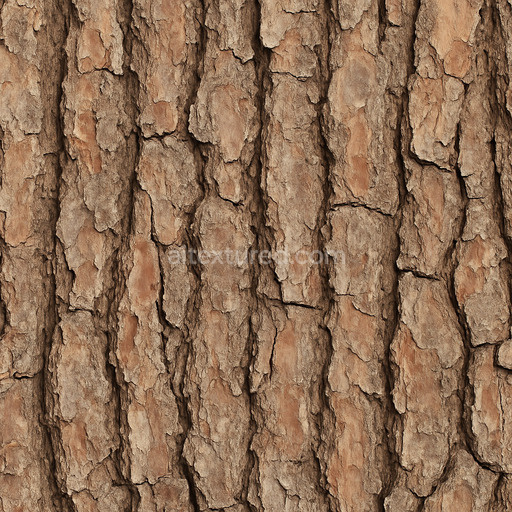
Japanese Camphor Bark - Bark Japanese Japanese Forest Organic
Seamless texture (tileable) · PNG, WEBP, PBR ZIP. License: AITextured Free Commercial License (FCL) v1.1. Free personal and commercial use. Raw resale, standalone redistribution, mirroring/scraping, competing asset packs, and AI/ML training are not allowed without written permission. Attribution is not required, but appreciated..
 texture preview")
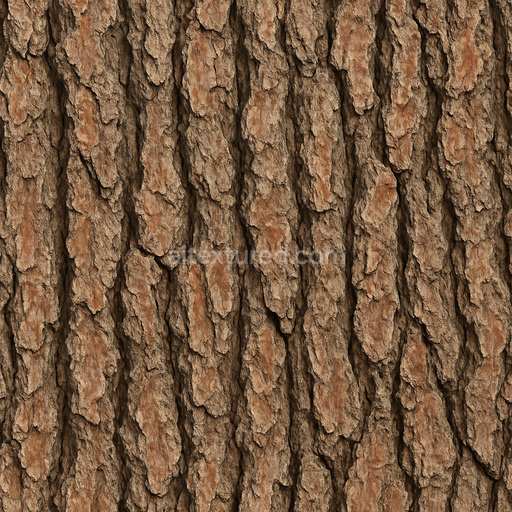
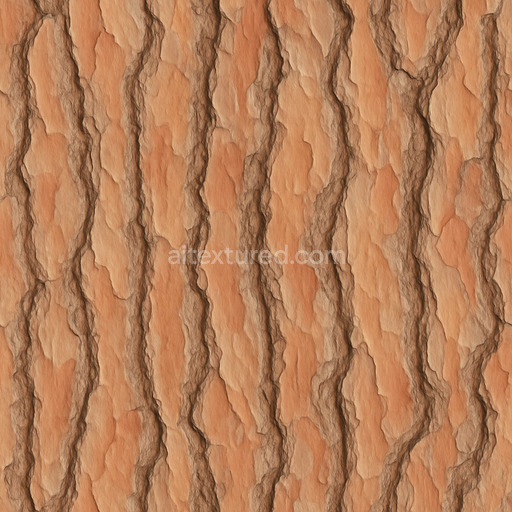
| ID | bark-13-by-share-textures-pbr-seamless-8k |
|---|---|
| Category | Bark |
| Formats | PNG, WEBP, PBR ZIP |
| Size | 1k (1024x1024px), 2k (2048x2048px), 4k (4096x4096px), 8k (8192x8192px) |
| Color | sRGB |
| Tileable | Yes |
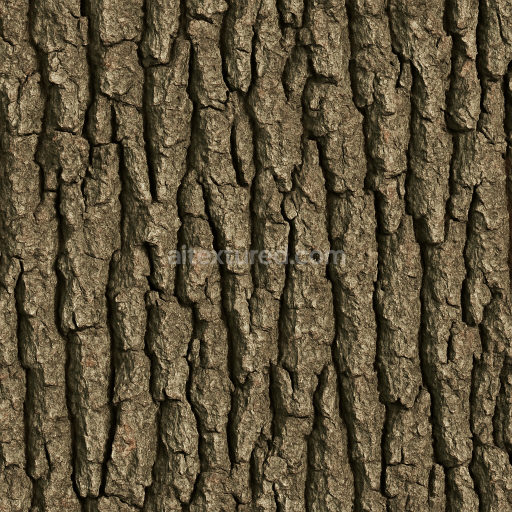
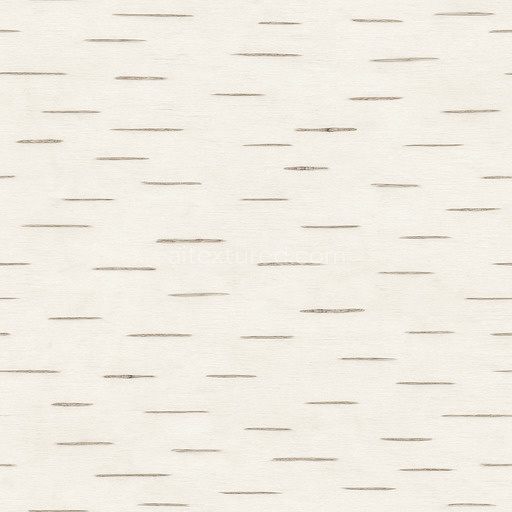
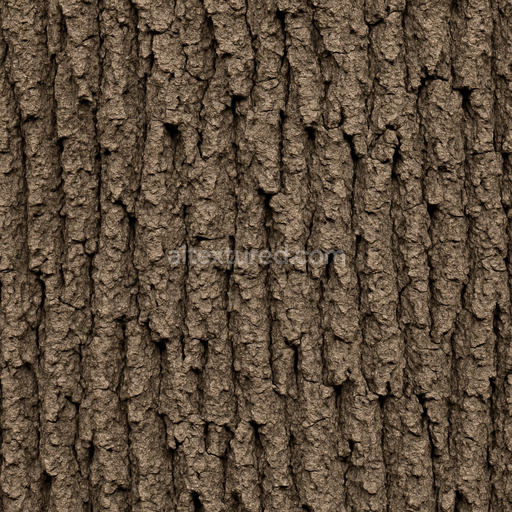
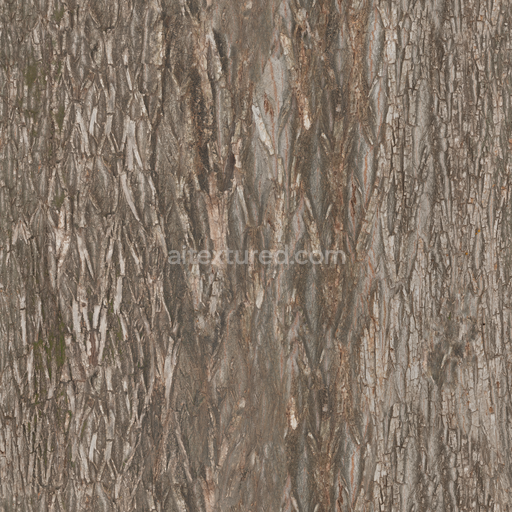
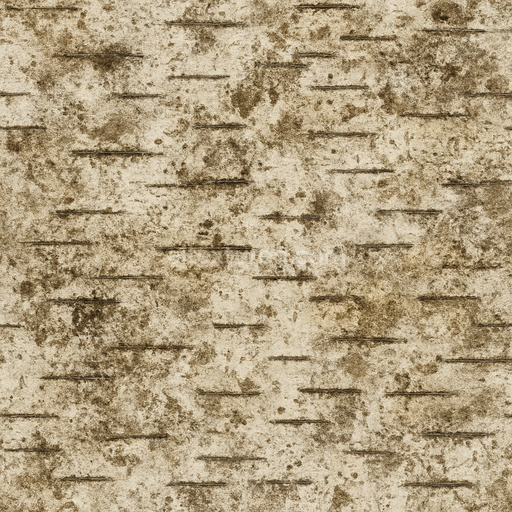
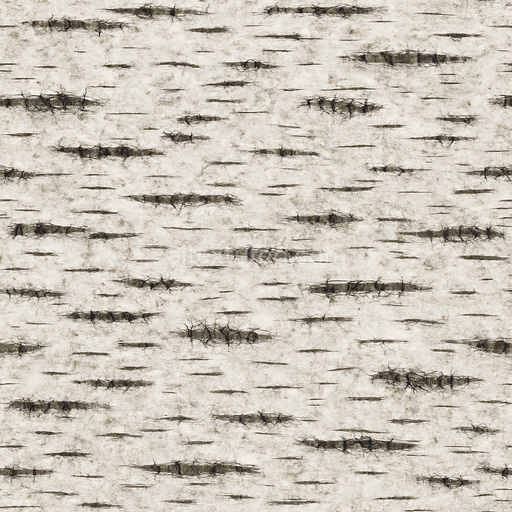
Seamless Bark 13 by Share Textures is a meticulously crafted high-quality PBR 3D texture designed to authentically replicate the intricate organic structure of natural tree bark. This texture captures the complex composition of aged wood where a fibrous and porous substrate formed by tightly interwoven cellulose fibers and lignin provides the material’s structural integrity. The surface exhibits subtle layers of bark scales and fissures creating a rich uneven texture full of depth and realism. Weathering effects are evident in the finish showcasing rough coarse patches alongside smoother areas enriched by natural resins and pigment deposits. These elements combine to produce a nuanced interplay of tactile qualities that evoke the authentic feel and appearance of mature tree bark with color variations ranging from deep browns to muted grays accented by delicate pigment nuances that enhance visual complexity.
This bark texture’s material characteristics are expertly represented across multiple PBR texture channels to ensure physically accurate shading and realistic interaction with light. The Base Color (Albedo) channel faithfully conveys the bark’s natural hues and subtle pigment variations without any baked-in shadows preserving true-to-life color fidelity. The Normal map emphasizes grain orientation and surface relief highlighting the intricate grooves ridges and cracks typical of tree bark. The Roughness map varies across the surface to simulate contrasts between dry matte bark sections and glossy resinous patches enhancing the perception of surface authenticity. Although the texture contains no metallic components the Ambient Occlusion map plays a vital role by adding soft shadows in crevices and fissures further enhancing depth and dimensionality. The Height or Displacement map accentuates the bark’s uneven topology enabling accurate parallax and displacement effects that significantly improve realism especially in close-up renders.
Designed for seamless tiling and available in resolutions up to 8K this texture ensures crisp detailed surfaces even on large-scale 3D models without visible repetition or pixelation. It is fully compatible with industry-standard rendering engines such as Blender Unreal Engine and Unity facilitating easy integration into diverse workflows. When setting up the material importing the Base Color texture in sRGB color space preserves the natural hues while all data-driven maps (Normal Roughness Ambient Occlusion and Height) should be configured as Non-Color to maintain accurate shading. For optimal results it is recommended to fine-tune roughness values and combine the normal map with height or parallax mapping to enhance the perception of surface detail and depth particularly in close-up views. Additionally maintaining consistent UV scale and employing triplanar or layered mapping techniques can help minimize visible seams and repetition on complex geometry ensuring the highest level of realism in any 3D environment.
Import the texture maps into Blender with sRGB color space for albedo/base color and Non-Color for normal, roughness, metallic, AO, height, and ORM maps. Connect normal maps through a Normal Map node, then adjust UV scale with a Mapping node so the material repeats naturally on your model.
For the full step-by-step setup, see How to Use Seamless Textures in Blender. Browse related material examples in wood, concrete, and metal.
Yes. This texture is designed as a seamless tileable PBR material, so it can repeat across large surfaces without visible borders.
You can download PNG/WEBP versions and use 1K, 2K, 4K and 8K download options when available on the page.
Yes. The download options and engine-mapped ZIP workflow are designed for Blender, Unreal Engine, Unity Standard, URP and HDRP material pipelines.
Yes. The texture is available under the AITextured free commercial license. Review the license page for redistribution and AI-training restrictions.
Build, preview, and export seamless PBR materials. Generate full map sets from a single image, inspect them in a real-time WebGL viewer, and re-package maps for Unreal, Unity, and Blender—directly in your browser.
AI text-to-texture: type a prompt and get a seamless, tileable base image ready for PBR workflows (great starting point for materials).
Create a full PBR set (Normal, Roughness, AO, Metallic, etc.) from a single image. Seamless and tiling-friendly.
Instant WebGL viewer: inspect materials on a sphere, plane, and cube. Check tiling and lighting in real time.
Re-packages maps per engine: Unreal (BaseColor + ORM), Unity (Mask/MetallicSmoothness), Blender (separate channels).
PNG ↔ JPG ↔ SVG: fast convert, SVG rasterize, embed/trace options, quality & background controls.