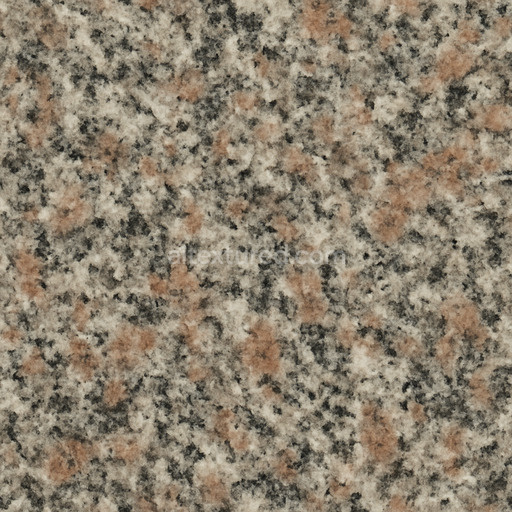
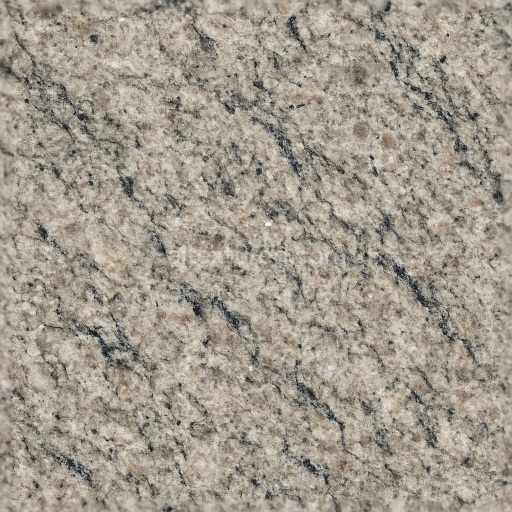
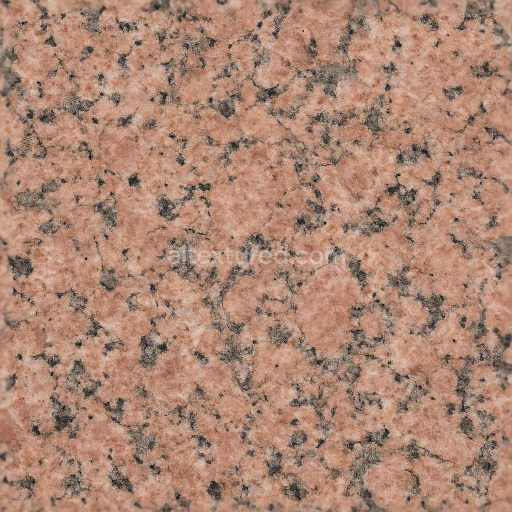
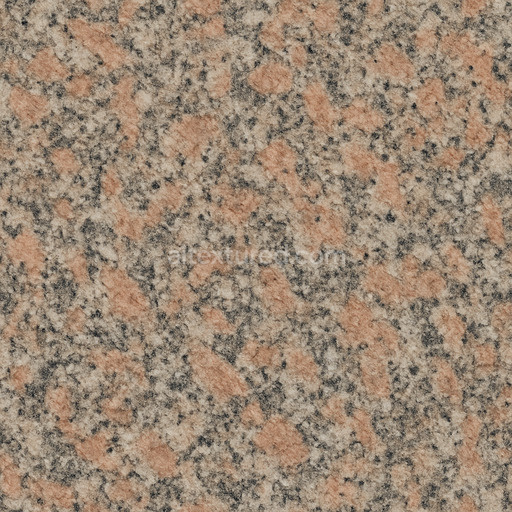
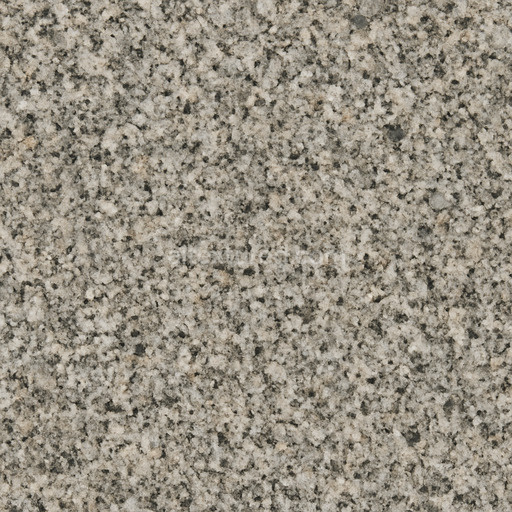
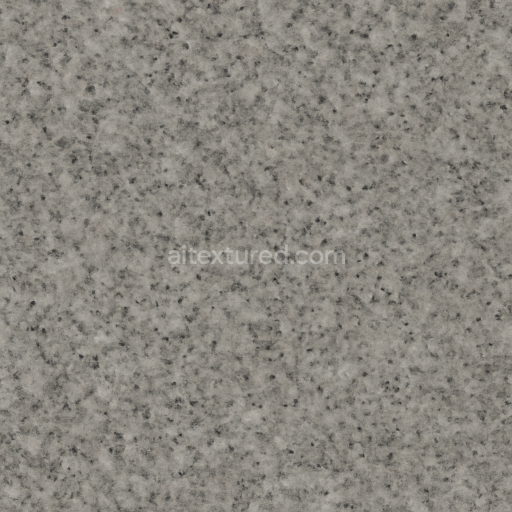
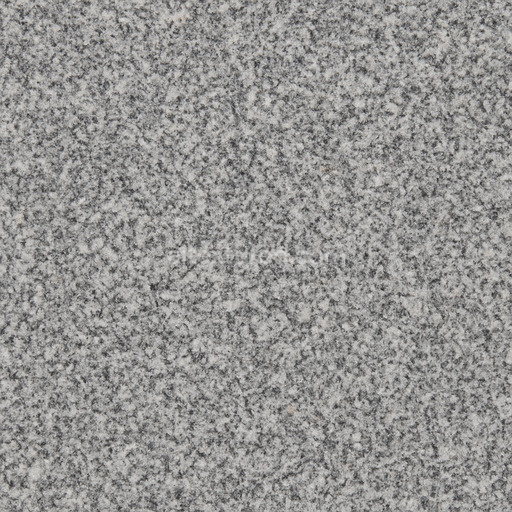
Realistic Granite Seamless Texture
. Formats: WEBP, PNG . Free for personal & commercial use.

| ID | layered-granite-seamless-texture |
|---|---|
| Granite | |
| WEBP, PNG | |
| Size | 1k (1024x1024px), 2k (2048x2048px), 4k (4096x4096px), 8k (8192x8192px) |
| sRGB | |
The Layered Granite Seamless Texture is a meticulously crafted AI-generated texture designed to replicate the natural complexity and depth of real granite stone. This texture captures the mineral-rich base substrate of granite composed primarily of quartz feldspar and mica arranged in visible layered aggregates that reflect natural grain orientation and subtle weathering effects. The surface finish suggests a lightly polished stone balancing moderate sheen with natural roughness to convey a realistic tactile feel. Pigmented oxide layers and mineral inclusions add nuanced color variation in the BaseColor/Albedo channel while a carefully tuned Normal map highlights the stratified structure and fine fissures typical of layered granite. The Roughness channel reflects slight surface irregularities avoiding overly smooth or artificial reflections and the Metallic channel remains minimal consistent with the non-metallic nature of granite. Ambient Occlusion enhances crevices between layers emphasizing depth and volume while the Height/Displacement map provides subtle relief for enhanced realism in close-up views or parallax effects.
Engineered within the Basic-materials category for modern 3D pipelines this tileable layered granite seamless texture maintains exceptional clarity and cohesion even when applied to large UV islands making it ideal for quick look development environment art architectural visualization and concept prototyping. The texture supports resolutions up to 8K ensuring fine detail is preserved across high-quality renders. It is fully compatible and optimized for immediate use in Blender Unreal Engine and Unity enabling a fast iteration loop without sacrificing visual fidelity. The seamless tiling is carefully balanced to avoid repetitive artifacts common in auto-generated textures ensuring natural variation across extensive surfaces while maintaining a consistent layered granite appearance.
For best results it is recommended to match texel density when integrating this tileable layered granite seamless texture with other basic-materials textures to maintain uniform detail and reduce pattern stretching. Adjusting roughness values can further refine the stone’s surface interaction with light allowing you to simulate anything from freshly cut granite to weathered exterior finishes. Additionally subtle manipulation of the Height or Parallax map can add convincing depth to flat geometry particularly useful in architectural visualizations where tactile surface realism is critical. This asset offers a reliable and versatile solution for anyone seeking a high-resolution stable and visually rich layered granite seamless texture for their 3D projects.
The ai texture layered granite seamless texture offers a highly detailed seamless layered granite seamless texture ideal for realistic 3D preview applications in PBR material workflows.
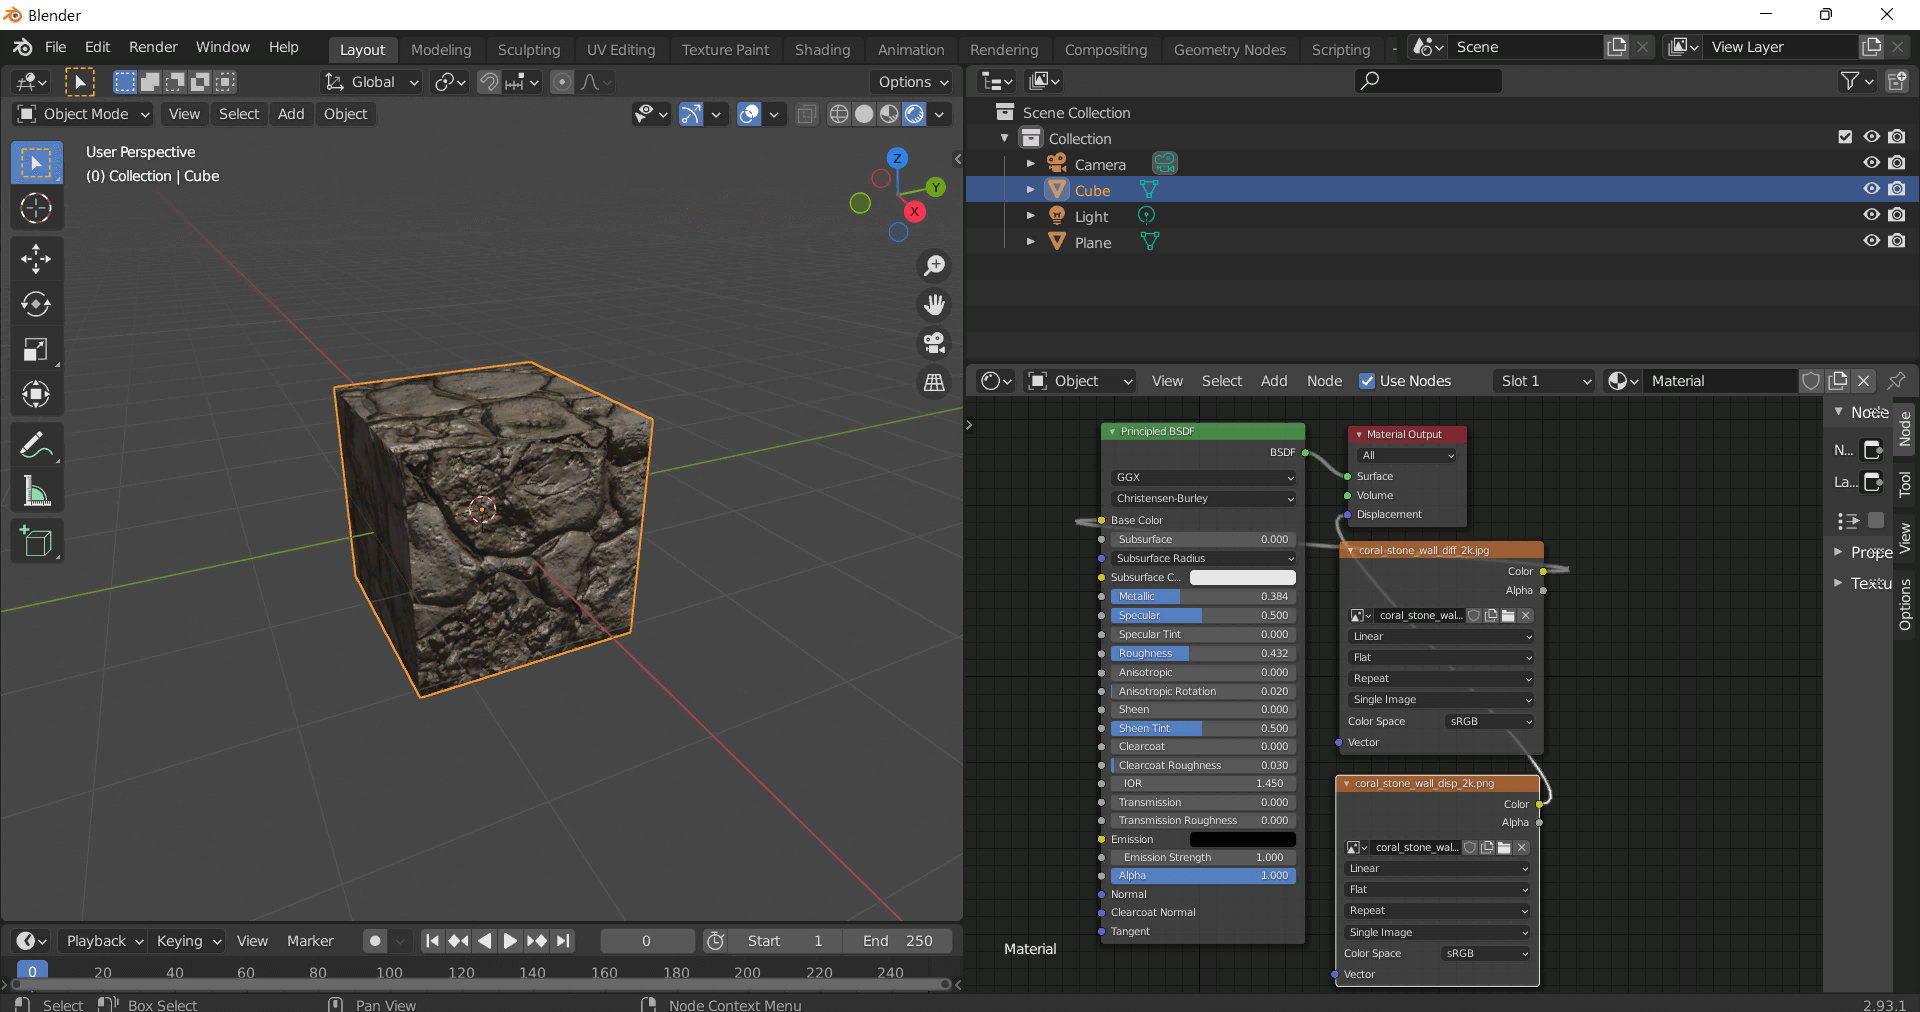
This guide shows how to connect a full PBR texture set to Principled BSDF in Blender (Cycles or Eevee). Works with any of our seamless textures free download, including PBR PNG materials for Blender / Unreal / Unity.
*_albedo.png — Base Color (sRGB)*_normal.png — Normal map (Non-Color)*_roughness.png — Roughness (Non-Color)*_metallic.png — Metallic (Non-Color)*_ao.png — Ambient Occlusion (Non-Color)*_height.png — Height / Displacement (Non-Color)*_ORM.png — Packed map (R=AO, G=Roughness, B=Metallic, Non-Color)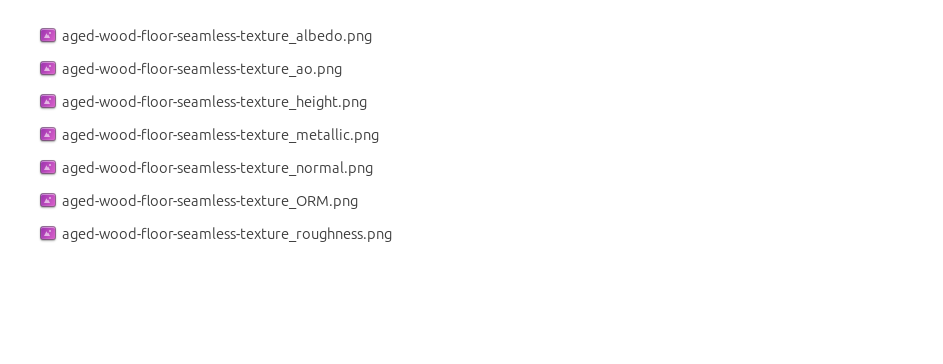
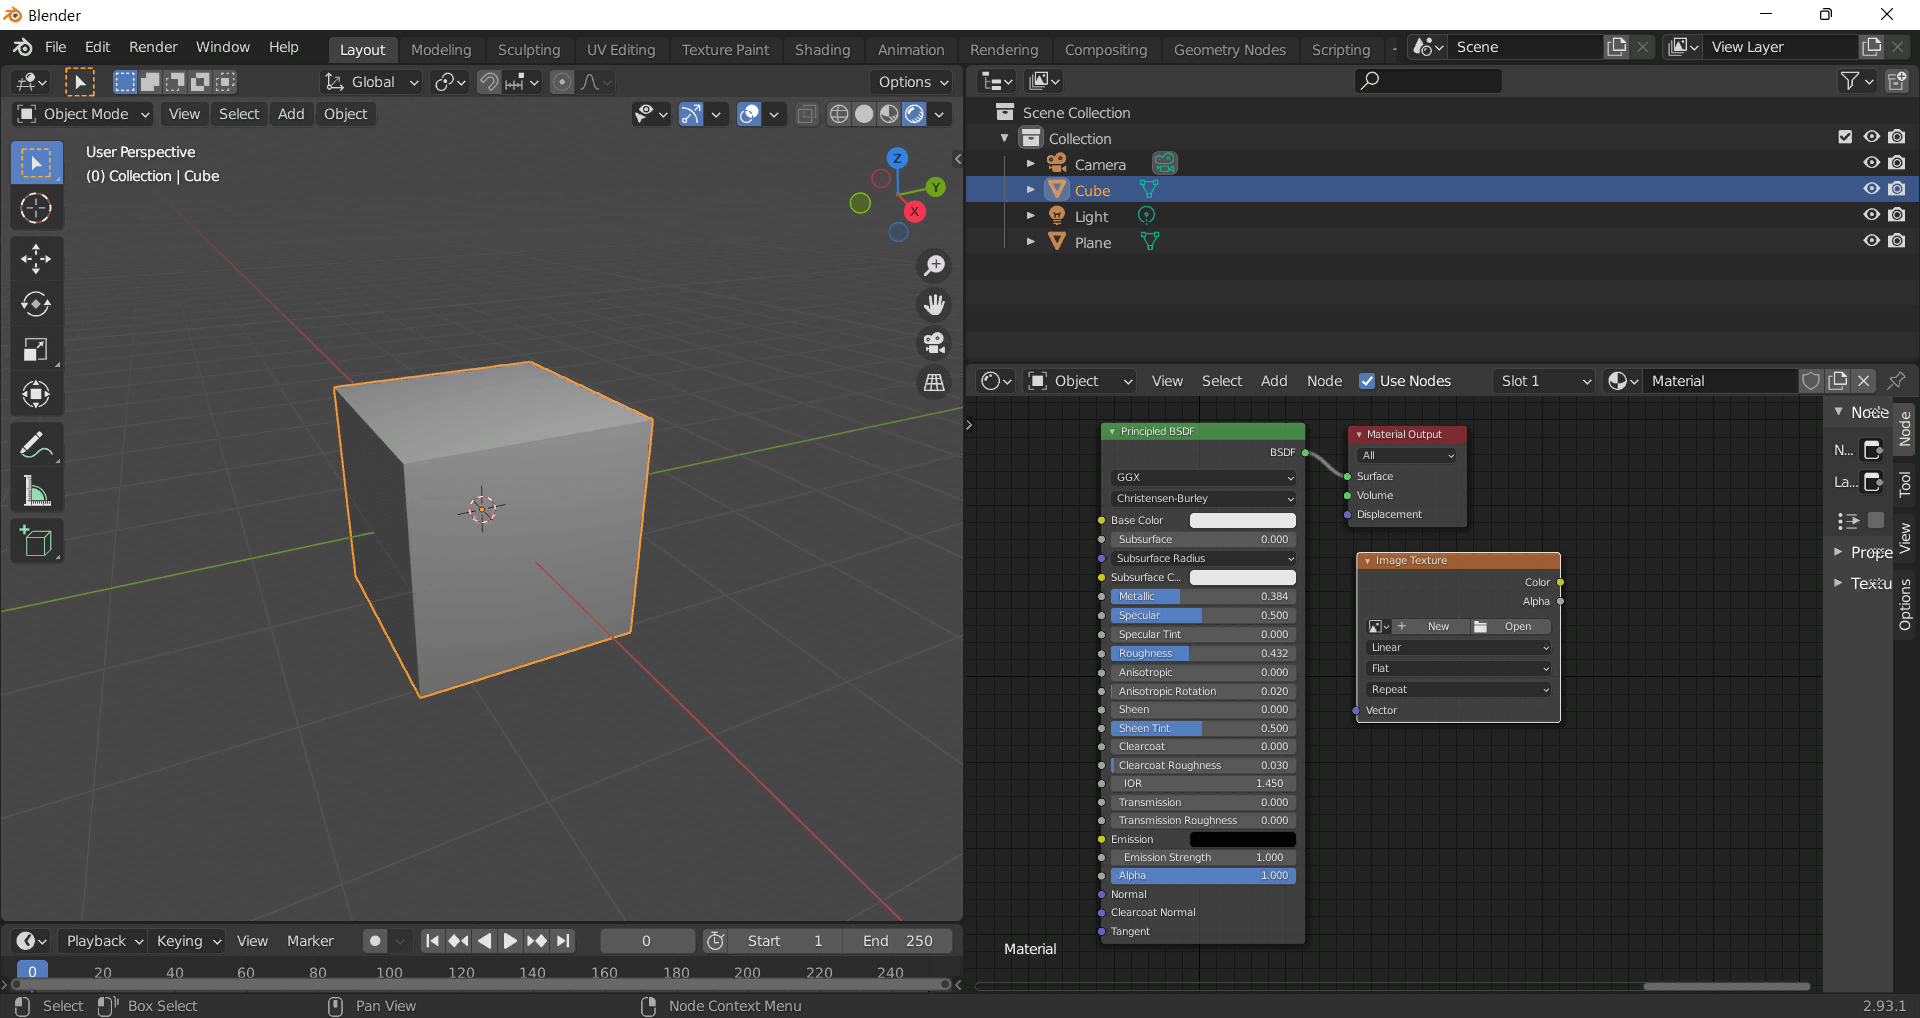
albedo → Base Colorroughness → Roughnessmetallic → Metallic (for wood this often stays near 0)normal → Normal Map node (Type: Tangent Space) → Normal of Principled.
If details look “inverted”, enable Invert Y on the Normal Map node.albedo, Input B = ao, Factor = 1.0.height → Height, set Midlevel = 0.5, Scale = 0.02–0.08 (tune to taste).height → Height.ORM texture (optional)Instead of separate AO/Roughness/Metallic maps you can use the single *_ORM.png:
Example: Download Wood Textures and instantly apply parquet or rustic planks inside Blender for architectural visualization.
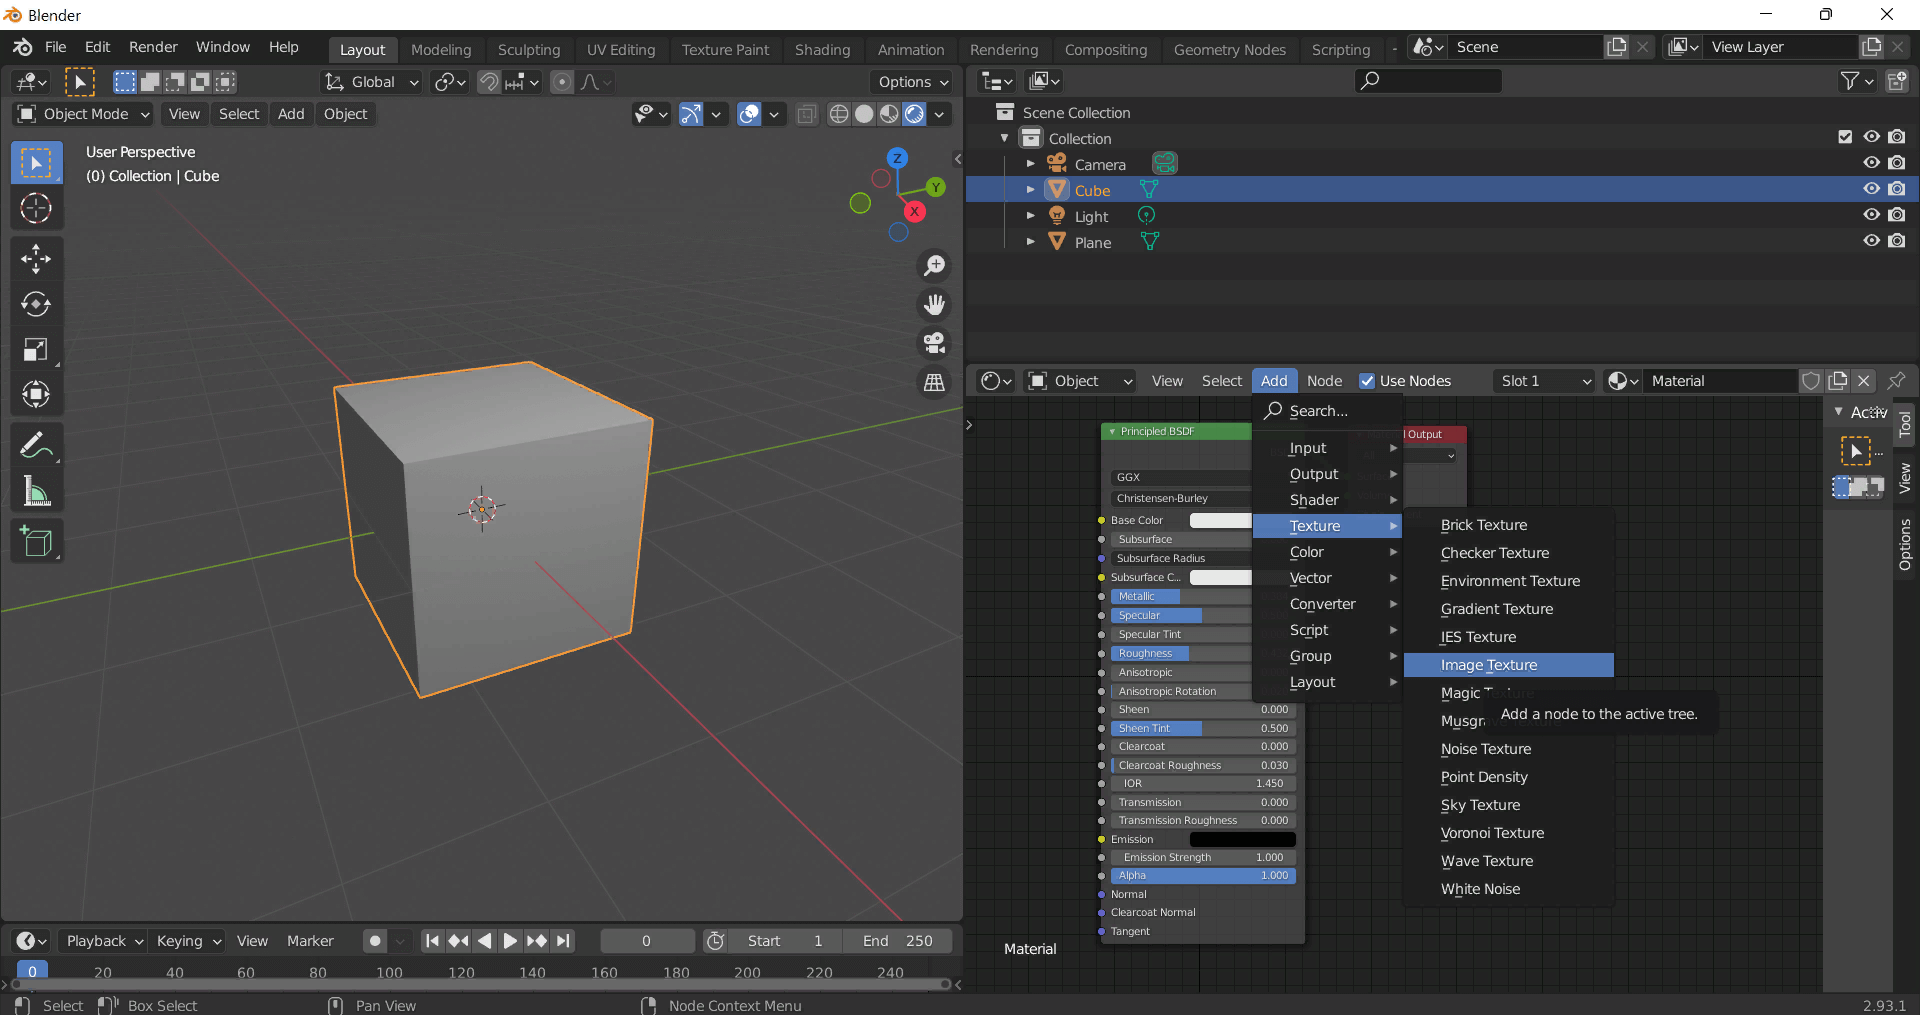
To add the downloaded texture, go to Add — Texture — Image Texture.


Build, preview, and export seamless PBR materials. Generate full map sets from a single image, inspect them in a real-time WebGL viewer, and re-package maps for Unreal, Unity, and Blender—directly in your browser.
AI text-to-texture: type a prompt and get a seamless, tileable base image ready for PBR workflows (great starting point for materials).
Create a full PBR set (Normal, Roughness, AO, Metallic, etc.) from a single image. Seamless and tiling-friendly.
Instant WebGL viewer: inspect materials on a sphere, plane, and cube. Check tiling and lighting in real time.
Re-packages maps per engine: Unreal (BaseColor + ORM), Unity (Mask/MetallicSmoothness), Blender (separate channels).
PNG ↔ JPG ↔ SVG: fast convert, SVG rasterize, embed/trace options, quality & background controls.