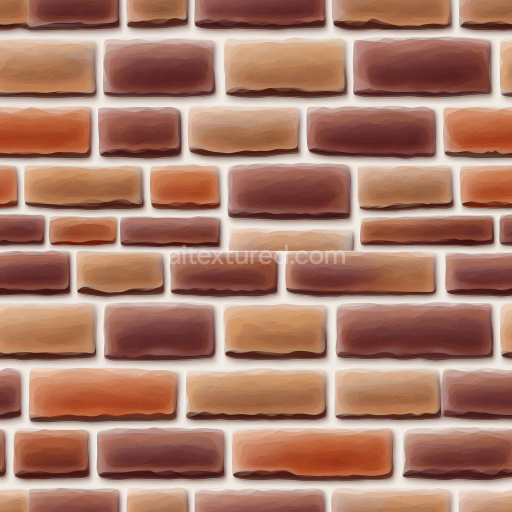
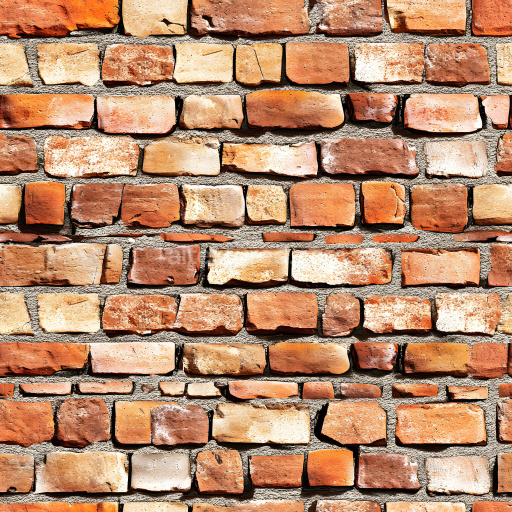
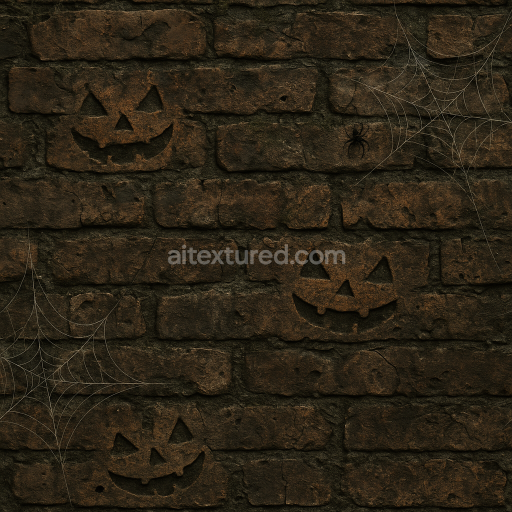
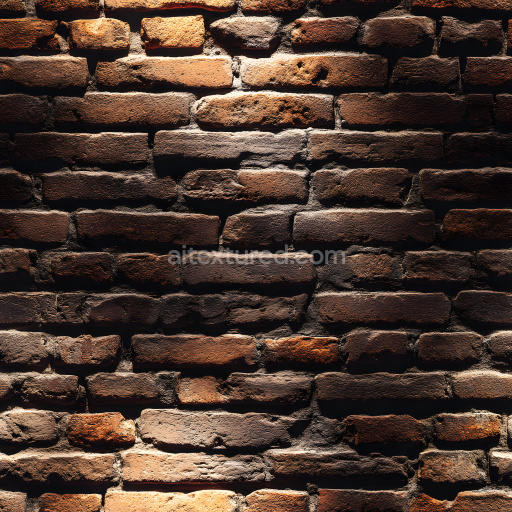
cracked and chipped brick wall PBR texture in warm tones
Seamless texture (tileable) · PNG, WEBP, PBR ZIP. License: AITextured Free Commercial License (FCL) v1.1. Free personal and commercial use. Raw resale, standalone redistribution, mirroring/scraping, competing asset packs, and AI/ML training are not allowed without written permission. Attribution is not required, but appreciated..

| ID | aged-bricks-with-efflorescence |
|---|---|
| Category | Brick |
| Formats | PNG, WEBP, PBR ZIP |
| Size | 1k (1024x1024px), 2k (2048x2048px), 4k (4096x4096px), 8k (8192x8192px) |
| Color | sRGB |
| Tileable | Yes |
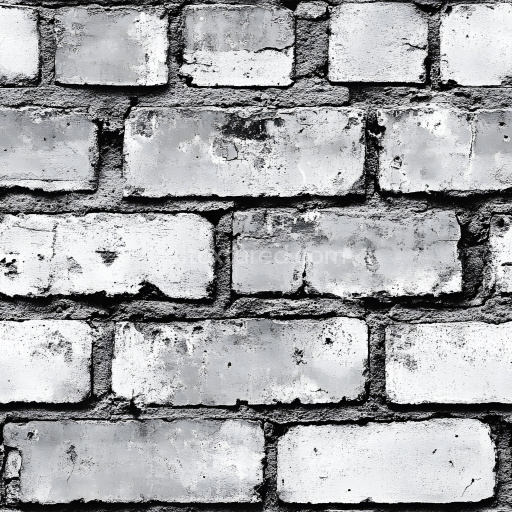
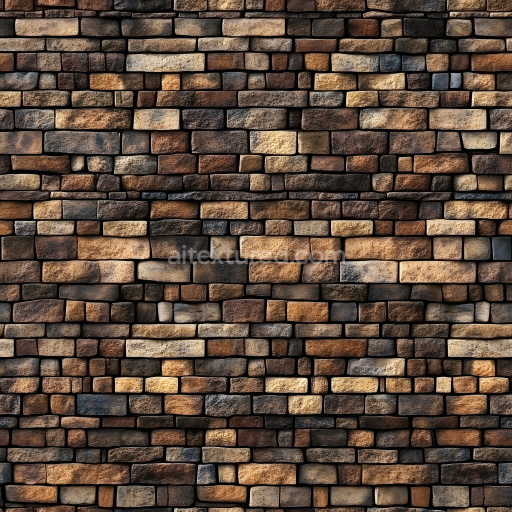
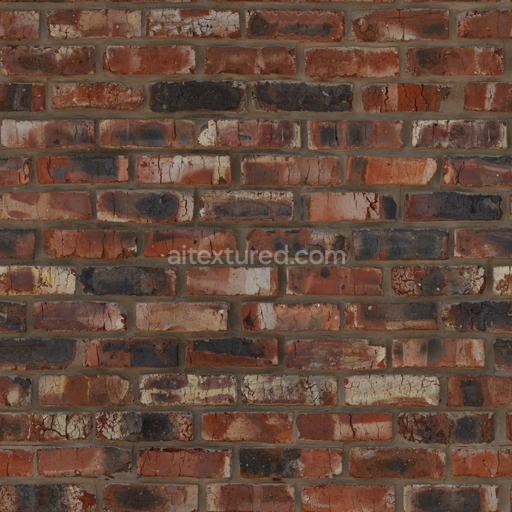
The aged bricks with efflorescence texture authentically represents the complex materiality of traditional masonry surfaces showcasing a mineral-based ceramic substrate primarily composed of fired clay enriched with natural iron oxide pigments. These pigments provide warm reds and earthy browns that define the base color lending a rich organic appearance reminiscent of historic brickwork. Over extended periods the porous ceramic structure absorbs ambient moisture facilitating the migration of soluble salts to the surface where they crystallize as a subtle powdery white efflorescence. This delicate residue overlays the rough matte brick finish enhancing the surface complexity with weathered character. The mortar binder typically a lime-cement composite introduces additional texture variation and irregularities between bricks contributing to the authentic tactile quality of the overall material. Grain orientation and surface pitting are carefully captured to reflect the natural relief and surface roughness inherent to aged brickwork.
These material and compositional details are meticulously encoded across the texture’s physically based rendering (PBR) channels to ensure photorealistic results in modern 3D workflows. The Base Color (Albedo) channel conveys the nuanced brick hues alongside the efflorescence highlights while the Normal and Height maps define the fine-scale surface relief grain direction and mortar depth enhancing the perception of realistic depth and tactile variation. The Roughness map balances light diffusion contrasting the porous slightly abrasive brick faces with the softer powdery efflorescence deposits. The Metallic channel remains neutral reflecting the non-metallic nature of fired clay and lime-based mortar and Ambient Occlusion enhances shadowing in crevices and joints emphasizing the aged weathered appearance. This seamless aged bricks with efflorescence texture supports resolutions up to 8K making it ideal for large architectural surfaces requiring exceptional detail without visible repetition or seams.
Optimized for compatibility with industry-standard tools such as Blender Unreal Engine and Unity this tileable aged bricks with efflorescence texture integrates seamlessly into physically based rendering pipelines with a convenient real-time 3D preview to facilitate fast iteration and accurate material previewing. To achieve the best visual fidelity maintaining consistent UV scaling across models is recommended to avoid distortion and preserve the authenticity of the brick pattern. Additionally fine-tuning the roughness map can further enhance natural light interaction allowing the efflorescence patches to catch highlights realistically and accentuate the nuanced tactile quality of the weathered brick surface. This texture is an excellent resource for environment artists architectural visualization and concept prototyping focused on delivering an authentic richly detailed aged brick material that conveys both structural integrity and the passage of time.
Import the texture maps into Blender with sRGB color space for albedo/base color and Non-Color for normal, roughness, metallic, AO, height, and ORM maps. Connect normal maps through a Normal Map node, then adjust UV scale with a Mapping node so the material repeats naturally on your model.
For the full step-by-step setup, see How to Use Seamless Textures in Blender. Browse related material examples in wood, concrete, and metal.
Yes. This texture is designed as a seamless tileable PBR material, so it can repeat across large surfaces without visible borders.
You can download PNG/WEBP versions and use 1K, 2K, 4K and 8K download options when available on the page.
Yes. The download options and engine-mapped ZIP workflow are designed for Blender, Unreal Engine, Unity Standard, URP and HDRP material pipelines.
Yes. The texture is available under the AITextured free commercial license. Review the license page for redistribution and AI-training restrictions.

Build, preview, and export seamless PBR materials. Generate full map sets from a single image, inspect them in a real-time WebGL viewer, and re-package maps for Unreal, Unity, and Blender—directly in your browser.
AI text-to-texture: type a prompt and get a seamless, tileable base image ready for PBR workflows (great starting point for materials).
Create a full PBR set (Normal, Roughness, AO, Metallic, etc.) from a single image. Seamless and tiling-friendly.
Instant WebGL viewer: inspect materials on a sphere, plane, and cube. Check tiling and lighting in real time.
Re-packages maps per engine: Unreal (BaseColor + ORM), Unity (Mask/MetallicSmoothness), Blender (separate channels).
PNG ↔ JPG ↔ SVG: fast convert, SVG rasterize, embed/trace options, quality & background controls.