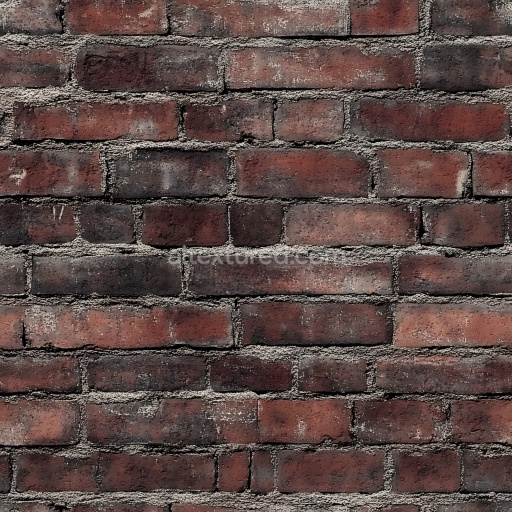
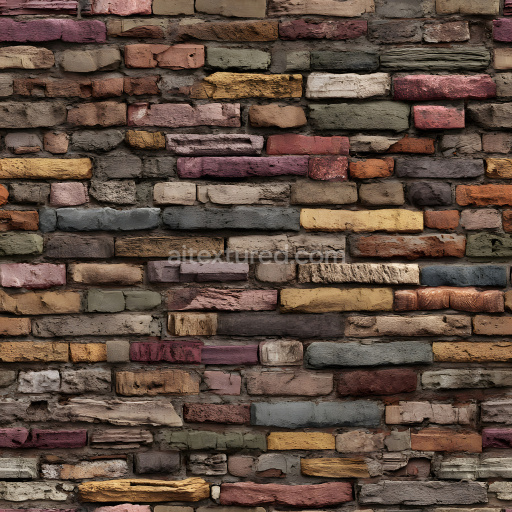
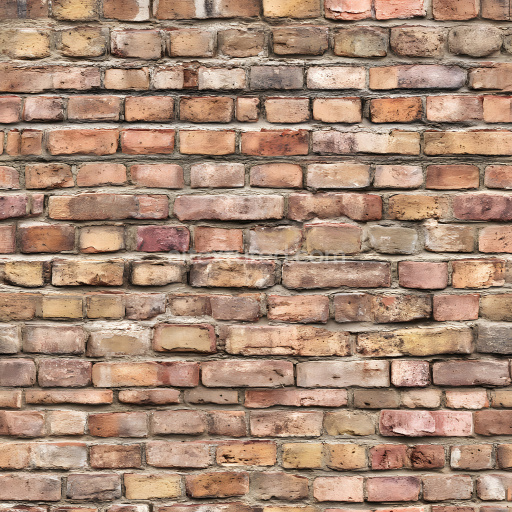
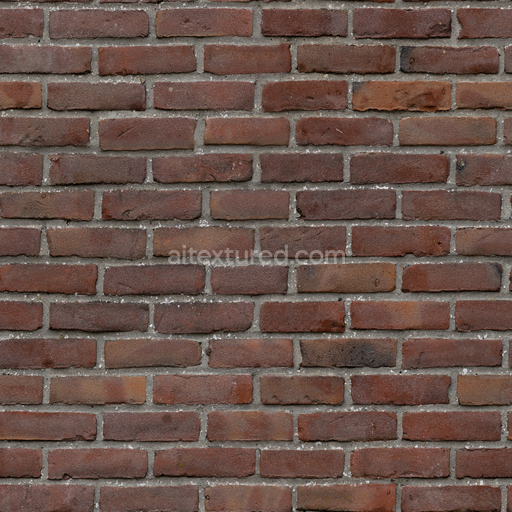
Aged Cracked Brick Wall Seamless Texture with Worn Mortar in Deep Reds and Browns
Seamless texture (tileable) · PNG, WEBP, PBR ZIP. License: AITextured Free Commercial License (FCL) v1.1. Free personal and commercial use. Raw resale, standalone redistribution, mirroring/scraping, competing asset packs, and AI/ML training are not allowed without written permission. Attribution is not required, but appreciated..

| ID | seamless-burnt-brick-3d-texture-pbr-8k-charred-rough-industrial-facade-wall |
|---|---|
| Category | Brick |
| Formats | PNG, WEBP, PBR ZIP |
| Size | 1k (1024x1024px), 2k (2048x2048px), 4k (4096x4096px), 8k (8192x8192px) |
| Color | sRGB |
| Tileable | Yes |
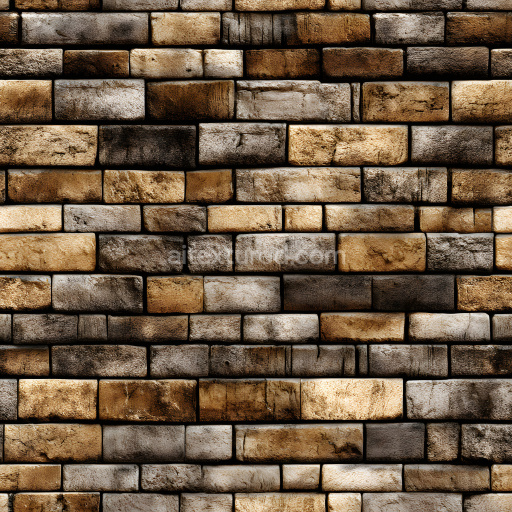
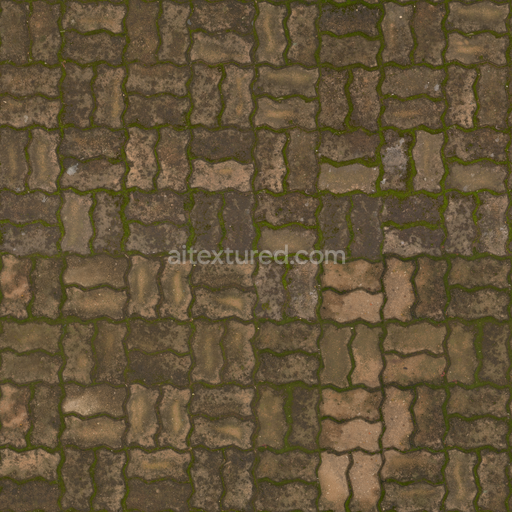
This seamless burnt brick 3D texture presents a detailed brick facade composed of charred rough bricks bonded with thick mortar joints arranged in a precise stack bond pattern. The base material primarily consists of fired clay bricks exhibiting a porous and grainy surface characteristic of traditional masonry. The clay substrate is interspersed with natural mineral aggregates that contribute to the texture’s uneven weathered look. The charring effect results from intense heat exposure causing partial carbonization and blackening of the brick surfaces which enhances surface roughness and alters the pigment distribution. The thick mortar likely a cement-based binder mixed with sand and lime reinforces the structure and introduces additional coarse granularity and irregularities along the joints emphasizing the industrial fire-damaged aesthetic.
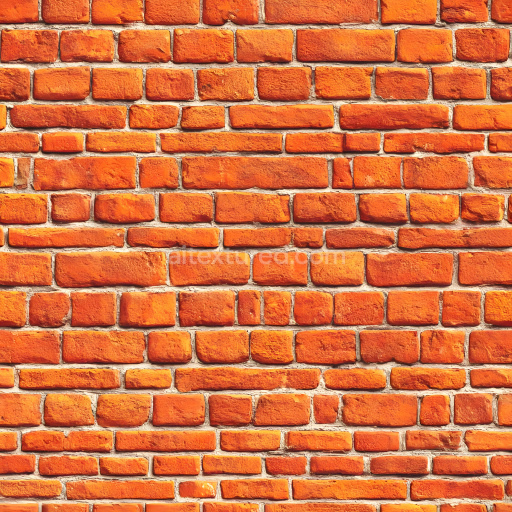
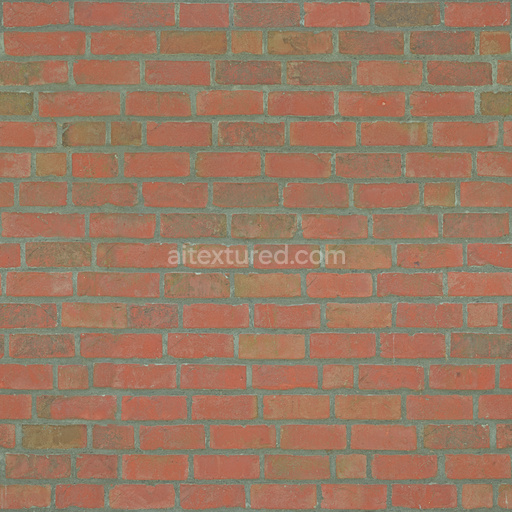
The geometric form of the texture is a classic rectangular brick shape arranged in a stack bond layout meaning the bricks align directly above one another without overlapping producing a uniform grid-like structure. This form accentuates the linearity and modularity of the facade while highlighting the pronounced mortar lines. The surface finish is rough and matte due to the burnt and weathered condition of the bricks avoiding any polished or glossy reflections. Colorants within the base clay range from deep reds and burnt oranges to varying shades of black and charcoal caused by the charring with subtle gradients reflecting soot and ash deposits. These color variations and surface imperfections contribute to the high-fidelity realism of the texture.
Optimized for physically based rendering (PBR) this texture includes several essential maps to accurately simulate material response under diverse lighting conditions. The BaseColor (Albedo) map captures the nuanced burnt hues and mortar coloration. The Normal map encodes fine surface details such as the roughness of the charred brick edges and the granular mortar texture enhancing depth perception without additional geometry. The Roughness map controls the matte finish of the burnt brick surfaces ensuring light scatters diffusely. The Metallic map is effectively zero as none of the components exhibit metallic properties. Ambient Occlusion adds shadowing into crevices and mortar recesses increasing visual depth and realism. Height or Displacement maps provide subtle relief for the porous uneven brick surface contributing to tactile authenticity especially in close-up renders.
Rendered at a high 8K resolution this texture preserves intricate surface details suitable for close inspection in architectural visualizations or game environments. It is fully compatible and ready for integration into Blender Unreal Engine and Unity workflows supporting seamless tiling and efficient shader workflows. For practical use it is recommended to adjust the UV scale carefully to maintain brick proportions appropriate to the scene’s scale. Additionally fine-tuning the roughness values can help simulate varying degrees of weathering or soot accumulation while blending height and normal maps allows for enhanced surface depth without excessive geometry optimizing performance and visual fidelity.
Import the texture maps into Blender with sRGB color space for albedo/base color and Non-Color for normal, roughness, metallic, AO, height, and ORM maps. Connect normal maps through a Normal Map node, then adjust UV scale with a Mapping node so the material repeats naturally on your model.
For the full step-by-step setup, see How to Use Seamless Textures in Blender. Browse related material examples in wood, concrete, and metal.
Yes. This texture is designed as a seamless tileable PBR material, so it can repeat across large surfaces without visible borders.
You can download PNG/WEBP versions and use 1K, 2K, 4K and 8K download options when available on the page.
Yes. The download options and engine-mapped ZIP workflow are designed for Blender, Unreal Engine, Unity Standard, URP and HDRP material pipelines.
Yes. The texture is available under the AITextured free commercial license. Review the license page for redistribution and AI-training restrictions.

Generate, preview, and export seamless PBR materials for Blender, Unity, and Unreal Engine—directly in your browser.
AI text-to-texture: type a prompt and get a seamless, tileable base image ready for PBR workflows (great starting point for materials).
Create a full PBR set (Normal, Roughness, AO, Metallic, etc.) from a single image. Seamless and tiling-friendly.
Instant WebGL viewer: inspect materials on a sphere, plane, and cube. Check tiling and lighting in real time.
Re-packages maps per engine: Unreal (BaseColor + ORM), Unity (Mask/MetallicSmoothness), Blender (separate channels).
PNG ↔ JPG ↔ SVG: fast convert, SVG rasterize, embed/trace options, quality & background controls.