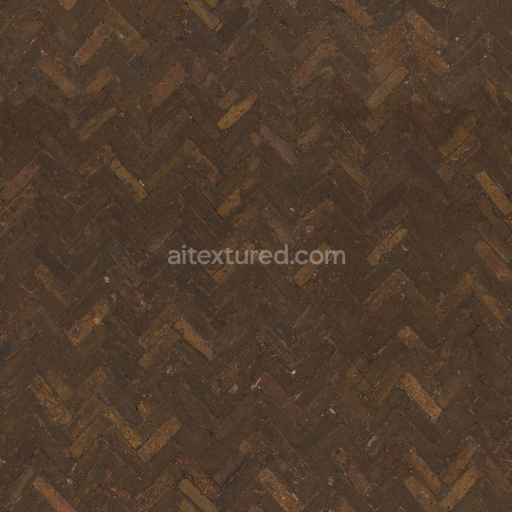
Seamless Bricks 010 by Textures - PBR 3D Texture (8K ready)
Seamless texture (tileable) · PNG, WEBP, PBR ZIP. License: AITextured Free Commercial License (FCL) v1.1. Free personal and commercial use. Raw resale, standalone redistribution, mirroring/scraping, competing asset packs, and AI/ML training are not allowed without written permission. Attribution is not required, but appreciated..

| ID | patterned-painted-brick-texture-seamless |
|---|---|
| Category | Brick |
| Formats | PNG, WEBP, PBR ZIP |
| Size | 1k (1024x1024px), 2k (2048x2048px), 4k (4096x4096px), 8k (8192x8192px) |
| Color | sRGB |
| Tileable | Yes |
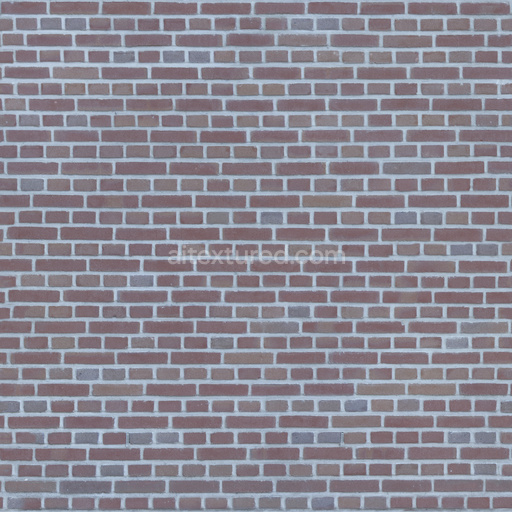
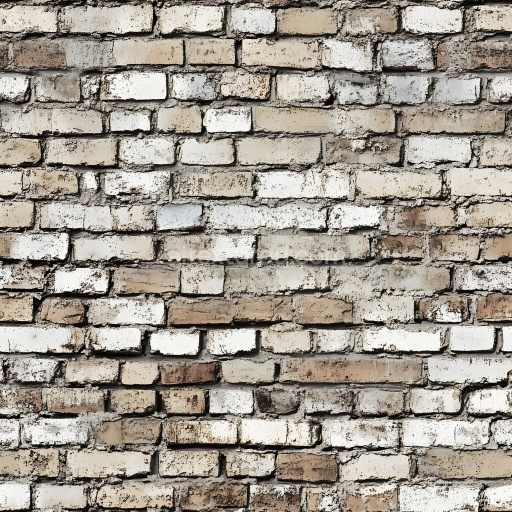
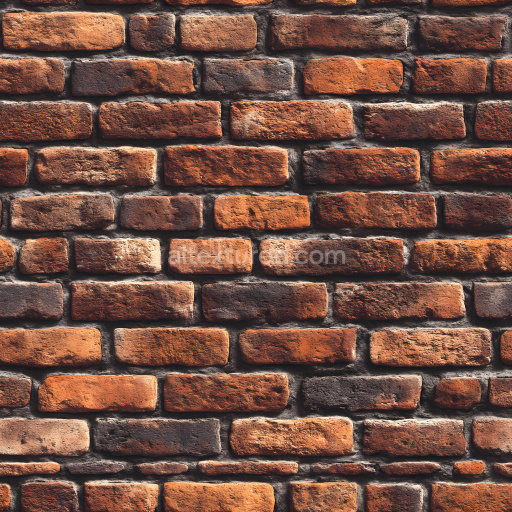
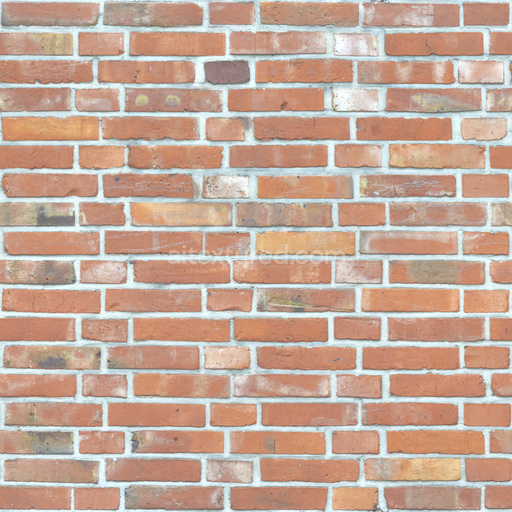
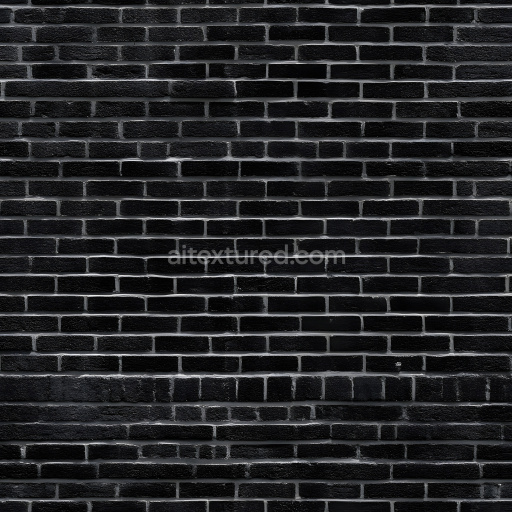
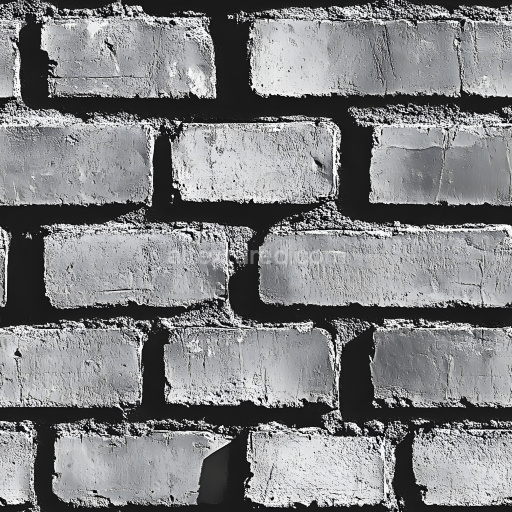
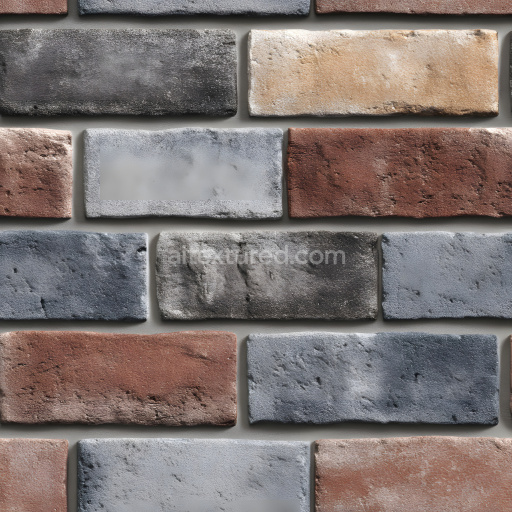
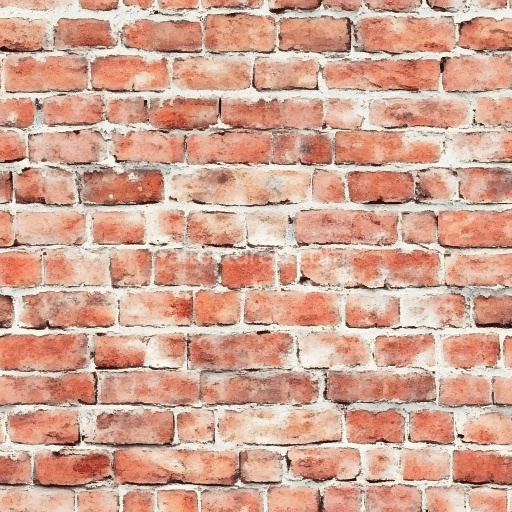
The patterned painted brick texture seamless high resolution up to 8K is crafted to replicate the intricate composition and material qualities of traditional brickwork enhanced with decorative painted patterns. The base substrate consists of fired clay minerals giving the bricks their characteristic ceramic hardness and porous surface. This natural porosity is subtly reflected in the texture’s roughness and displacement channels emphasizing slight surface irregularities and weathered wear. The painted layer simulates mineral-based pigments or oxide dyes applied atop the brick face creating vibrant yet slightly faded patterns that maintain visual cohesion across large tiled surfaces. Adhesion between the paint and brick substrate is mimicked through controlled noise in the roughness and ambient occlusion maps suggesting the micro-textural interaction of pigments bonding to a rough uneven ceramic base.
In physically based rendering (PBR) workflows this tileable patterned painted brick texture seamless high resolution up to 8K excels by offering detailed BaseColor maps that capture rich reds and muted whites of the brick and paint respectively while the Normal and Height maps provide depth to the painted grooves and weathered brick edges enhancing realism without over-sharpening. The Roughness channel is finely tuned to represent the semi-matte finish typical of aged painted brick surfaces balancing subtle glossiness where the paint is intact with rougher patches where the brick substrate shows through. The Metallic channel remains near zero consistent with non-metallic ceramic materials. Ambient Occlusion maps add depth to crevices and mortar joints reinforcing the natural shadows in architectural visualizations. This texture’s high resolution—up to 8k—ensures every detail remains crisp even on large UV islands making it ideal for environment art concept prototyping and quick look development pipelines.
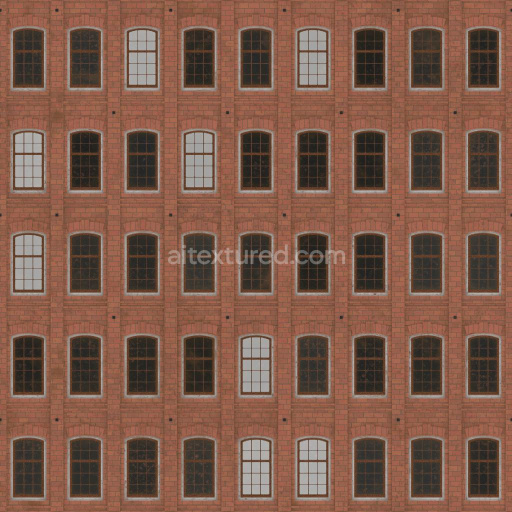
Designed to integrate seamlessly into modern 3D applications this patterned painted brick texture is optimized for Blender Unreal Engine and Unity enabling fast iteration cycles without sacrificing visual fidelity. The seamless tiling feature guarantees smooth repetition across extensive surfaces eliminating visible seams or texture stretching common in lower-quality brick textures. A practical tip for users is to adjust UV scale carefully when applying the texture to avoid pattern repetition becoming too obvious and to pair it with a subtle normal or AO pass to enhance surface breakup gently. Additionally fine-tuning roughness values can simulate varying degrees of weathering and paint wear further enhancing realism in architectural renders or game environments.
This seamless patterned painted brick texture offers a high resolution up to 8K featuring an PBR texture with detailed 3D preview capabilities that enhance its realistic PBR appearance.
Import the texture maps into Blender with sRGB color space for albedo/base color and Non-Color for normal, roughness, metallic, AO, height, and ORM maps. Connect normal maps through a Normal Map node, then adjust UV scale with a Mapping node so the material repeats naturally on your model.
For the full step-by-step setup, see How to Use Seamless Textures in Blender. Browse related material examples in wood, concrete, and metal.
Yes. This texture is designed as a seamless tileable PBR material, so it can repeat across large surfaces without visible borders.
You can download PNG/WEBP versions and use 1K, 2K, 4K and 8K download options when available on the page.
Yes. The download options and engine-mapped ZIP workflow are designed for Blender, Unreal Engine, Unity Standard, URP and HDRP material pipelines.
Yes. The texture is available under the AITextured free commercial license. Review the license page for redistribution and AI-training restrictions.

Generate, preview, and export seamless PBR materials for Blender, Unity, and Unreal Engine—directly in your browser.
AI text-to-texture: type a prompt and get a seamless, tileable base image ready for PBR workflows (great starting point for materials).
Create a full PBR set (Normal, Roughness, AO, Metallic, etc.) from a single image. Seamless and tiling-friendly.
Instant WebGL viewer: inspect materials on a sphere, plane, and cube. Check tiling and lighting in real time.
Re-packages maps per engine: Unreal (BaseColor + ORM), Unity (Mask/MetallicSmoothness), Blender (separate channels).
PNG ↔ JPG ↔ SVG: fast convert, SVG rasterize, embed/trace options, quality & background controls.