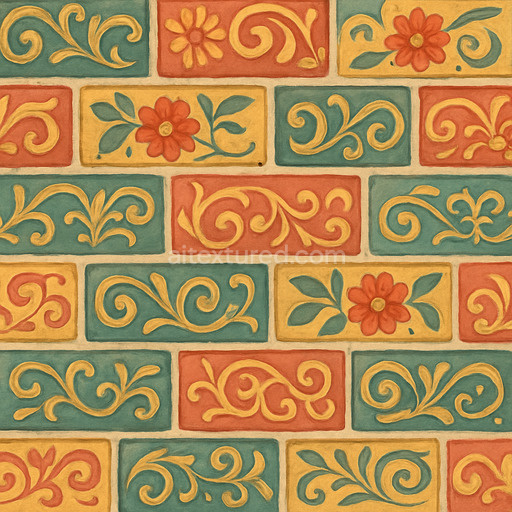
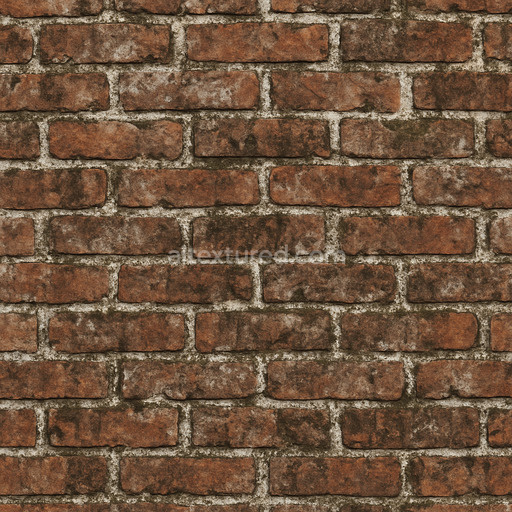
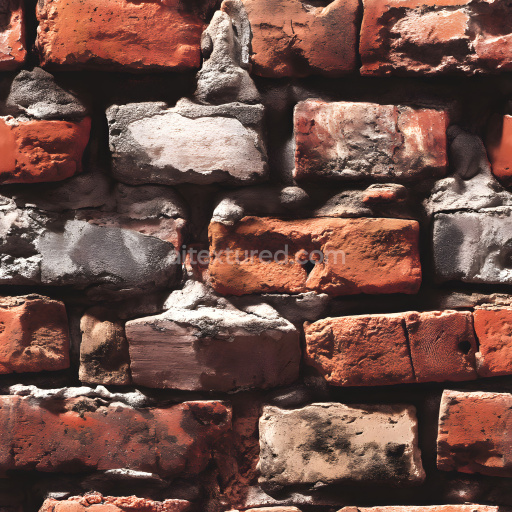
Decorative Painted Brick Seamless Texture
Seamless texture (tileable) · PNG, WEBP, PBR ZIP. License: AITextured Free Commercial License (FCL) v1.1. Free personal and commercial use. Raw resale, standalone redistribution, mirroring/scraping, competing asset packs, and AI/ML training are not allowed without written permission. Attribution is not required, but appreciated..

| ID | seamless-firebrick-3d-texture-pbr-8k-dense-rough-industrial-wall-surface |
|---|---|
| Category | Brick |
| Formats | PNG, WEBP, PBR ZIP |
| Size | 1k (1024x1024px), 2k (2048x2048px), 4k (4096x4096px), 8k (8192x8192px) |
| Color | sRGB |
| Tileable | Yes |
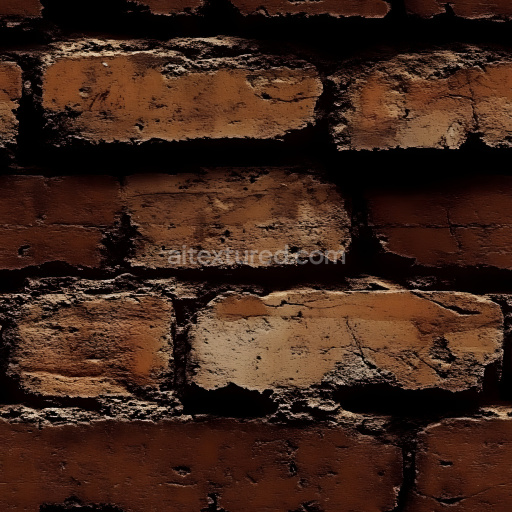
This seamless firebrick 3D texture features a dense arrangement of rough firebricks set in a stack bond pattern where bricks are aligned directly over each other without staggering. Each brick exhibits a thick coarse mortar joint that reinforces the industrial aesthetic typical of refractory wall surfaces. The bricks themselves are composed primarily of alumina and silica-based ceramic substrates known for their high heat resistance and durability in demanding environments such as furnaces kilns and chimneys. The substrate’s granular structure contains fine aggregates that contribute to the porous and grainy texture while the mortar binder is a blend of cementitious materials with mineral additives providing a robust adhesive layer that fills gaps and enhances wall integrity.
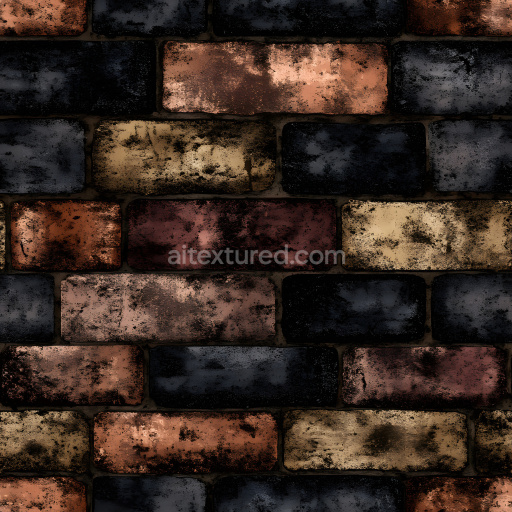
The surface finish of the firebrick texture is notably rough and unpolished reflecting the natural weathering and wear expected in high-temperature industrial settings. Small pits micro-cracks and slight variations in the brick faces create a tactile uneven surface that is carefully captured in the texture’s high-resolution detail. The base color layer (Albedo) showcases warm reddish-brown hues intrinsic to fired clay materials interspersed with darker patches where soot or oxidation might accumulate. The Normal map accurately simulates the subtle depth changes of the porous brick grains and mortar joints enhancing the 3D relief without excessive height displacement. Roughness maps emphasize the matte non-reflective quality of the brick and mortar while the Metallic channel remains close to zero consistent with the non-metallic ceramic composition.
Ambient Occlusion is finely tuned to accentuate crevices between bricks and mortar adding natural shadowing that increases the visual realism in rendering engines. The Height or Displacement map provides moderate depth cues allowing for realistic parallax effects when combined with normal maps. This texture is crafted at an 8K resolution ensuring exceptional detail for close-up renders and large-scale surfaces. It is optimized for physically based rendering (PBR) workflows and is fully compatible with popular platforms such as Blender Unreal Engine and Unity enabling seamless integration into various 3D visualization projects.
For practical application it is recommended to carefully adjust UV scaling to maintain the natural brick proportions and to fine-tune roughness values depending on environmental conditions—lower roughness for cleaner bricks and higher for weathered or soot-covered surfaces. When using height or parallax mapping blend it subtly with normal maps to avoid exaggerated depth effects preserving the texture’s realistic form and dense material feel. This approach ensures the firebrick wall texture delivers both accurate material representation and flexible usability across industrial visualization scenarios.
Import the texture maps into Blender with sRGB color space for albedo/base color and Non-Color for normal, roughness, metallic, AO, height, and ORM maps. Connect normal maps through a Normal Map node, then adjust UV scale with a Mapping node so the material repeats naturally on your model.
For the full step-by-step setup, see How to Use Seamless Textures in Blender. Browse related material examples in wood, concrete, and metal.
Yes. This texture is designed as a seamless tileable PBR material, so it can repeat across large surfaces without visible borders.
You can download PNG/WEBP versions and use 1K, 2K, 4K and 8K download options when available on the page.
Yes. The download options and engine-mapped ZIP workflow are designed for Blender, Unreal Engine, Unity Standard, URP and HDRP material pipelines.
Yes. The texture is available under the AITextured free commercial license. Review the license page for redistribution and AI-training restrictions.


Generate, preview, and export seamless PBR materials for Blender, Unity, and Unreal Engine—directly in your browser.
AI text-to-texture: type a prompt and get a seamless, tileable base image ready for PBR workflows (great starting point for materials).
Create a full PBR set (Normal, Roughness, AO, Metallic, etc.) from a single image. Seamless and tiling-friendly.
Instant WebGL viewer: inspect materials on a sphere, plane, and cube. Check tiling and lighting in real time.
Re-packages maps per engine: Unreal (BaseColor + ORM), Unity (Mask/MetallicSmoothness), Blender (separate channels).
PNG ↔ JPG ↔ SVG: fast convert, SVG rasterize, embed/trace options, quality & background controls.