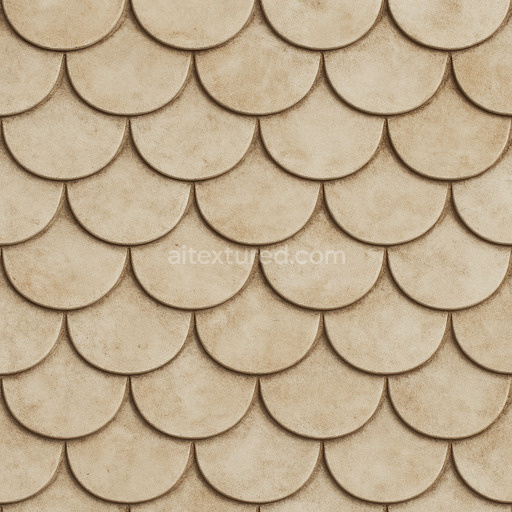
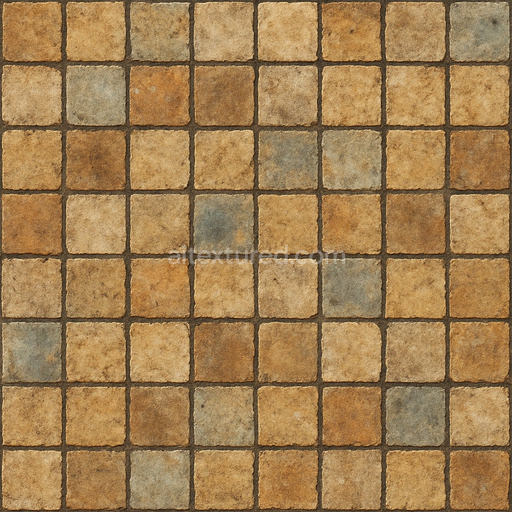
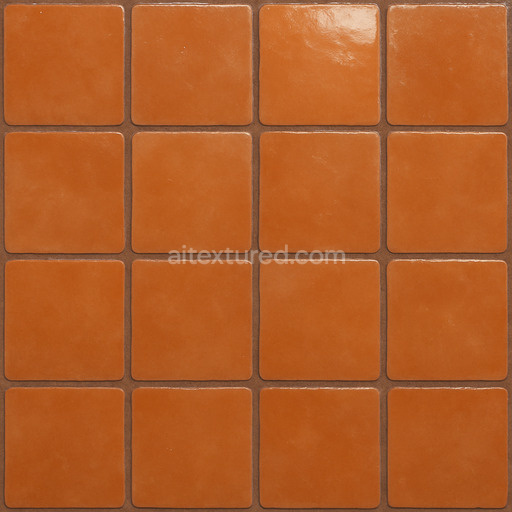
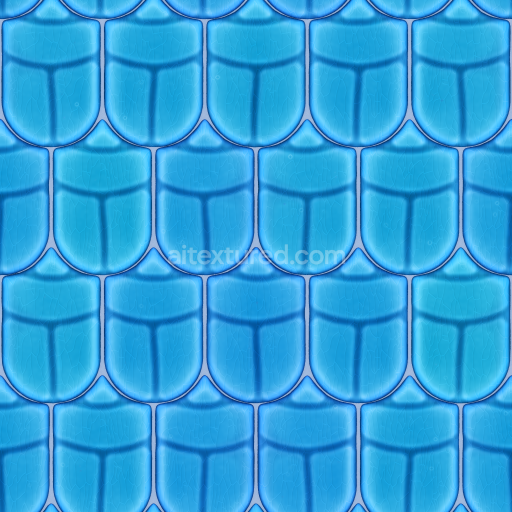
Fish Scale Tiles Scalloped
Seamless texture (tileable) · PNG, WEBP, PBR ZIP. License: AITextured Free Commercial License (FCL) v1.1. Free personal and commercial use. Raw resale, standalone redistribution, mirroring/scraping, competing asset packs, and AI/ML training are not allowed without written permission. Attribution is not required, but appreciated..

| ID | aged-glazed-ceramic-tile-texture-seamless |
|---|---|
| Category | Ceramic-tile |
| Formats | PNG, WEBP, PBR ZIP |
| Size | 1k (1024x1024px), 2k (2048x2048px), 4k (4096x4096px), 8k (8192x8192px) |
| Color | sRGB |
| Tileable | Yes |
This aged glazed ceramic tile texture seamless high resolution up to 8K is a carefully engineered digital material crafted to authentically replicate the nuanced characteristics of traditional ceramic-tile surfaces. The underlying base substrate consists of fine-grained mineral ceramics tightly bonded with a durable vitrified glaze that produces a smooth glassy finish typical of vintage glazed tiles. This glaze is enriched with subtle oxide layers and mineral pigments resulting in a gently weathered color palette with soft variations and slight discolorations that naturally occur through age and exposure. Despite the glaze’s inherently low porosity microscopic imperfections and fine crackling are visible on the surface adding depth and realism that emphasize the aged quality. Beneath the glossy finish the ceramic grains are closely aligned enhancing structural cohesion and creating a refined interplay of light and shadow across the tile’s surface.
Within the PBR workflow this seamless aged glazed ceramic tile texture seamless high resolution up to 8K is mapped across multiple channels to accurately portray its material properties. The BaseColor/Albedo channel captures the warm earthy tones and mottled patina of the glaze while the Normal map reveals subtle surface undulations and micro-cracks that interrupt reflections and add tactile detail. Roughness controls the contrast between the glossy glazed areas and the slightly matte worn sections highlighting the texture’s natural wear patterns. Because ceramics are non-metallic the Metallic channel remains minimal preserving material authenticity. Ambient Occlusion enhances depth perception in crevices and tile joints and the Height/Displacement map simulates minor surface relief and edge wear providing additional dimensionality. This comprehensive channel setup ensures seamless integration into 3D pipelines with clarity and cohesion even on large UV islands.
Optimized for use in Blender Unity and Unreal Engine this tileable aged glazed ceramic tile texture seamless high resolution up to 8K supports ultra-high resolution workflows up to 8K delivering exceptional detail for architectural visualization game environments product mockups and interior staging. To maximize realism carefully scale your UVs to maintain sharpness without pixelation and consider fine-tuning the roughness map to adapt to specific lighting conditions—lower roughness values simulate polished areas while higher values emphasize weathered matte surfaces. Combining this with subtle ambient occlusion and a nuanced normal map pass enhances surface breakup without over-sharpening elevating the authenticity of ceramic-tile textures in any 3D preview or rendering scenario.
Import the texture maps into Blender with sRGB color space for albedo/base color and Non-Color for normal, roughness, metallic, AO, height, and ORM maps. Connect normal maps through a Normal Map node, then adjust UV scale with a Mapping node so the material repeats naturally on your model.
For the full step-by-step setup, see How to Use Seamless Textures in Blender. Browse related material examples in wood, concrete, and metal.
Yes. This texture is designed as a seamless tileable PBR material, so it can repeat across large surfaces without visible borders.
You can download PNG/WEBP versions and use 1K, 2K, 4K and 8K download options when available on the page.
Yes. The download options and engine-mapped ZIP workflow are designed for Blender, Unreal Engine, Unity Standard, URP and HDRP material pipelines.
Yes. The texture is available under the AITextured free commercial license. Review the license page for redistribution and AI-training restrictions.


Generate, preview, and export seamless PBR materials for Blender, Unity, and Unreal Engine—directly in your browser.
AI text-to-texture: type a prompt and get a seamless, tileable base image ready for PBR workflows (great starting point for materials).
Create a full PBR set (Normal, Roughness, AO, Metallic, etc.) from a single image. Seamless and tiling-friendly.
Instant WebGL viewer: inspect materials on a sphere, plane, and cube. Check tiling and lighting in real time.
Re-packages maps per engine: Unreal (BaseColor + ORM), Unity (Mask/MetallicSmoothness), Blender (separate channels).
PNG ↔ JPG ↔ SVG: fast convert, SVG rasterize, embed/trace options, quality & background controls.