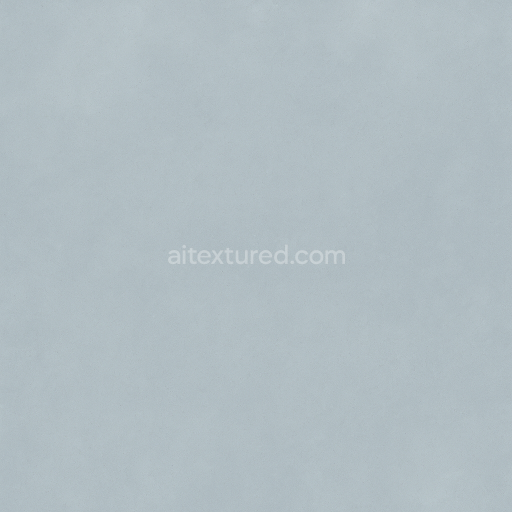
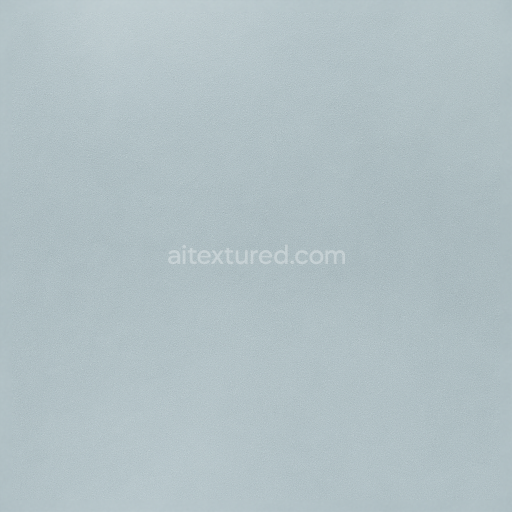
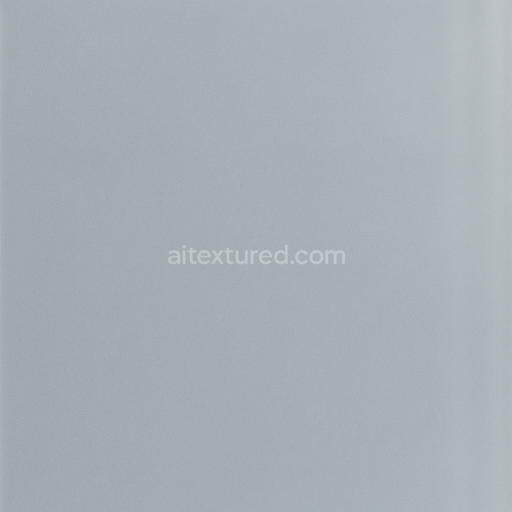
Glass Transparency Effect With Bright Natural Shine PBR In 8K
Seamless texture (tileable) · PNG, WEBP, PBR ZIP. License: AITextured Free Commercial License (FCL) v1.1. Free personal and commercial use. Raw resale, standalone redistribution, mirroring/scraping, competing asset packs, and AI/ML training are not allowed without written permission. Attribution is not required, but appreciated..

| ID | seamless-3d-texture-of-glass-smooth-finish-with-natural-light-and-pure-transparency-in-8k-pbr |
|---|---|
| Category | Clear transparent glass |
| Formats | PNG, WEBP, PBR ZIP |
| Size | 1k (1024x1024px), 2k (2048x2048px), 4k (4096x4096px), 8k (8192x8192px) |
| Color | sRGB |
| Tileable | Yes |
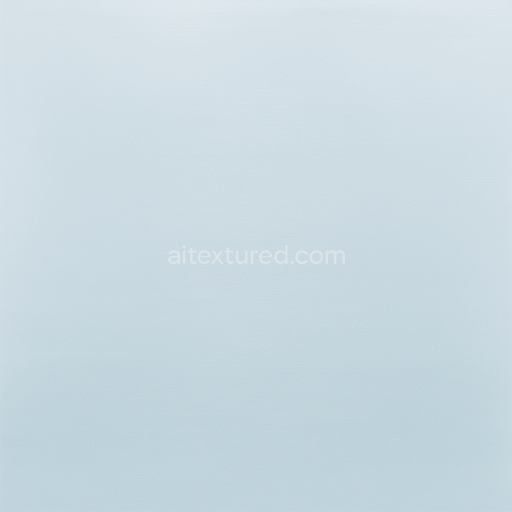
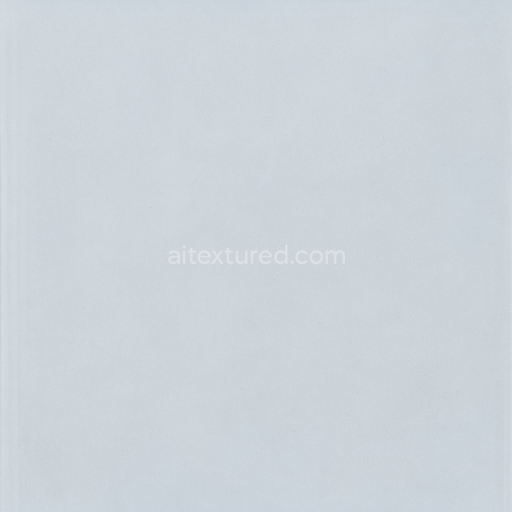
This seamless 3D texture represents a flawless glass surface characterized by exceptional smoothness and pure transparency, rendered at an ultra-high 8K resolution. The material is based on a clear soda-lime glass substrate, renowned for its optical clarity and minimal color distortion. Its composition includes a highly refined silica matrix bonded with calcium oxide and sodium oxide, resulting in a non-porous, dense structure that prevents haze, frost, or condensation. The absence of dust, dirt, smudges, fingerprints, and stains is achieved through a perfectly polished finish, which enhances the natural light transmission and refractive qualities inherent to crystal-clear glass.
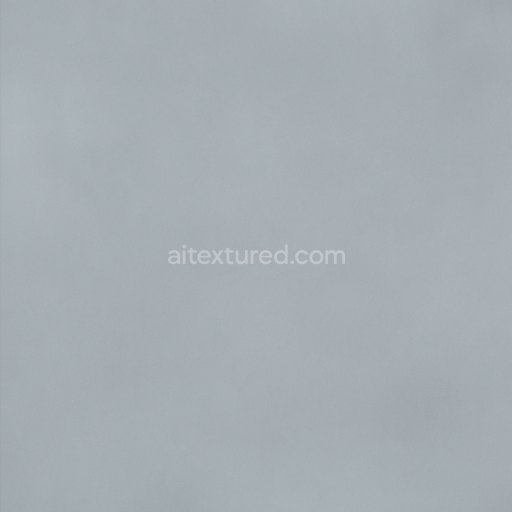
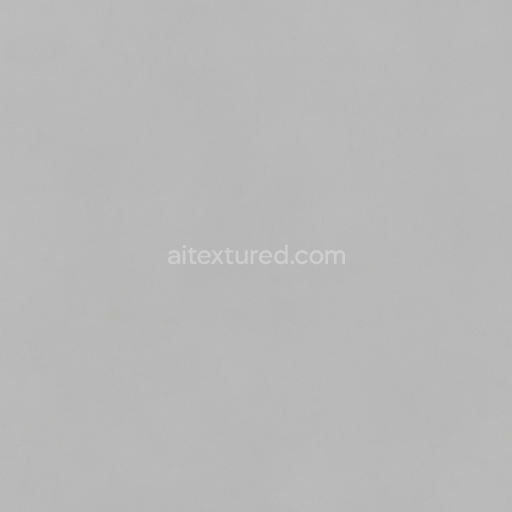
The geometric form of this texture is uniform and planar, with a smooth finish that lacks any visible grain, veining, or texture irregularities. This ensures a seamless tileable surface suitable for large-scale architectural visualizations, product designs, or any 3D environment requiring pristine glass elements. The physically based rendering (PBR) material channels are carefully crafted to reflect the optical and physical properties of polished glass: the Base Color (Albedo) remains nearly transparent with slight subtle tinting to replicate natural light interaction, the Normal map is minimal to preserve surface smoothness without artificial bumps, and the Roughness map is kept very low to simulate a clean, polished surface that reflects light sharply without diffusion. The Metallic channel is set to zero since glass is non-metallic, while the Ambient Occlusion subtly enhances edge definition without compromising transparency. Height and Displacement maps are negligible given the flatness of the glass surface but can be used sparingly for slight edge beveling if desired.
This texture is fully optimized and ready for integration into Blender, Unreal Engine, and Unity workflows, providing versatility across different rendering engines and pipelines. The 8K resolution ensures detailed clarity even under close inspection, preserving the crispness of the glass smoothness and purity of transparency. When applying this texture, it is advisable to adjust the UV scale carefully to maintain the seamless effect without visible repetition. Additionally, fine-tuning the roughness parameter can help achieve the desired level of reflectivity and subtle light diffusion, especially when simulating various environmental lighting conditions. For enhanced realism, blending the normal map with subtle height or parallax effects can create convincing edge highlights without compromising the overall clean glass look.
Import the texture maps into Blender with sRGB color space for albedo/base color and Non-Color for normal, roughness, metallic, AO, height, and ORM maps. Connect normal maps through a Normal Map node, then adjust UV scale with a Mapping node so the material repeats naturally on your model.
For the full step-by-step setup, see How to Use Seamless Textures in Blender. Browse related material examples in wood, concrete, and metal.
Yes. This texture is designed as a seamless tileable PBR material, so it can repeat across large surfaces without visible borders.
You can download PNG/WEBP versions and use 1K, 2K, 4K and 8K download options when available on the page.
Yes. The download options and engine-mapped ZIP workflow are designed for Blender, Unreal Engine, Unity Standard, URP and HDRP material pipelines.
Yes. The texture is available under the AITextured free commercial license. Review the license page for redistribution and AI-training restrictions.


Build, preview, and export seamless PBR materials. Generate full map sets from a single image, inspect them in a real-time WebGL viewer, and re-package maps for Unreal, Unity, and Blender—directly in your browser.
AI text-to-texture: type a prompt and get a seamless, tileable base image ready for PBR workflows (great starting point for materials).
Create a full PBR set (Normal, Roughness, AO, Metallic, etc.) from a single image. Seamless and tiling-friendly.
Instant WebGL viewer: inspect materials on a sphere, plane, and cube. Check tiling and lighting in real time.
Re-packages maps per engine: Unreal (BaseColor + ORM), Unity (Mask/MetallicSmoothness), Blender (separate channels).
PNG ↔ JPG ↔ SVG: fast convert, SVG rasterize, embed/trace options, quality & background controls.