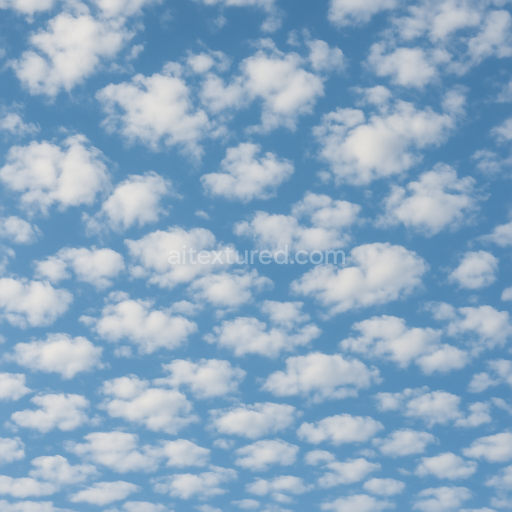
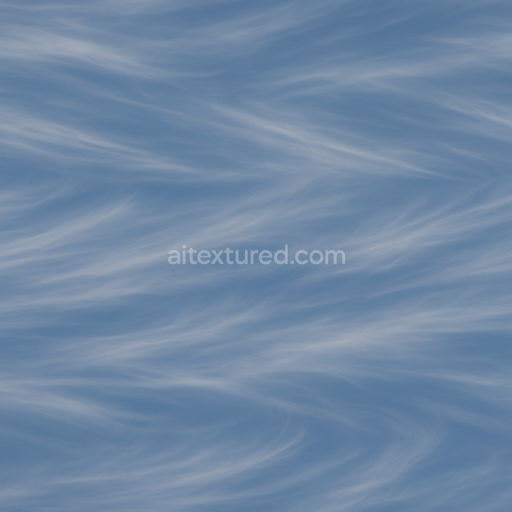
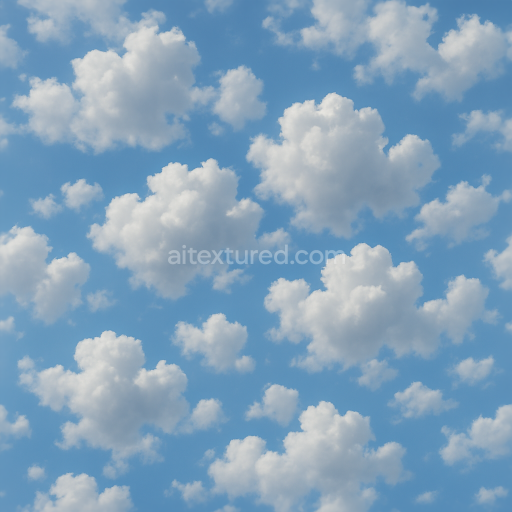
Sunlit Altocumulus Billowy Cloud Patches
Seamless texture (tileable) · PNG, WEBP, PBR ZIP. License: AITextured Free Commercial License (FCL) v1.1. Free personal and commercial use. Raw resale, standalone redistribution, mirroring/scraping, competing asset packs, and AI/ML training are not allowed without written permission. Attribution is not required, but appreciated..

| ID | futuristic-cirrus-seamless-texture |
|---|---|
| Category | Clouds |
| Formats | PNG, WEBP, PBR ZIP |
| Size | 1k (1024x1024px), 2k (2048x2048px), 4k (4096x4096px), 8k (8192x8192px) |
| Color | sRGB |
| Tileable | Yes |
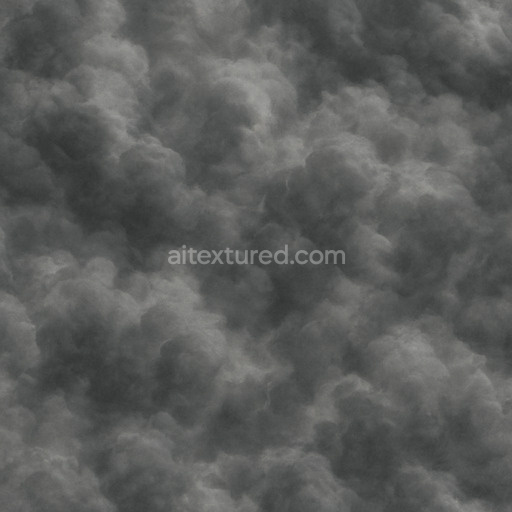
The Futuristic Cirrus Seamless Texture is a meticulously engineered tileable texture designed to emulate the delicate wispy formations characteristic of cirrus clouds reimagined with a modern futuristic aesthetic. This texture’s base substrate conceptually mirrors a lightweight semi-translucent polymer matrix akin to fine fibrous composites providing an organic yet structured foundation. Within this matrix subtle gradients and layered pigment dispersions simulate natural cloud translucency while micro-scale variations replicate the airy ethereal quality of high-altitude cirrus formations. The texture’s surface finish suggests a soft matte appearance with minimal specular highlights enhancing the sense of diffuse light scattering through thin fibrous layers. This interplay of smooth base color and fine structural detail is captured across the PBR channels with BaseColor/Albedo delivering soft whites and pale blues blended seamlessly Normal maps encoding delicate airflow patterns and wispy striations and Roughness maps tuned to moderate values that balance softness with subtle surface complexity. The Metallic channel remains unused reinforcing the non-metallic organic nature of the texture while Ambient Occlusion enhances depth in crevices and overlapping fiber layers and Height/Displacement maps add realistic volumetric subtlety to the cloud contours.
Crafted for compatibility with modern 3D pipelines this seamless futuristic cirrus seamless texture performs exceptionally well on large UV islands without losing clarity or cohesion thanks to its high-resolution output of up to 8K. Its seamless tileability ensures smooth repetition for expansive environments such as architectural visualization game worlds product mockups and interior staging where immersive cloud-like surfaces or backgrounds are required. The texture integrates effortlessly out of the box with leading platforms including Blender Unreal Engine and Unity accelerating iteration loops with reliable consistency and production-ready quality. To achieve the best visual results it is recommended to maintain consistent texel density across all assets and apply uniform UV scaling to minimize distortion and pattern stretching. For environments requiring greater surface depth subtle fine-tuning of the roughness channel can help simulate varying atmospheric moisture while careful use of the Height/Displacement map enhances parallax effects for added realism.
By combining advanced AI-driven micro-detail synthesis with structural consistency this tileable futuristic cirrus seamless texture delivers a convincing cloud surface ideal for digital content creators seeking a balance of realism and stylized futurism. Its carefully curated composition reflects both natural cloud complexity and futuristic design principles making it a versatile asset for any 3D project that demands high-quality seamless clouds textures with comprehensive PBR support and ready-to-use compatibility for real-time 3D preview workflows.
Import the texture maps into Blender with sRGB color space for albedo/base color and Non-Color for normal, roughness, metallic, AO, height, and ORM maps. Connect normal maps through a Normal Map node, then adjust UV scale with a Mapping node so the material repeats naturally on your model.
For the full step-by-step setup, see How to Use Seamless Textures in Blender. Browse related material examples in wood, concrete, and metal.
Yes. This texture is designed as a seamless tileable PBR material, so it can repeat across large surfaces without visible borders.
You can download PNG/WEBP versions and use 1K, 2K, 4K and 8K download options when available on the page.
Yes. The download options and engine-mapped ZIP workflow are designed for Blender, Unreal Engine, Unity Standard, URP and HDRP material pipelines.
Yes. The texture is available under the AITextured free commercial license. Review the license page for redistribution and AI-training restrictions.
Build, preview, and export seamless PBR materials. Generate full map sets from a single image, inspect them in a real-time WebGL viewer, and re-package maps for Unreal, Unity, and Blender—directly in your browser.
AI text-to-texture: type a prompt and get a seamless, tileable base image ready for PBR workflows (great starting point for materials).
Create a full PBR set (Normal, Roughness, AO, Metallic, etc.) from a single image. Seamless and tiling-friendly.
Instant WebGL viewer: inspect materials on a sphere, plane, and cube. Check tiling and lighting in real time.
Re-packages maps per engine: Unreal (BaseColor + ORM), Unity (Mask/MetallicSmoothness), Blender (separate channels).
PNG ↔ JPG ↔ SVG: fast convert, SVG rasterize, embed/trace options, quality & background controls.