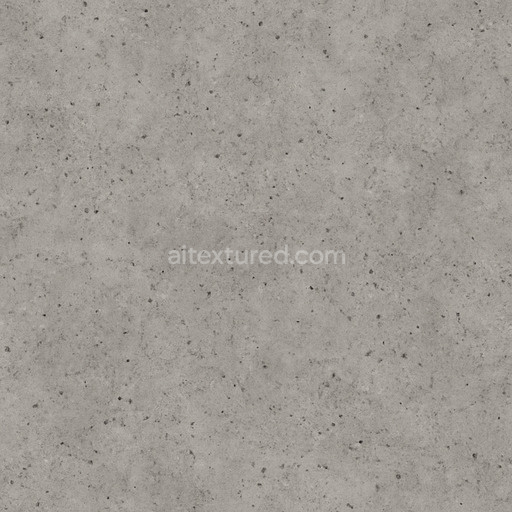
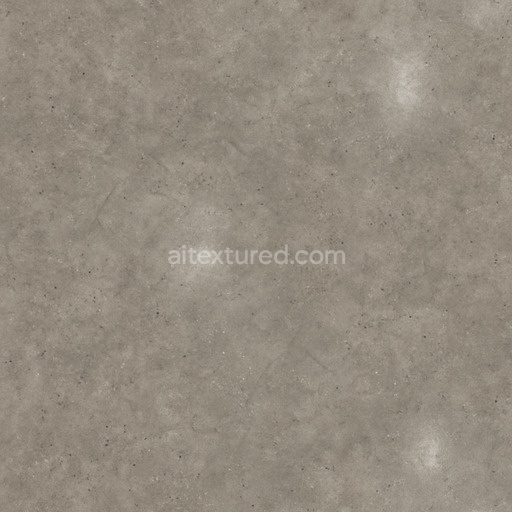
Rough Concrete
Seamless texture (tileable) · PNG, WEBP, PBR ZIP. License: AITextured Free Commercial License (FCL) v1.1. Free personal and commercial use. Raw resale, standalone redistribution, mirroring/scraping, competing asset packs, and AI/ML training are not allowed without written permission. Attribution is not required, but appreciated..

| ID | gray-wall-or-floor-of-larger-darker-and-smaller-lighter-tiles-free-pbr |
|---|---|
| Category | Concrete |
| Formats | PNG, WEBP, PBR ZIP |
| Size | 1k (1024x1024px), 2k (2048x2048px), 4k (4096x4096px), 8k (8192x8192px) |
| Color | sRGB |
| Tileable | Yes |
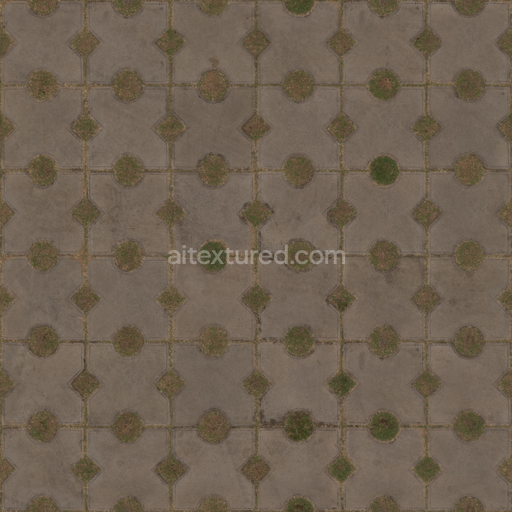
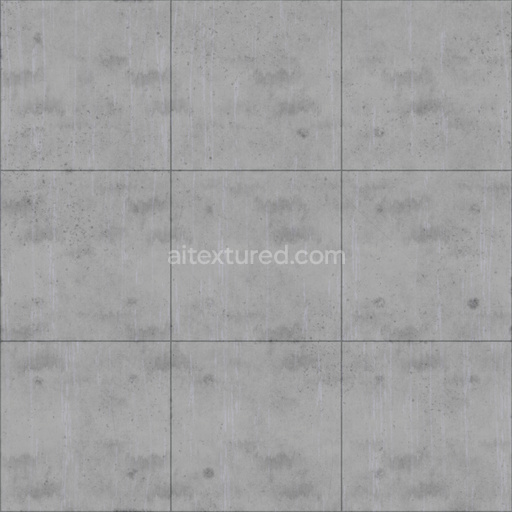
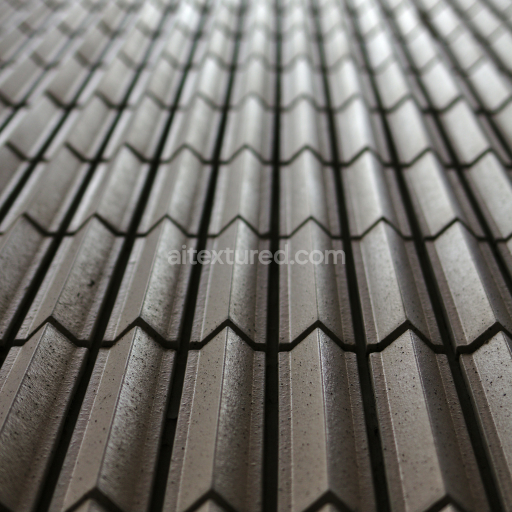
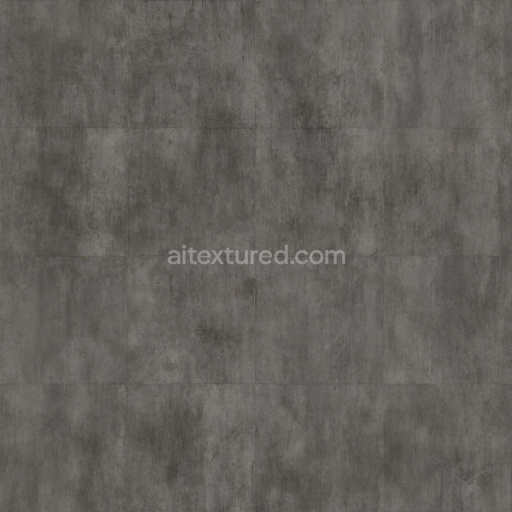
This Gray Wall or Floor texture showcases a sophisticated pattern composed of larger darker rectangular tiles interspersed with smaller lighter tiles, arranged with a subtle offset that adds visual interest and depth. The base material mimics concrete, characterized by a dense mineral matrix bound together with cementitious adhesives, which provide structural integrity and durability. Fine aggregates embedded within the substrate contribute slight surface variation and natural grain, while minimal porosity ensures moderate weather resistance. The finish is matte with a gently brushed effect, enhancing the tactile quality without excessive gloss. Pigments based on oxide layers create the distinctive gray palette, with darker tiles containing higher concentrations of iron oxides and lighter tiles exhibiting diluted pigment dispersion, resulting in a balanced, neutral-toned composition suitable for both wall cladding and floor applications.
In physically based rendering (PBR) workflows, this texture’s BaseColor (Albedo) channel accurately reflects the dual-tone gray pattern, capturing subtle tonal shifts between the larger and smaller tiles. The Normal map introduces realistic surface relief, emphasizing the offset tile edges and slight surface imperfections typical of concrete materials. Roughness values are calibrated to emulate the semi-porous, brushed concrete finish—moderate roughness reduces specular highlights without flattening the texture’s inherent details. The Metallic channel remains null, consistent with the non-metallic concrete substrate, while Ambient Occlusion enhances depth perception in crevices and tile joints. Height or Displacement maps provide fine elevation data, allowing for convincing parallax effects and realistic shadowing in game engines or 3D renderers.
Rendered at an ultra-high 8K resolution, this texture is optimized for use in detailed architectural visualizations and game environments. It integrates seamlessly with popular platforms such as Blender, Unreal Engine, and Unity, ensuring flexible deployment across diverse projects. For practical application, adjusting the UV scale can help maintain the pattern’s natural proportions on large surfaces, while fine-tuning roughness parameters allows users to simulate varying degrees of surface wear or environmental exposure. This versatility makes the texture an excellent choice for designers seeking a neutral yet structured concrete appearance for both interior walls and exterior pavements.
Import the texture maps into Blender with sRGB color space for albedo/base color and Non-Color for normal, roughness, metallic, AO, height, and ORM maps. Connect normal maps through a Normal Map node, then adjust UV scale with a Mapping node so the material repeats naturally on your model.
For the full step-by-step setup, see How to Use Seamless Textures in Blender. Browse related material examples in wood, concrete, and metal.
Yes. This texture is designed as a seamless tileable PBR material, so it can repeat across large surfaces without visible borders.
You can download PNG/WEBP versions and use 1K, 2K, 4K and 8K download options when available on the page.
Yes. The download options and engine-mapped ZIP workflow are designed for Blender, Unreal Engine, Unity Standard, URP and HDRP material pipelines.
Yes. The texture is available under the AITextured free commercial license. Review the license page for redistribution and AI-training restrictions.


Build, preview, and export seamless PBR materials. Generate full map sets from a single image, inspect them in a real-time WebGL viewer, and re-package maps for Unreal, Unity, and Blender—directly in your browser.
AI text-to-texture: type a prompt and get a seamless, tileable base image ready for PBR workflows (great starting point for materials).
Create a full PBR set (Normal, Roughness, AO, Metallic, etc.) from a single image. Seamless and tiling-friendly.
Instant WebGL viewer: inspect materials on a sphere, plane, and cube. Check tiling and lighting in real time.
Re-packages maps per engine: Unreal (BaseColor + ORM), Unity (Mask/MetallicSmoothness), Blender (separate channels).
PNG ↔ JPG ↔ SVG: fast convert, SVG rasterize, embed/trace options, quality & background controls.