
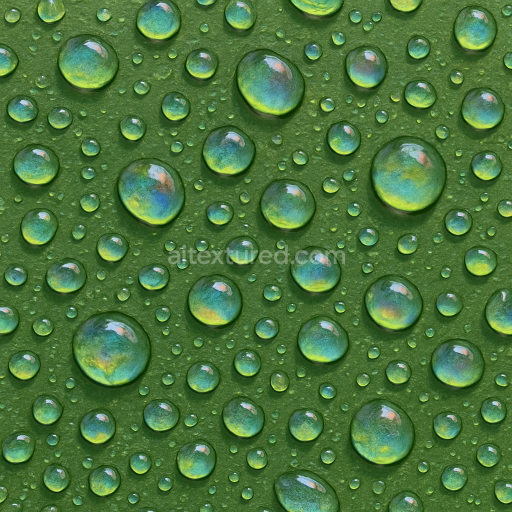
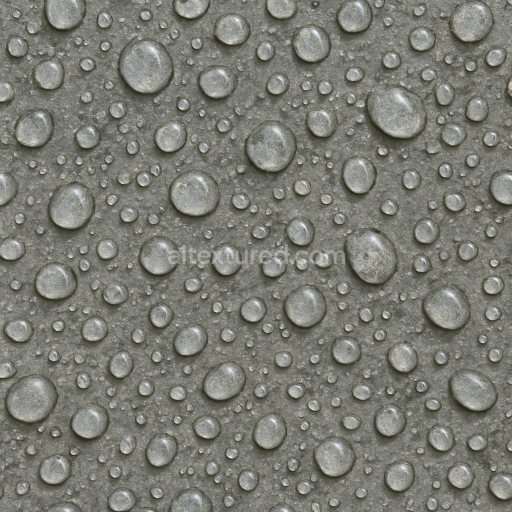
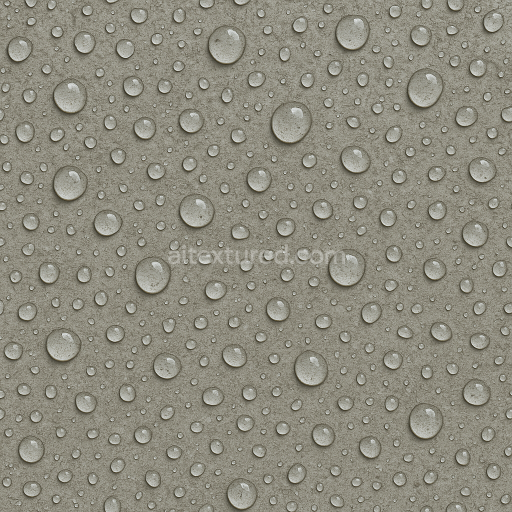
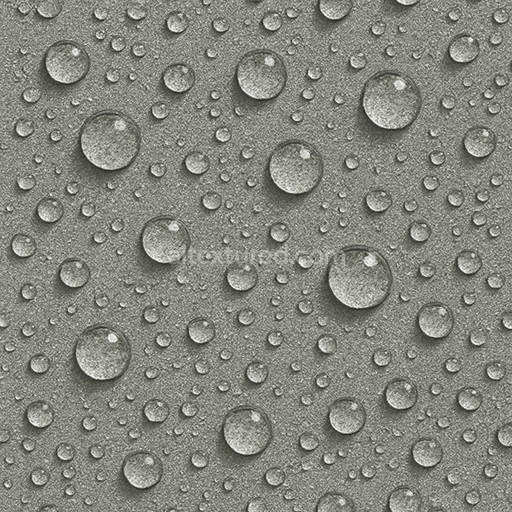
Tiny Moisture Drops On Fabric Surface
Seamless texture (tileable) · PNG, WEBP, PBR ZIP. License: AITextured Free Commercial License (FCL) v1.1. Free personal and commercial use. Raw resale, standalone redistribution, mirroring/scraping, competing asset packs, and AI/ML training are not allowed without written permission. Attribution is not required, but appreciated..

| ID | seamless-3d-texture-pbr-8k-condensation-beads-on-plastic-surface |
|---|---|
| Category | Drops on the surface |
| Formats | PNG, WEBP, PBR ZIP |
| Size | 1k (1024x1024px), 2k (2048x2048px), 4k (4096x4096px), 8k (8192x8192px) |
| Color | sRGB |
| Tileable | Yes |
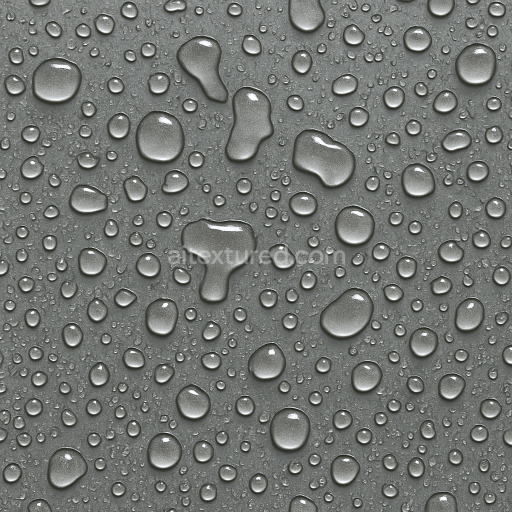
This seamless 3D PBR texture showcases high-resolution 8K condensation beads delicately formed on a smooth plastic surface designed for ultra-realistic material simulation. The base substrate is a synthetic polymer commonly used in industrial and consumer plastics exhibiting a non-porous glossy finish that enhances the wet and reflective qualities of accumulated moisture. Tiny water droplets naturally cluster merge and split across the plastic plane creating intricate patterns of condensation that highlight the microtexture and dynamic surface tension effects. The plastic’s subtle translucency and slight color tint are captured through carefully calibrated BaseColor and Albedo maps while the Normal and Height channels emphasize the tactile detail of each bead’s curvature and interaction with the surface curvature simulating realistic droplet adhesion and evaporation behavior.
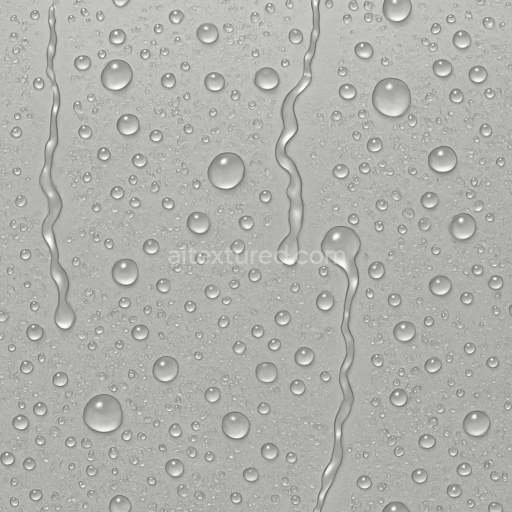
In the PBR workflow the Roughness map finely balances the glossy sheen typical of wet plastic varying from near mirror-like reflections around water beads to slightly matte areas where moisture thins out. The Metallic channel remains low or neutral reflecting the non-metallic nature of the polymer base while the Ambient Occlusion map enhances depth perception by accentuating shadows beneath clustered droplets and surface irregularities. This comprehensive texturing approach ensures the material responds accurately under diverse lighting conditions in 3D engines. The texture is fully optimized and Unreal Blender and Unity ready making it an excellent choice for rendering realistic condensation effects on synthetic materials in scenes requiring detailed wetness moisture dynamics or environmental weathering simulations.
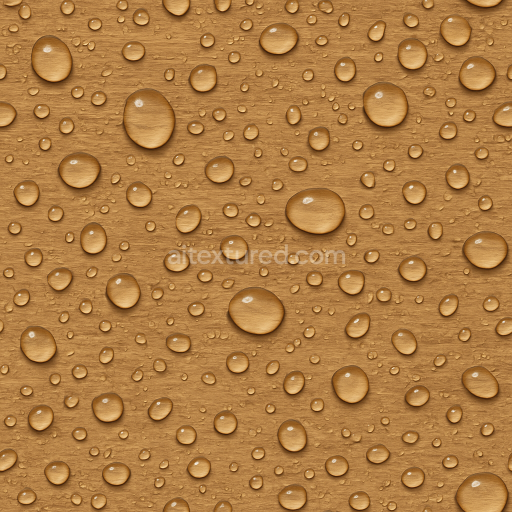
For practical application adjusting the UV scale can control the size and density of the condensation beads to suit different plastic objects or scenes from small consumer items to large industrial panels. Additionally fine-tuning the Roughness map allows artists to emphasize either a slick freshly wetted look or a more diffuse evaporated surface finish. The Height/Displacement data can be leveraged to enhance parallax effects in close-up renders providing convincing depth and realism to the condensation droplets. This texture is ideal for projects demanding high fidelity wet surfaces such as product visualization environmental storytelling or realistic material studies in 3D workflows.
This 3D texture features a highly detailed PBR composition optimized for 8K resolution and is fully Unreal and Blender ready for seamless integration into advanced rendering workflows.
Import the texture maps into Blender with sRGB color space for albedo/base color and Non-Color for normal, roughness, metallic, AO, height, and ORM maps. Connect normal maps through a Normal Map node, then adjust UV scale with a Mapping node so the material repeats naturally on your model.
For the full step-by-step setup, see How to Use Seamless Textures in Blender. Browse related material examples in wood, concrete, and metal.
Yes. This texture is designed as a seamless tileable PBR material, so it can repeat across large surfaces without visible borders.
You can download PNG/WEBP versions and use 1K, 2K, 4K and 8K download options when available on the page.
Yes. The download options and engine-mapped ZIP workflow are designed for Blender, Unreal Engine, Unity Standard, URP and HDRP material pipelines.
Yes. The texture is available under the AITextured free commercial license. Review the license page for redistribution and AI-training restrictions.
Build, preview, and export seamless PBR materials. Generate full map sets from a single image, inspect them in a real-time WebGL viewer, and re-package maps for Unreal, Unity, and Blender—directly in your browser.
AI text-to-texture: type a prompt and get a seamless, tileable base image ready for PBR workflows (great starting point for materials).
Create a full PBR set (Normal, Roughness, AO, Metallic, etc.) from a single image. Seamless and tiling-friendly.
Instant WebGL viewer: inspect materials on a sphere, plane, and cube. Check tiling and lighting in real time.
Re-packages maps per engine: Unreal (BaseColor + ORM), Unity (Mask/MetallicSmoothness), Blender (separate channels).
PNG ↔ JPG ↔ SVG: fast convert, SVG rasterize, embed/trace options, quality & background controls.