
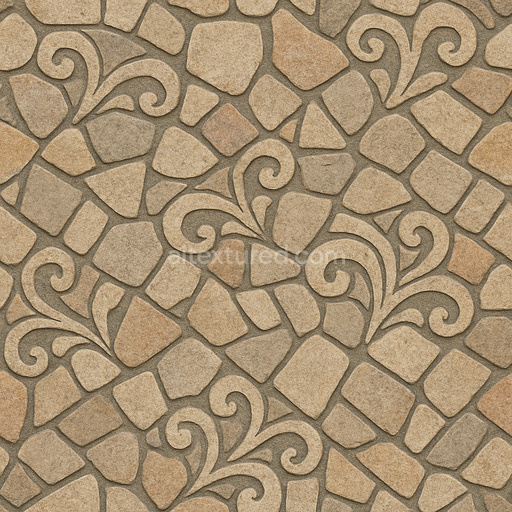
gray Cartago - Cartago Stones Smooth Hard Modern Durable
Seamless texture (tileable) · PNG, WEBP, PBR ZIP. License: AITextured Free Commercial License (FCL) v1.1. Free personal and commercial use. Raw resale, standalone redistribution, mirroring/scraping, competing asset packs, and AI/ML training are not allowed without written permission. Attribution is not required, but appreciated..

| ID | tiled-floor-001-tiles-clean-uneven-smooth-square-large |
|---|---|
| Category | Flooring |
| Formats | PNG, WEBP, PBR ZIP |
| Size | 1k (1024x1024px), 2k (2048x2048px), 4k (4096x4096px), 8k (8192x8192px) |
| Color | sRGB |
| Tileable | Yes |
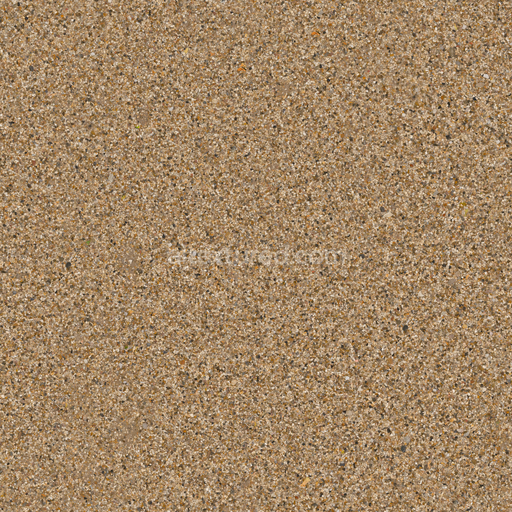
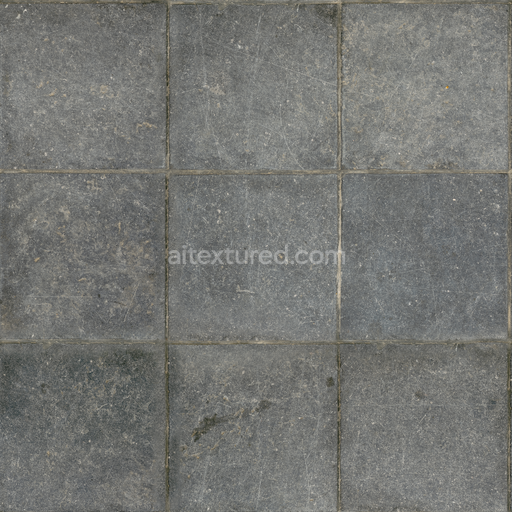
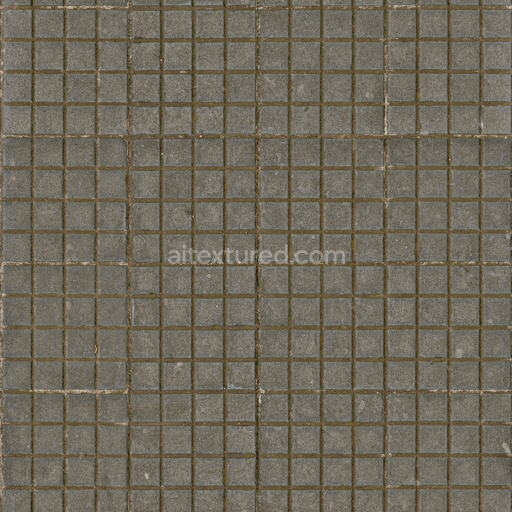
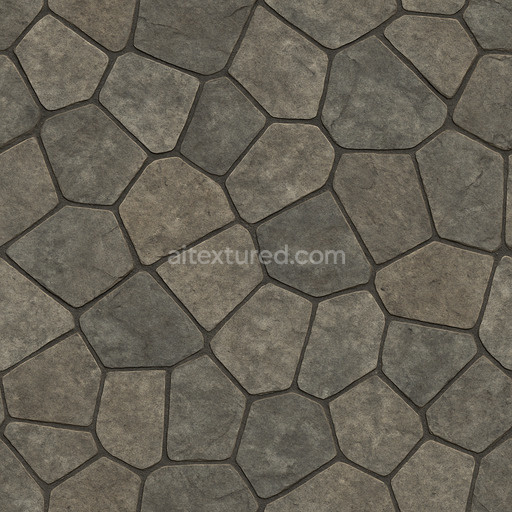
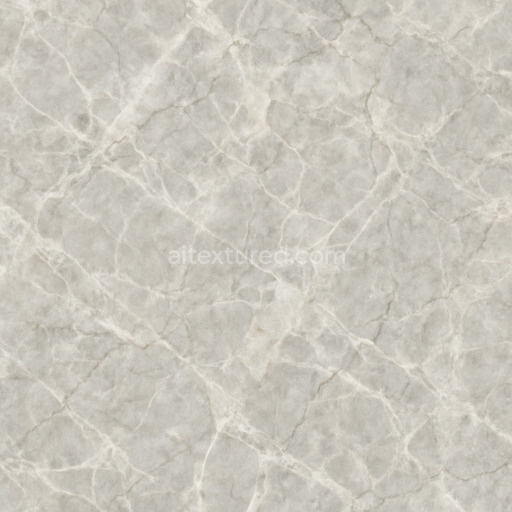
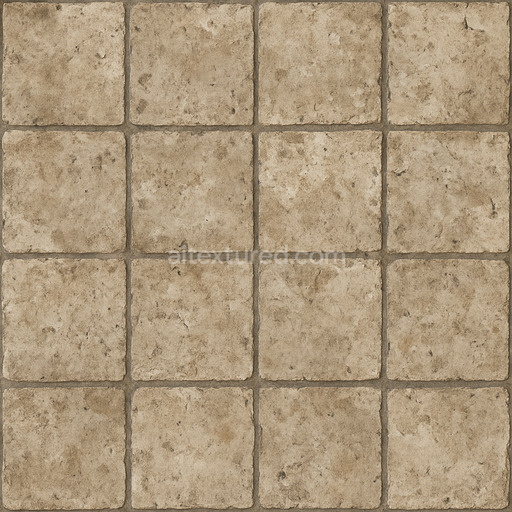
This Square Large Floor texture is expertly designed to replicate a man-made tiled floor composed primarily of ceramic and mineral-based substrates. Each tile is bonded using durable polymer adhesives that provide exceptional structural strength and long-lasting performance. The texture features a clean yet uneven surface finish reflecting subtle variations in tile height and grout depth that mimic the natural irregularities of large square tiles. The surface finish balances smoothness with a delicate roughness achieved through a finely brushed effect that adds tactile realism and visual complexity while maintaining a predominantly polished appearance. Natural mineral pigments and layered oxide deposits create a neutral earthy color palette making this texture highly versatile for indoor floors outdoor patios and even wall cladding applications.
Within the physically based rendering (PBR) workflow this seamless tileable 3D texture set includes meticulously crafted maps such as Albedo (BaseColor) Normal Roughness and Ambient Occlusion all optimized for consistent and accurate results across Blender Unreal Engine and Unity. The Albedo map offers clean true-to-life tile colors with subtle mineral variations but no baked-in shadows ensuring natural coloration. The Normal map defines the uneven tile surfaces and grout lines adding realistic depth and enhancing light interaction for a convincing 3D effect. Roughness values are carefully calibrated to portray a smooth yet slightly worn tile surface producing nuanced reflections without excessive glossiness. The Ambient Occlusion map intensifies shading around crevices and tile edges reinforcing depth and realism. Available in resolutions up to 8K this texture delivers exceptional detail suitable for close-up renders and high-end architectural visualizations while a 4K version maintains broad compatibility and performance.
Constructed with physically based principles in mind this tileable material supports the metal/roughness workflow and adapts seamlessly to varying lighting conditions and rendering engines. To maximize realism it is recommended to adjust the UV scale to closely match the actual dimensions of the large square tiles and to slightly increase roughness values when used in outdoor environments to simulate weathering and surface wear. This careful integration of base materials polymer bonding agents natural mineral pigments and precise PBR channel mapping ensures that the texture not only looks authentic but also performs reliably across diverse digital content creation pipelines enhancing the realism of indoor and outdoor tiled floors walls and other architectural surfaces.
Import the texture maps into Blender with sRGB color space for albedo/base color and Non-Color for normal, roughness, metallic, AO, height, and ORM maps. Connect normal maps through a Normal Map node, then adjust UV scale with a Mapping node so the material repeats naturally on your model.
For the full step-by-step setup, see How to Use Seamless Textures in Blender. Browse related material examples in wood, concrete, and metal.
Yes. This texture is designed as a seamless tileable PBR material, so it can repeat across large surfaces without visible borders.
You can download PNG/WEBP versions and use 1K, 2K, 4K and 8K download options when available on the page.
Yes. The download options and engine-mapped ZIP workflow are designed for Blender, Unreal Engine, Unity Standard, URP and HDRP material pipelines.
Yes. The texture is available under the AITextured free commercial license. Review the license page for redistribution and AI-training restrictions.


Build, preview, and export seamless PBR materials. Generate full map sets from a single image, inspect them in a real-time WebGL viewer, and re-package maps for Unreal, Unity, and Blender—directly in your browser.
AI text-to-texture: type a prompt and get a seamless, tileable base image ready for PBR workflows (great starting point for materials).
Create a full PBR set (Normal, Roughness, AO, Metallic, etc.) from a single image. Seamless and tiling-friendly.
Instant WebGL viewer: inspect materials on a sphere, plane, and cube. Check tiling and lighting in real time.
Re-packages maps per engine: Unreal (BaseColor + ORM), Unity (Mask/MetallicSmoothness), Blender (separate channels).
PNG ↔ JPG ↔ SVG: fast convert, SVG rasterize, embed/trace options, quality & background controls.