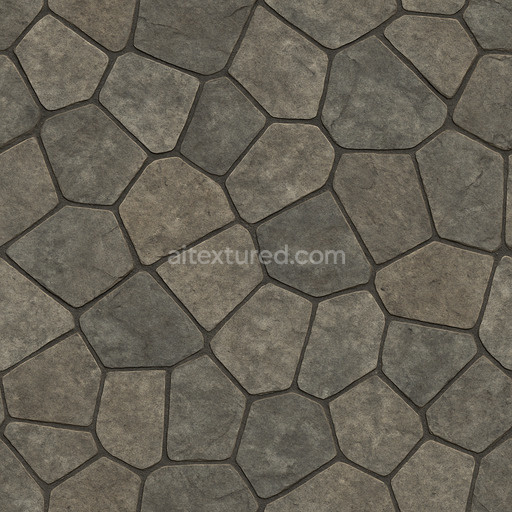
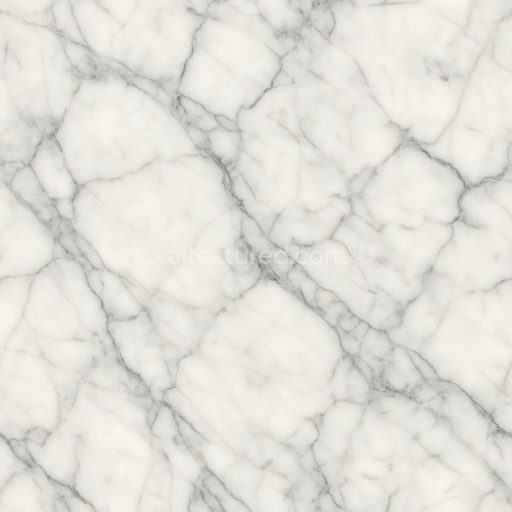
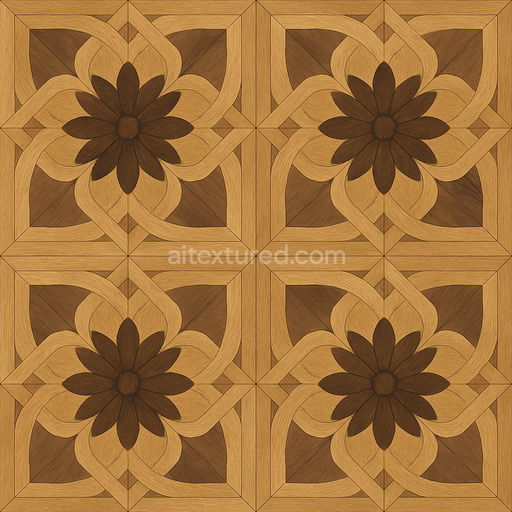
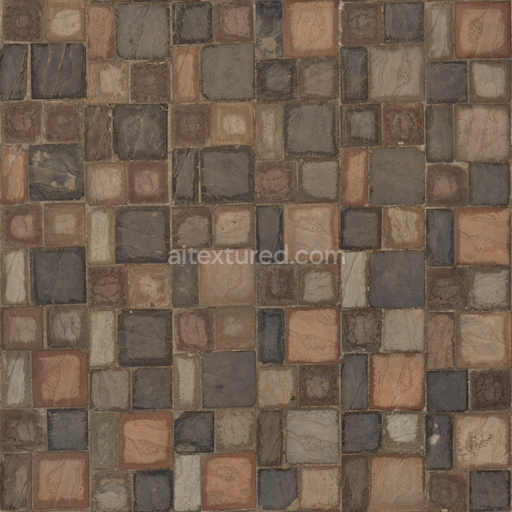
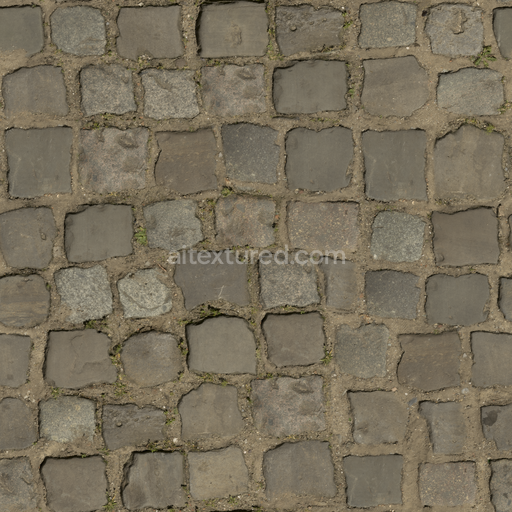
Patterned Stone Floor Seamless Texture
Seamless texture (tileable) · PNG, WEBP, PBR ZIP. License: AITextured Free Commercial License (FCL) v1.1. Free personal and commercial use. Raw resale, standalone redistribution, mirroring/scraping, competing asset packs, and AI/ML training are not allowed without written permission. Attribution is not required, but appreciated..

| ID | tiled-vinyl-floor-seamless-texture |
|---|---|
| Category | Flooring |
| Formats | PNG, WEBP, PBR ZIP |
| Size | 1k (1024x1024px), 2k (2048x2048px), 4k (4096x4096px), 8k (8192x8192px) |
| Color | sRGB |
| Tileable | Yes |
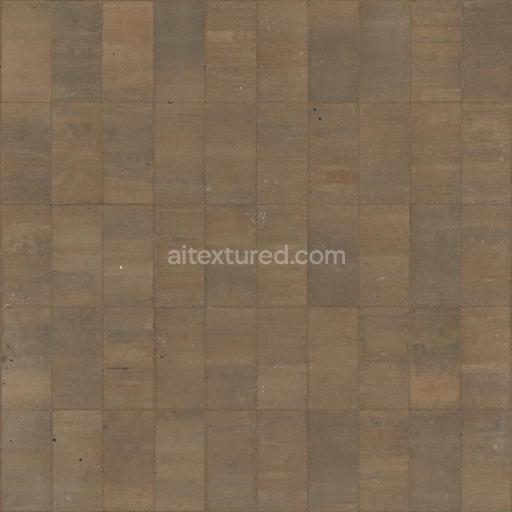
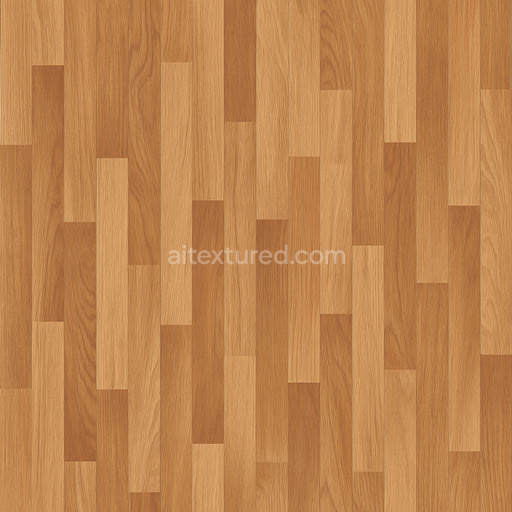
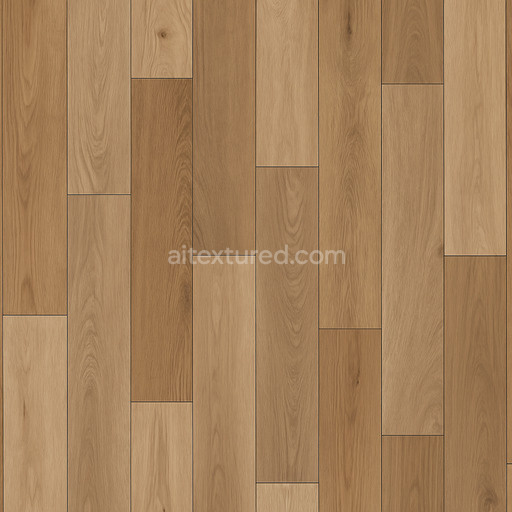
Discover the Tiled Vinyl Floor Seamless Texture a meticulously designed tileable texture tailored for the flooring category ideal for modern 3D pipelines and workflows. This texture captures the essence of vinyl flooring composed of a polymer-based substrate with embedded mineral fillers and synthetic binders resulting in a durable water-resistant surface. The composition reflects typical vinyl layers where pigments and colorants produce subtle variations in hue while a fine grain orientation mimics the natural patterning of tiled vinyl sheets. The surface finish showcases a low-gloss slightly textured sheen that balances realism with wear characteristics replicating gentle abrasions and minor porosity consistent with everyday foot traffic and aging. These intricate material qualities translate seamlessly into PBR channels: the BaseColor (Albedo) reveals soft muted pigments with natural tonal shifts; the Normal map captures the delicate embossing and tile separations; Roughness controls the semi-matte finish avoiding excessive shine; Metallic remains minimal to none reflecting the polymeric nature; Ambient Occlusion enhances depth around tile edges and crevices; and Height/Displacement subtly defines tile elevation changes for enhanced realism in close-up renders.
Rendered at up to 8K resolution this seamless tiled vinyl floor texture delivers exceptional clarity and cohesion even when applied over large UV islands ensuring consistent detail without visible repetition. It is optimized for a broad range of applications from real-time scenes within game engines like Unreal Engine and Unity to high-fidelity cinematic renders and detailed architectural visualizations in Blender. The texture’s AI-generated foundation ensures a natural believable look by balancing sharp detail with controlled noise avoiding overly uniform or artificial appearances. This makes it an excellent choice for level dressing material studies and any project requiring reliable high-quality flooring textures that integrate smoothly into modern PBR workflows.
For practical use it is recommended to adjust the UV scale thoughtfully to prevent pattern tiling from becoming too obvious especially in expansive environments. Additionally fine-tuning the roughness parameter can help achieve the desired surface reflectivity from a lightly worn matte to a subtly polished finish. Incorporating a subtle ambient occlusion pass and a gentle normal map enhances surface breakup and depth perception without oversharpening features contributing to a more immersive and realistic material presentation. This tileable tiled vinyl floor seamless texture truly supports creative flexibility and technical precision across diverse digital content creation platforms.
The AI-generated tiled vinyl floor seamless texture offers a highly detailed seamless tiled vinyl floor seamless texture with realistic PBR appearance allowing for an accurate 3D preview of material composition and surface qualities.
Import the texture maps into Blender with sRGB color space for albedo/base color and Non-Color for normal, roughness, metallic, AO, height, and ORM maps. Connect normal maps through a Normal Map node, then adjust UV scale with a Mapping node so the material repeats naturally on your model.
For the full step-by-step setup, see How to Use Seamless Textures in Blender. Browse related material examples in wood, concrete, and metal.
Yes. This texture is designed as a seamless tileable PBR material, so it can repeat across large surfaces without visible borders.
You can download PNG/WEBP versions and use 1K, 2K, 4K and 8K download options when available on the page.
Yes. The download options and engine-mapped ZIP workflow are designed for Blender, Unreal Engine, Unity Standard, URP and HDRP material pipelines.
Yes. The texture is available under the AITextured free commercial license. Review the license page for redistribution and AI-training restrictions.


Build, preview, and export seamless PBR materials. Generate full map sets from a single image, inspect them in a real-time WebGL viewer, and re-package maps for Unreal, Unity, and Blender—directly in your browser.
AI text-to-texture: type a prompt and get a seamless, tileable base image ready for PBR workflows (great starting point for materials).
Create a full PBR set (Normal, Roughness, AO, Metallic, etc.) from a single image. Seamless and tiling-friendly.
Instant WebGL viewer: inspect materials on a sphere, plane, and cube. Check tiling and lighting in real time.
Re-packages maps per engine: Unreal (BaseColor + ORM), Unity (Mask/MetallicSmoothness), Blender (separate channels).
PNG ↔ JPG ↔ SVG: fast convert, SVG rasterize, embed/trace options, quality & background controls.