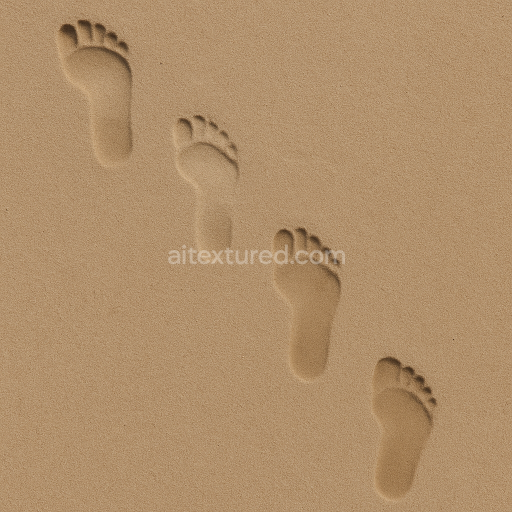
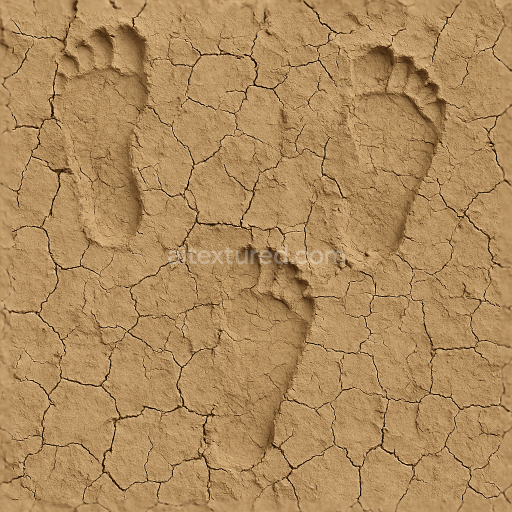
Regolith Dusted Footprints - Dusted Footprints Path Lunar Outdoor Sand
Seamless texture (tileable) · PNG, WEBP, PBR ZIP. License: AITextured Free Commercial License (FCL) v1.1. Free personal and commercial use. Raw resale, standalone redistribution, mirroring/scraping, competing asset packs, and AI/ML training are not allowed without written permission. Attribution is not required, but appreciated..

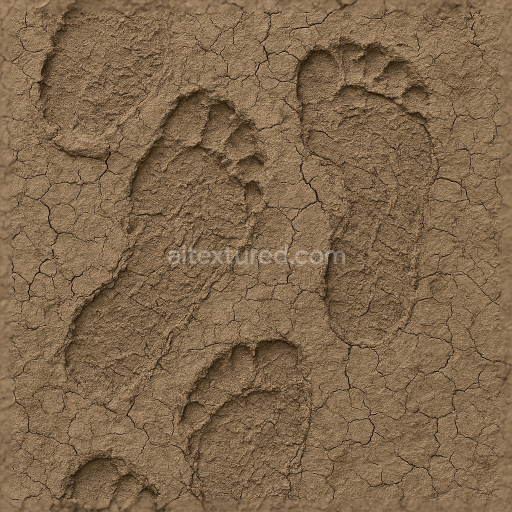
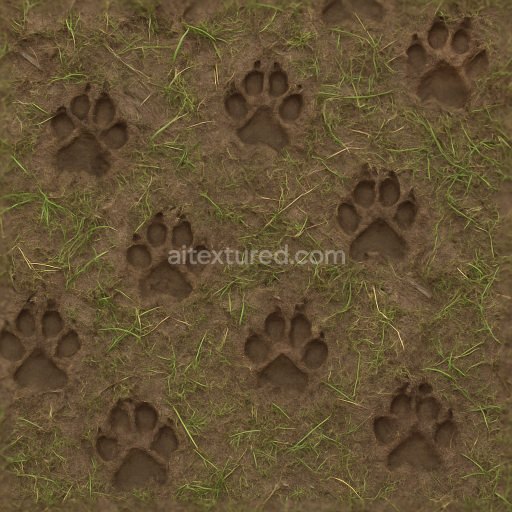
| ID | seamless-3d-texture-pbr-8k-of-animal-footprints-on-loose-soil-with-vegetation-debris |
|---|---|
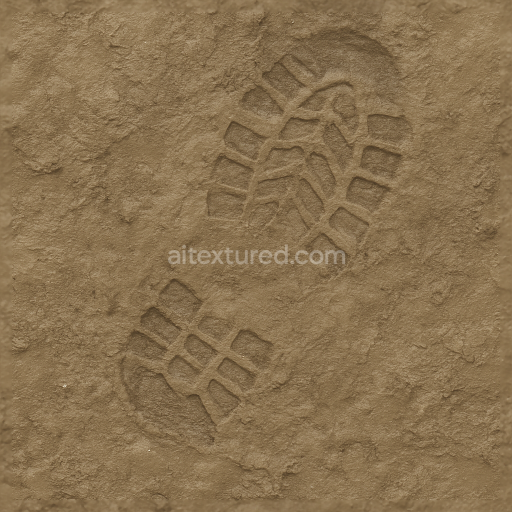
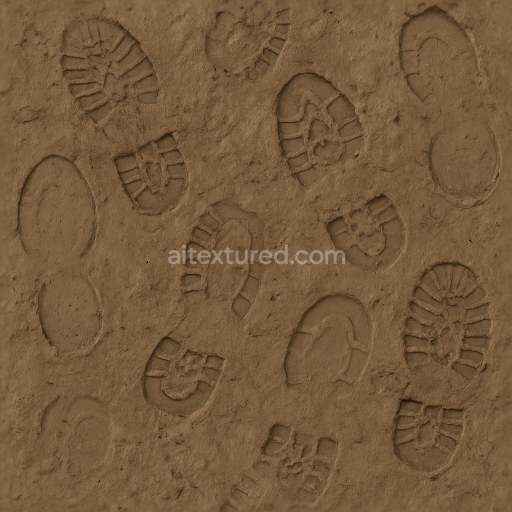
| Category | Footprints |
| Formats | PNG, WEBP, PBR ZIP |
| Size | 1k (1024x1024px), 2k (2048x2048px), 4k (4096x4096px), 8k (8192x8192px) |
| Color | sRGB |
| Tileable | Yes |
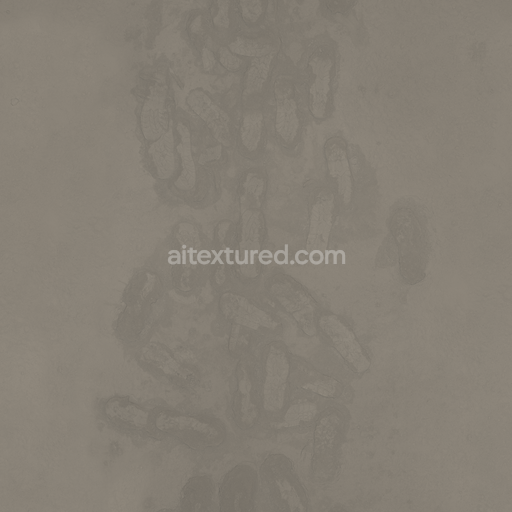
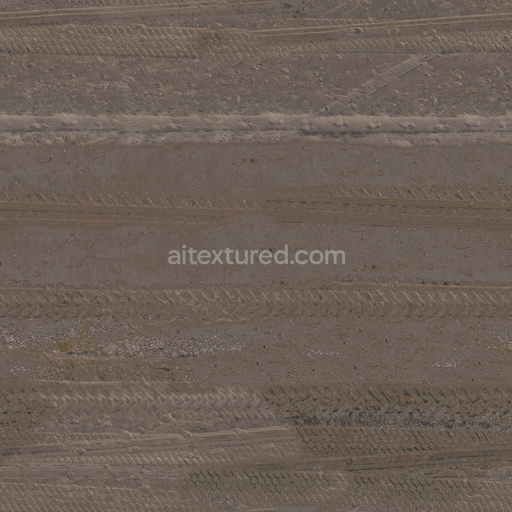
This seamless 3D texture presents a highly detailed depiction of animal footprints pressed into loose soil scattered naturally with vegetation debris such as twigs fallen leaves and small organic fragments. The base substrate is a granular earthy soil with visible mineral grains and organic matter that create a complex porous surface. Variations in soil composition and moisture content are conveyed through subtle color shifts in earth tones ranging from warm browns to muted ochres. The footprint impressions are shallow but intricately defined showing crisp edges and subtle deformation of soil particles where the animal’s weight pressed down. The scattered vegetation debris adds an organic layer that enhances environmental realism by breaking up the soil’s continuity and introducing fibrous textures and irregular shapes. This composition mimics natural ground surfaces commonly found in wildlife habitats forests or natural trails making it highly suitable for realistic nature or wildlife scenes.
From a materials perspective the soil substrate behaves like a natural aggregate bound loosely by organic and mineral particles reflecting moderate porosity and slight weathering effects. The surface finish is matte with a fine grainy texture avoiding any polished or reflective qualities which lends authenticity to the ground material. In the PBR workflow this texture’s BaseColor (Albedo) channel captures the natural earth pigments and color variations while the Normal map emphasizes the subtle topographical changes of the soil surface and footprint depressions. The Roughness map highlights the uneven granular texture of loose soil and the fibrous detail of scattered vegetation debris creating realistic diffuse reflections. The Metallic channel is nearly absent consistent with organic non-metallic ground materials. Ambient Occlusion enhances the shadowing within footprint edges and under debris adding depth and a grounded feel. Finally the Height/Displacement map provides accurate depth information for realistic parallax or displacement effects crucial for adding tactile detail in close-up renders.
Rendered at an ultra-high 8K resolution this seamless PBR texture ensures exceptional clarity and crispness of detail even when viewed up close or applied to large terrain surfaces. It is fully optimized and ready for seamless integration in Blender Unreal Engine and Unity supporting physically based rendering workflows with ease. For best results in practical use it is recommended to carefully adjust the UV scale to maintain natural footprint spacing and avoid repetitive patterns while tuning the roughness to simulate slightly damp or dry soil conditions depending on the scene requirements. This texture is ideal for any digital environment requiring authentic animal footprints on loose soil with natural vegetation debris enhancing visual storytelling in wildlife outdoor or nature-based projects.
Import the texture maps into Blender with sRGB color space for albedo/base color and Non-Color for normal, roughness, metallic, AO, height, and ORM maps. Connect normal maps through a Normal Map node, then adjust UV scale with a Mapping node so the material repeats naturally on your model.
For the full step-by-step setup, see How to Use Seamless Textures in Blender. Browse related material examples in wood, concrete, and metal.
Yes. This texture is designed as a seamless tileable PBR material, so it can repeat across large surfaces without visible borders.
You can download PNG/WEBP versions and use 1K, 2K, 4K and 8K download options when available on the page.
Yes. The download options and engine-mapped ZIP workflow are designed for Blender, Unreal Engine, Unity Standard, URP and HDRP material pipelines.
Yes. The texture is available under the AITextured free commercial license. Review the license page for redistribution and AI-training restrictions.
Generate, preview, and export seamless PBR materials for Blender, Unity, and Unreal Engine—directly in your browser.
AI text-to-texture: type a prompt and get a seamless, tileable base image ready for PBR workflows (great starting point for materials).
Create a full PBR set (Normal, Roughness, AO, Metallic, etc.) from a single image. Seamless and tiling-friendly.
Instant WebGL viewer: inspect materials on a sphere, plane, and cube. Check tiling and lighting in real time.
Re-packages maps per engine: Unreal (BaseColor + ORM), Unity (Mask/MetallicSmoothness), Blender (separate channels).
PNG ↔ JPG ↔ SVG: fast convert, SVG rasterize, embed/trace options, quality & background controls.