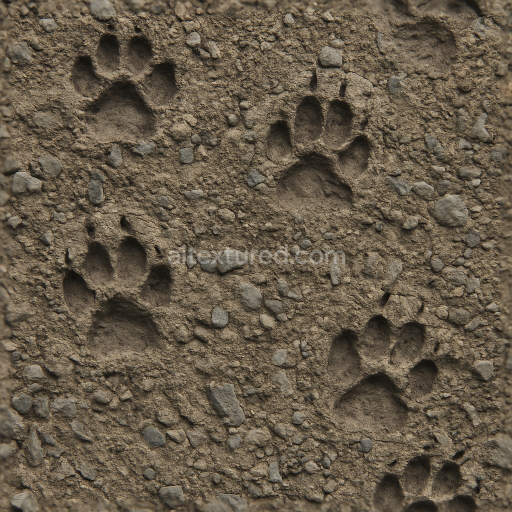
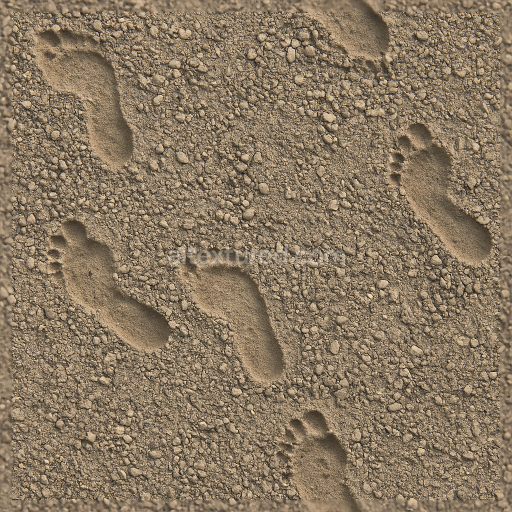
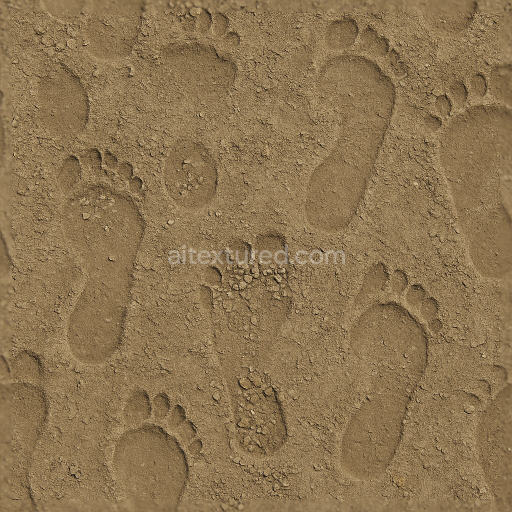
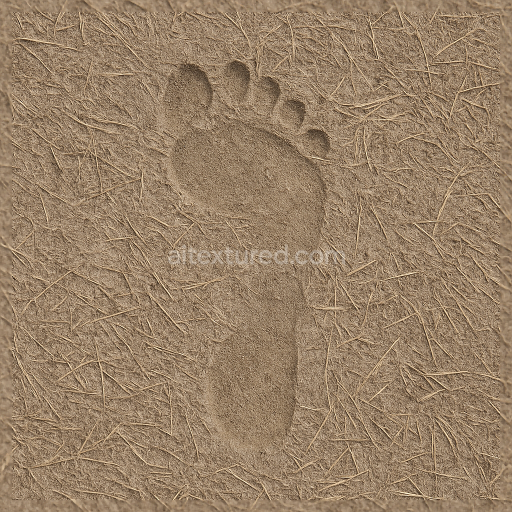
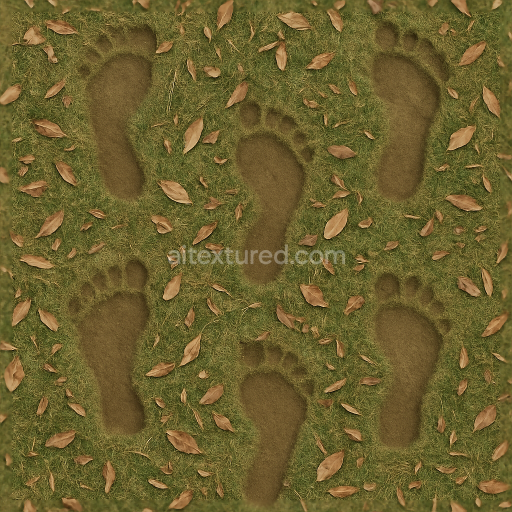
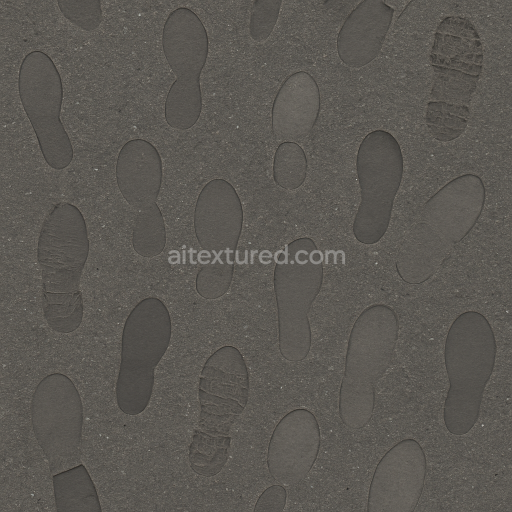
Rocky Ground With Deep Animal Tracks And Footprint Depth
Seamless texture (tileable) · PNG, WEBP, PBR ZIP. License: AITextured Free Commercial License (FCL) v1.1. Free personal and commercial use. Raw resale, standalone redistribution, mirroring/scraping, competing asset packs, and AI/ML training are not allowed without written permission. Attribution is not required, but appreciated..

| ID | seamless-3d-texture-pbr-8k-of-snow-footprints-on-white-snow-frozen-surface |
|---|---|
| Category | Footprints |
| Formats | PNG, WEBP, PBR ZIP |
| Size | 1k (1024x1024px), 2k (2048x2048px), 4k (4096x4096px), 8k (8192x8192px) |
| Color | sRGB |
| Tileable | Yes |
This seamless 3D texture represents highly detailed snow footprints embedded on a frozen white snow surface rendered at an impressive 8K resolution. The base substrate simulates freshly fallen snow an organic granular material composed primarily of tiny ice crystals with subtle natural variations in grain size and distribution. The footprints appear pressed into this powdery yet compacted surface exhibiting varying depths and crisp impression details along the footprint edges which realistically capture the natural deformation of snow under pressure. The frozen footprints include slight moisture and icy sheen effects that suggest a thin glaze of melted and refrozen water adding a delicate luster and enhancing the photorealistic quality of the surface. The overall finish is matte with gentle reflections mimicking the soft but firm texture of a snow-covered ground in cold conditions.
In terms of PBR material channels the BaseColor (Albedo) map portrays a predominantly white snow tone with subtle blue and gray undertones that replicate shadowing and translucency typical of snowpack. The Normal and Height maps intricately define the footprint depressions and snow grain relief providing realistic surface depth and tactile detail. Roughness is carefully balanced to reflect the frozen moisture sheen on the footprints while maintaining the matte softness of untouched snow; this ensures believable light scattering and specular highlights in 3D render engines. The Metallic channel is minimal to none consistent with the non-metallic nature of snow while Ambient Occlusion enhances shadowing within the footprint cavities to emphasize depth and contour. This texture’s seamless design allows it to tile flawlessly across large terrain surfaces without visible repetition making it ideal for expansive winter scenes.
Engineered for optimal integration this snow footprints seamless 3D texture is fully PBR-compliant and ready for use in Blender Unreal Engine and Unity workflows. The 8K resolution ensures that even close-up views retain crisp natural details without pixelation or blurring. For practical use it is recommended to fine-tune the roughness parameter to match lighting conditions and desired wetness levels and to carefully adjust the UV scale to maintain realistic footprint proportions within your environment. This texture is perfectly suited for winter ground simulations outdoor snowy environment visualizations and any scene requiring authentic frozen white snow surfaces marked by natural snow footprints.
Import the texture maps into Blender with sRGB color space for albedo/base color and Non-Color for normal, roughness, metallic, AO, height, and ORM maps. Connect normal maps through a Normal Map node, then adjust UV scale with a Mapping node so the material repeats naturally on your model.
For the full step-by-step setup, see How to Use Seamless Textures in Blender. Browse related material examples in wood, concrete, and metal.
Yes. This texture is designed as a seamless tileable PBR material, so it can repeat across large surfaces without visible borders.
You can download PNG/WEBP versions and use 1K, 2K, 4K and 8K download options when available on the page.
Yes. The download options and engine-mapped ZIP workflow are designed for Blender, Unreal Engine, Unity Standard, URP and HDRP material pipelines.
Yes. The texture is available under the AITextured free commercial license. Review the license page for redistribution and AI-training restrictions.
Generate, preview, and export seamless PBR materials for Blender, Unity, and Unreal Engine—directly in your browser.
AI text-to-texture: type a prompt and get a seamless, tileable base image ready for PBR workflows (great starting point for materials).
Create a full PBR set (Normal, Roughness, AO, Metallic, etc.) from a single image. Seamless and tiling-friendly.
Instant WebGL viewer: inspect materials on a sphere, plane, and cube. Check tiling and lighting in real time.
Re-packages maps per engine: Unreal (BaseColor + ORM), Unity (Mask/MetallicSmoothness), Blender (separate channels).
PNG ↔ JPG ↔ SVG: fast convert, SVG rasterize, embed/trace options, quality & background controls.