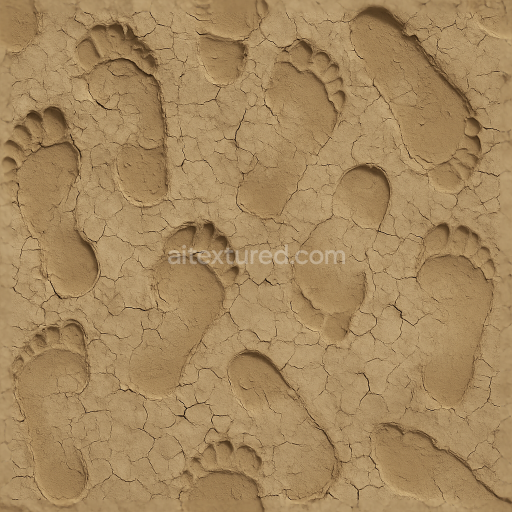
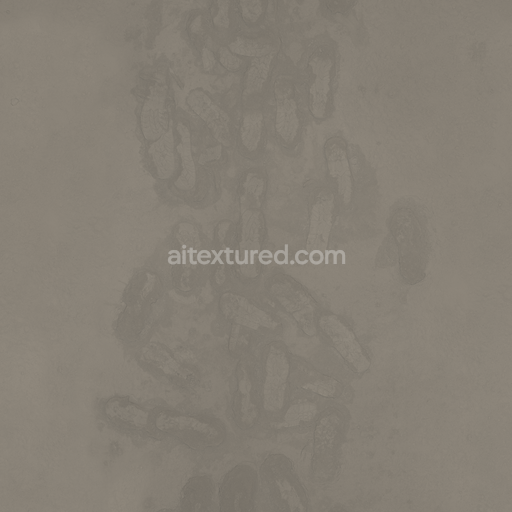
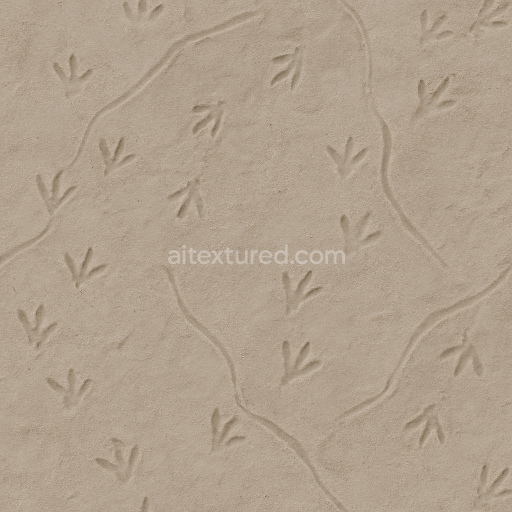
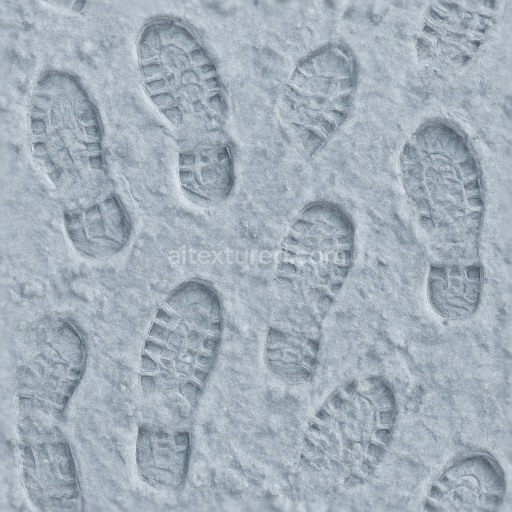
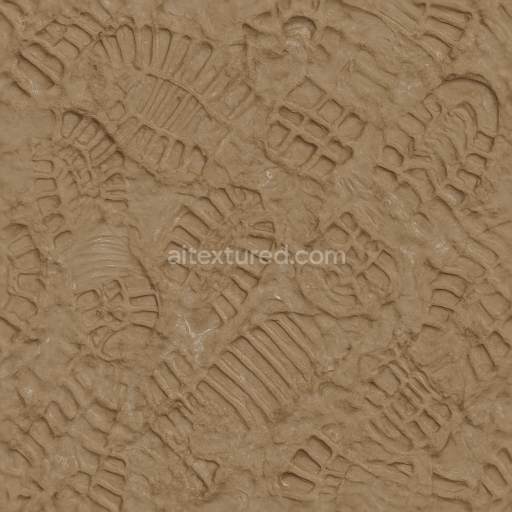
Seamless 8K PBR 3D Texture of Footprint Peeling on Sun Baked Dry Mud
Seamless texture (tileable) · PNG, WEBP, PBR ZIP. License: AITextured Free Commercial License (FCL) v1.1. Free personal and commercial use. Raw resale, standalone redistribution, mirroring/scraping, competing asset packs, and AI/ML training are not allowed without written permission. Attribution is not required, but appreciated..

| ID | seamless-3d-texture-pbr-8k-of-wet-footprints-on-sandy-beach-sand-surface |
|---|---|
| Category | Footprints |
| Formats | PNG, WEBP, PBR ZIP |
| Size | 1k (1024x1024px), 2k (2048x2048px), 4k (4096x4096px), 8k (8192x8192px) |
| Color | sRGB |
| Tileable | Yes |
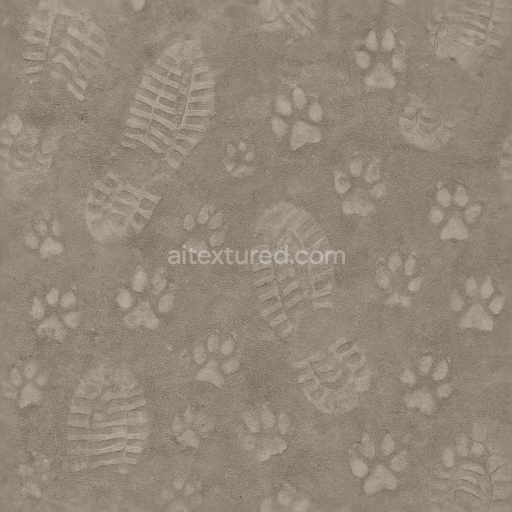
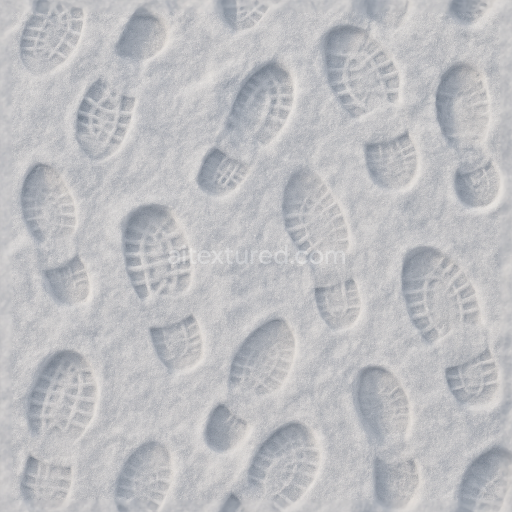
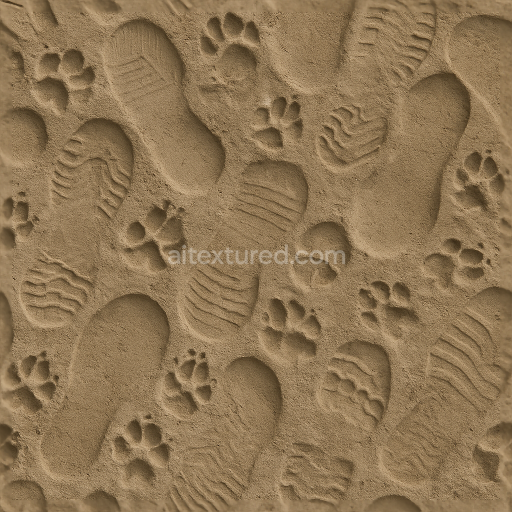
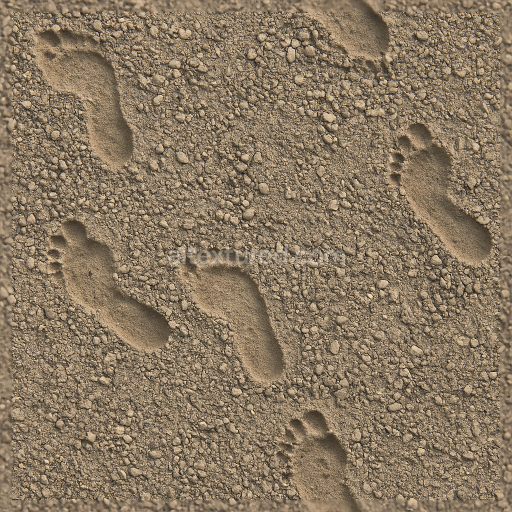
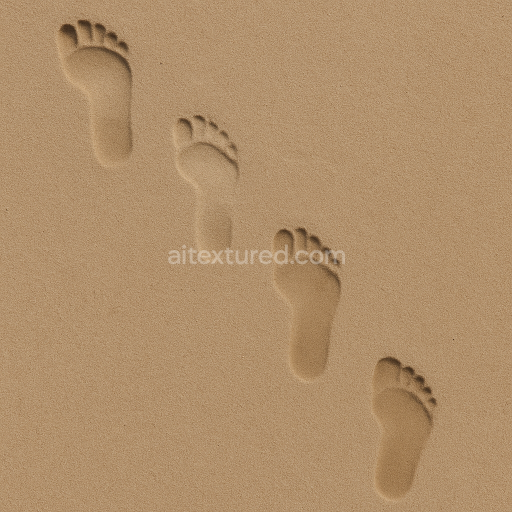
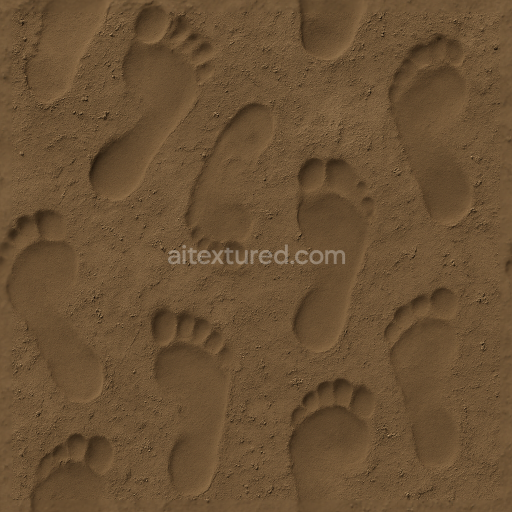
This photorealistic seamless 3D PBR texture showcases wet footprints embedded in fine natural beach sand. The base substrate consists of organic sandy grains exhibiting subtle variations in size shape and color predominantly soft yellow and beige tones that mimic real coastal sand. These mineral particles form a loosely compacted porous surface with a natural grain orientation shaped by wind and water movement. The wet impressions of human footprints distinctly reveal detailed footwear sole patterns created by displaced sand and moisture accumulation. The wet sand surface exhibits a delicate sheen reflecting the presence of water and adding a subtle gloss effect to the rough uneven grains. This moisture effect enhances the realistic appearance of the footprint depressions giving the texture a convincing sense of depth and natural wear from foot traffic on a damp shoreline. The texture’s surface finish balances a smooth yet granular feel with slight mud-like qualities in the footprint cavities that contribute to its authenticity.
In terms of PBR materials the BaseColor/Albedo channel captures the natural pigment variations and subtle yellow oxide layers inherent in beach sand while the Normal map faithfully represents the intricate topography of sand grains and the relief of the footwear sole pattern impressions. The Roughness map reflects the contrast between the dry sandy ridges and the smoother wetter footprint areas where moisture lowers roughness to create a soft reflective surface. The Metallic channel remains near zero as the organic sand and mud contain no metallic elements. Ambient Occlusion enhances shadowing within the footprint cavities and between sand grains emphasizing depth and realism. Height or Displacement maps provide precise elevation data for enhanced parallax effects allowing detailed ground surface relief suitable for close-up renders.
Rendered at an ultra-high 8k resolution this texture is optimized for use in realistic 3D scenes requiring detailed wet sandy footprints. It is fully ready for integration into Blender Unreal Engine and Unity workflows supporting physically based rendering pipelines. For practical application adjusting the UV scale to match the actual footprint size ensures natural proportions while fine-tuning the roughness channel can help simulate varying moisture levels for different environmental conditions. This texture is ideal for outdoor scenes beach landscapes or any project demanding authentic wet footprint details on sandy surfaces with seamless tiling and realistic material response.
Import the texture maps into Blender with sRGB color space for albedo/base color and Non-Color for normal, roughness, metallic, AO, height, and ORM maps. Connect normal maps through a Normal Map node, then adjust UV scale with a Mapping node so the material repeats naturally on your model.
For the full step-by-step setup, see How to Use Seamless Textures in Blender. Browse related material examples in wood, concrete, and metal.
Yes. This texture is designed as a seamless tileable PBR material, so it can repeat across large surfaces without visible borders.
You can download PNG/WEBP versions and use 1K, 2K, 4K and 8K download options when available on the page.
Yes. The download options and engine-mapped ZIP workflow are designed for Blender, Unreal Engine, Unity Standard, URP and HDRP material pipelines.
Yes. The texture is available under the AITextured free commercial license. Review the license page for redistribution and AI-training restrictions.
Generate, preview, and export seamless PBR materials for Blender, Unity, and Unreal Engine—directly in your browser.
AI text-to-texture: type a prompt and get a seamless, tileable base image ready for PBR workflows (great starting point for materials).
Create a full PBR set (Normal, Roughness, AO, Metallic, etc.) from a single image. Seamless and tiling-friendly.
Instant WebGL viewer: inspect materials on a sphere, plane, and cube. Check tiling and lighting in real time.
Re-packages maps per engine: Unreal (BaseColor + ORM), Unity (Mask/MetallicSmoothness), Blender (separate channels).
PNG ↔ JPG ↔ SVG: fast convert, SVG rasterize, embed/trace options, quality & background controls.