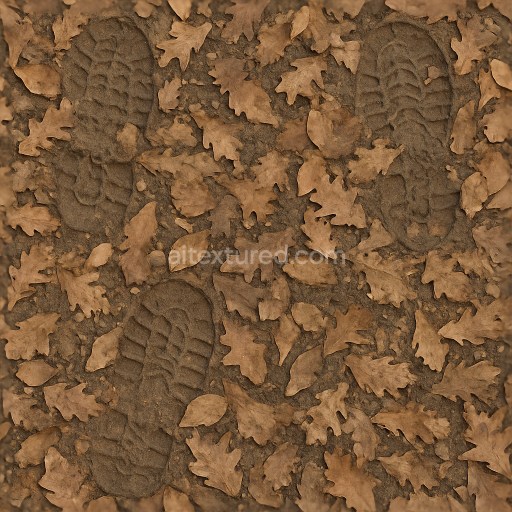
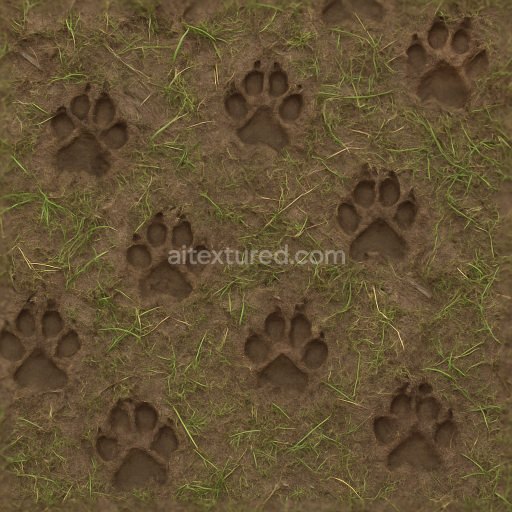
Leaf Covered Prints With Shallow Impressions On Uneven Ground
Seamless texture (tileable) · PNG, WEBP, PBR ZIP. License: AITextured Free Commercial License (FCL) v1.1. Free personal and commercial use. Raw resale, standalone redistribution, mirroring/scraping, competing asset packs, and AI/ML training are not allowed without written permission. Attribution is not required, but appreciated..

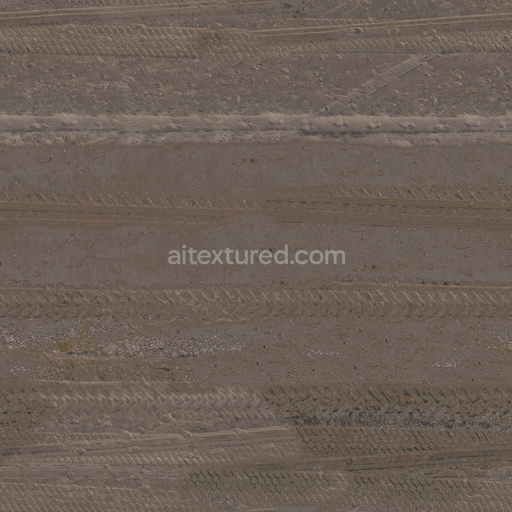
| ID | seamless-3d-texture-pbr-8k-muddy-water-surface-with-footprint-smudge-and-footprint-residue |
|---|---|
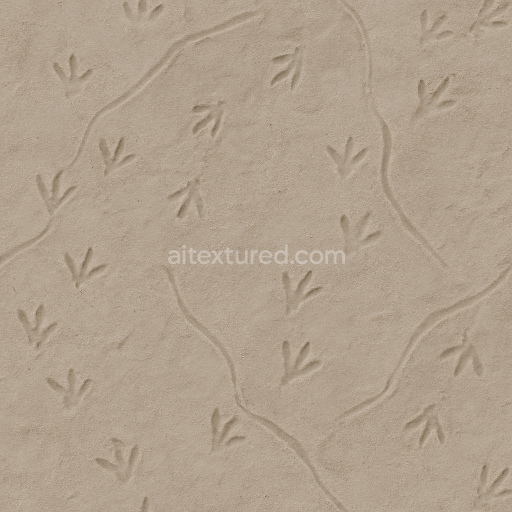
| Category | Footprints |
| Formats | PNG, WEBP, PBR ZIP |
| Size | 1k (1024x1024px), 2k (2048x2048px), 4k (4096x4096px), 8k (8192x8192px) |
| Color | sRGB |
| Tileable | Yes |
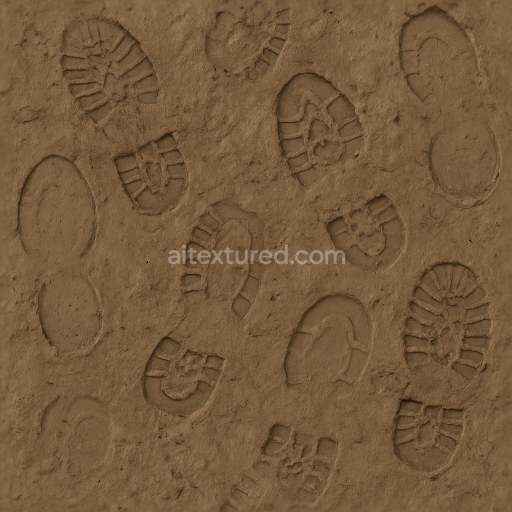
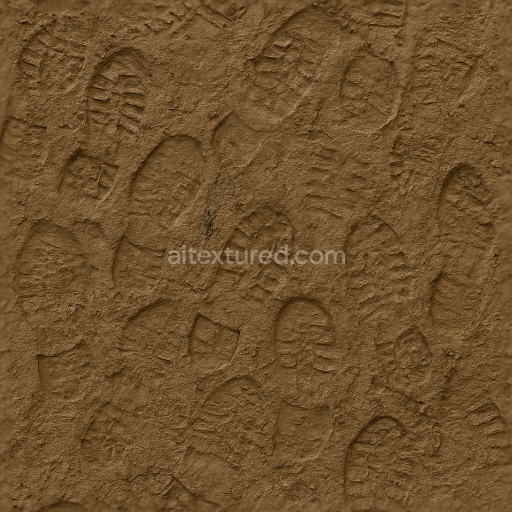
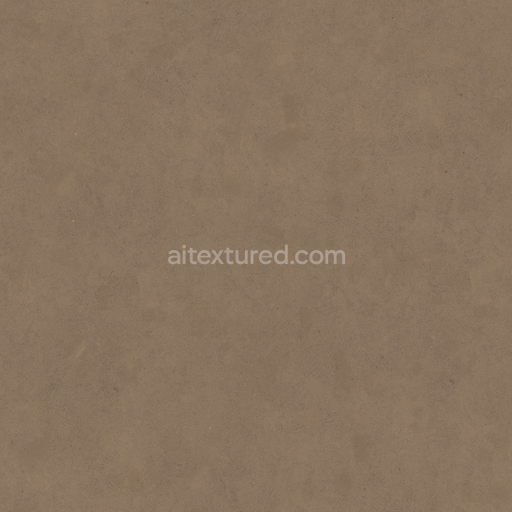
This seamless 3D texture in 8K resolution depicts a muddy water surface enriched with distinct footprint smudge and footprint residue effects expertly crafted for photorealistic wetland environments. The base material simulates a turbid organic substrate composed of fine mineral sediments suspended in water combined with natural organic matter and soft clay particles that create a slightly granular uneven surface. The footprint smudges and residues emerge from subtle variations in moisture retention and sediment displacement portraying the wet pliable consistency of muddy water as footprints gently imprint and blend naturally into the surface. This textural complexity is enhanced by carefully designed porosity and weathering features reflecting the natural compaction and water saturation typical of swamp or floodplain grounds exposed to foot traffic and environmental conditions over time.
In terms of PBR channel composition the BaseColor/Albedo map captures the muted brown and gray tones of turbid muddy water interspersed with darker wetter footprint outlines and soft diffused residue marks. The Normal map conveys fine surface irregularities and smudge details giving depth to the footprint impressions and subtle ripples in the water. Roughness values vary across the texture to represent moisture variation: wetter footprint areas exhibit lower roughness for a glistening wet look while drier sediment regions show increased roughness offering contrast and realism. The Metallic channel remains close to zero as this natural surface lacks metallic elements while the Ambient Occlusion map enhances shadowing within footprint depressions emphasizing depth and spatial interaction. Height and Displacement maps provide accurate elevation differences between water surface and footprint indentations ideal for parallax effects or displacement in 3D engines.
Designed for seamless tiling this 8K texture is fully optimized and Unreal Blender and Unity ready ensuring high fidelity and efficient integration into diverse 3D projects. For best results users are advised to fine-tune the roughness parameter to balance wetness and dryness according to scene lighting and mood. Adjusting UV scale to align footprint size with character models will further improve realism especially in close-up shots or interactive environments. This texture is perfect for developers and artists working on swamp floodplain or wetland scenes requiring authentic muddy water surface interactions with visible footprint smudges and residues delivering unparalleled immersion and detail in game and visualization projects.
Import the texture maps into Blender with sRGB color space for albedo/base color and Non-Color for normal, roughness, metallic, AO, height, and ORM maps. Connect normal maps through a Normal Map node, then adjust UV scale with a Mapping node so the material repeats naturally on your model.
For the full step-by-step setup, see How to Use Seamless Textures in Blender. Browse related material examples in wood, concrete, and metal.
Yes. This texture is designed as a seamless tileable PBR material, so it can repeat across large surfaces without visible borders.
You can download PNG/WEBP versions and use 1K, 2K, 4K and 8K download options when available on the page.
Yes. The download options and engine-mapped ZIP workflow are designed for Blender, Unreal Engine, Unity Standard, URP and HDRP material pipelines.
Yes. The texture is available under the AITextured free commercial license. Review the license page for redistribution and AI-training restrictions.

Build, preview, and export seamless PBR materials. Generate full map sets from a single image, inspect them in a real-time WebGL viewer, and re-package maps for Unreal, Unity, and Blender—directly in your browser.
AI text-to-texture: type a prompt and get a seamless, tileable base image ready for PBR workflows (great starting point for materials).
Create a full PBR set (Normal, Roughness, AO, Metallic, etc.) from a single image. Seamless and tiling-friendly.
Instant WebGL viewer: inspect materials on a sphere, plane, and cube. Check tiling and lighting in real time.
Re-packages maps per engine: Unreal (BaseColor + ORM), Unity (Mask/MetallicSmoothness), Blender (separate channels).
PNG ↔ JPG ↔ SVG: fast convert, SVG rasterize, embed/trace options, quality & background controls.