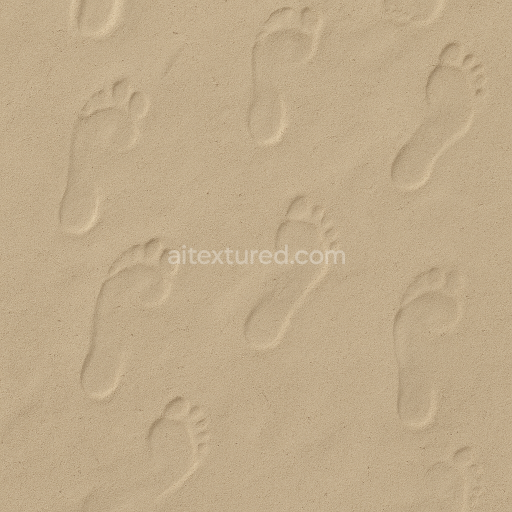
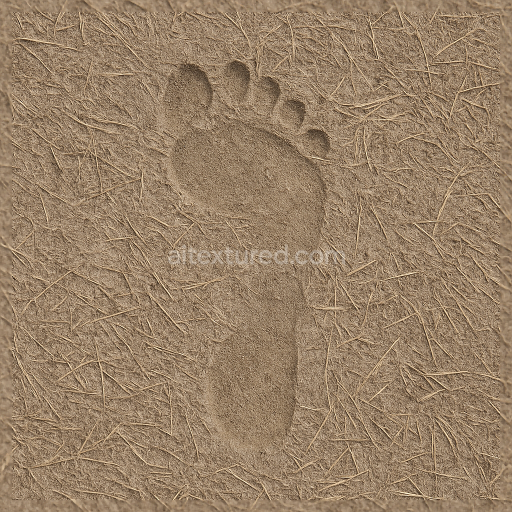
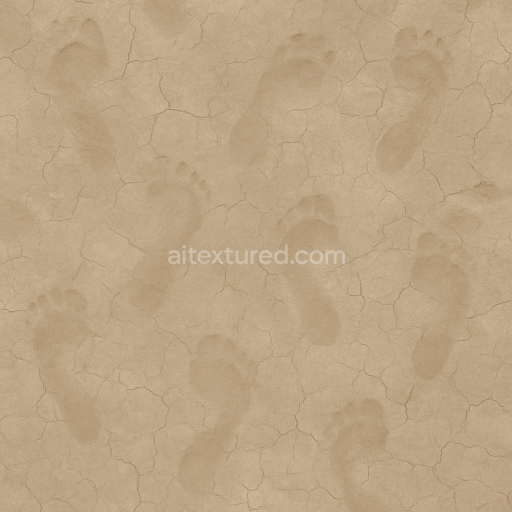
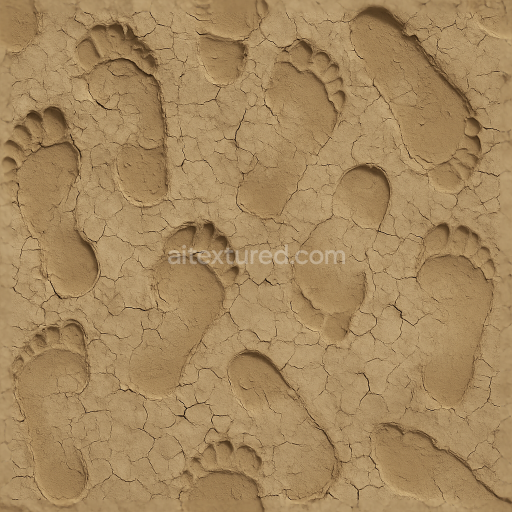
Dry Sand With Footprint Fading And Shallow Human Prints
Seamless texture (tileable) · PNG, WEBP, PBR ZIP. License: AITextured Free Commercial License (FCL) v1.1. Free personal and commercial use. Raw resale, standalone redistribution, mirroring/scraping, competing asset packs, and AI/ML training are not allowed without written permission. Attribution is not required, but appreciated..

| ID | seamless-3d-texture-pbr-8k-snow-prints-with-icy-prints-on-frozen-ground |
|---|---|
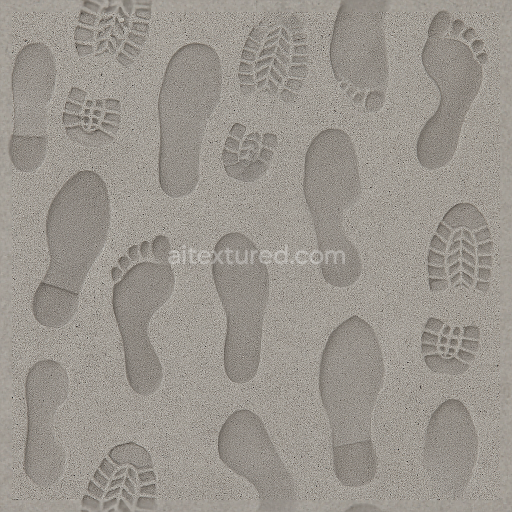
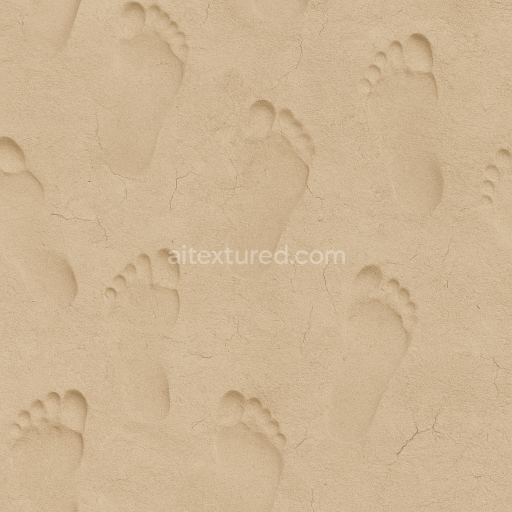
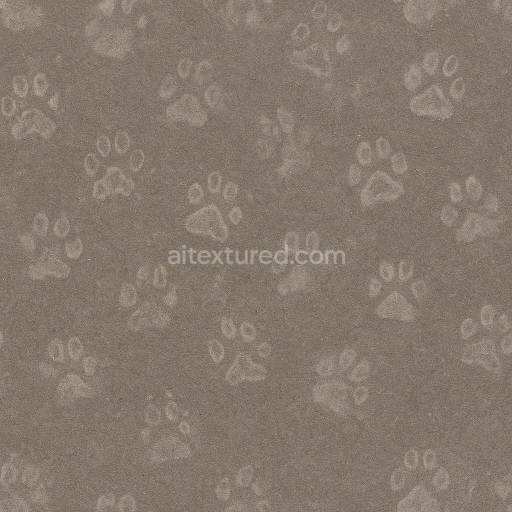
| Category | Footprints |
| Formats | PNG, WEBP, PBR ZIP |
| Size | 1k (1024x1024px), 2k (2048x2048px), 4k (4096x4096px), 8k (8192x8192px) |
| Color | sRGB |
| Tileable | Yes |
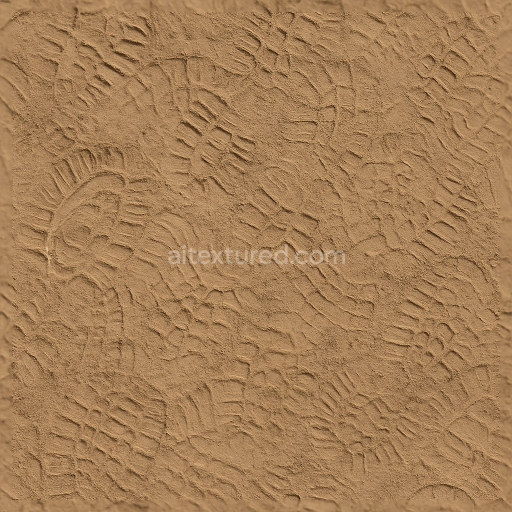
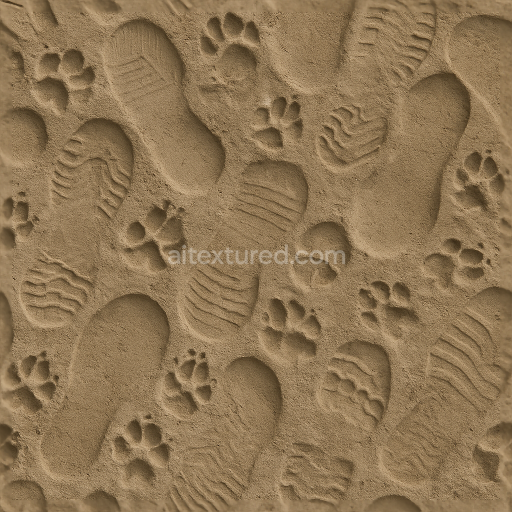
This seamless 3D texture rendered in stunning 8K resolution showcases a highly detailed surface of frozen ground adorned with natural snow prints and icy prints. The base material simulates compacted mineral-rich soil and organic debris tightly bound beneath a thin layer of translucent ice. Subtle weathering effects reveal micro-cracks and fissures across the surface emphasizing the cold brittle nature of the frozen substrate. The snow impressions appear as depressions with crisp sharp-edged outlines formed by compacted ice and snow granules partially melted and refrozen creating a dynamic interplay of moisture and frost. Variations in porosity and binder composition influence the surface finish resulting in areas of matte frost contrasted by glossy patches of thin ice sheets lending an authentic visual complexity to the texture.
In terms of PBR material channels the BaseColor/Albedo map captures the nuanced coloration of frozen ground with subtle shades of off-white snow icy blue highlights and earthy undertones from the underlying substrate. The Normal map accentuates the intricate footprint depth and surface roughness emphasizing fine cracks and icy ridges that define each print’s shape. The Roughness map balances smooth icy gloss with rough compacted snow patches while the Metallic channel remains minimal to reflect the non-metallic nature of the frozen soil and ice. Ambient Occlusion enhances shadowing within footprint depressions and cracks adding depth and realism. The Height/Displacement map details the varying terrain elevations caused by snow compaction and ice formation ideal for accurate parallax effects in real-time rendering.
Designed for seamless tiling and optimized for Unreal Engine Blender and Unity workflows this texture is perfect for creating immersive winter-themed environments with photorealistic authenticity. To maximize realism adjusting the UV scale to replicate natural footprint sizes and fine-tuning the roughness map can control the balance between icy sheen and snow mattness enhancing visual impact in both close-up and wide shots. This high-quality PBR texture is an excellent asset for visual effects architectural visualization and game scenes requiring precise snow and icy print impressions on frozen terrain surfaces.
Import the texture maps into Blender with sRGB color space for albedo/base color and Non-Color for normal, roughness, metallic, AO, height, and ORM maps. Connect normal maps through a Normal Map node, then adjust UV scale with a Mapping node so the material repeats naturally on your model.
For the full step-by-step setup, see How to Use Seamless Textures in Blender. Browse related material examples in wood, concrete, and metal.
Yes. This texture is designed as a seamless tileable PBR material, so it can repeat across large surfaces without visible borders.
You can download PNG/WEBP versions and use 1K, 2K, 4K and 8K download options when available on the page.
Yes. The download options and engine-mapped ZIP workflow are designed for Blender, Unreal Engine, Unity Standard, URP and HDRP material pipelines.
Yes. The texture is available under the AITextured free commercial license. Review the license page for redistribution and AI-training restrictions.
Build, preview, and export seamless PBR materials. Generate full map sets from a single image, inspect them in a real-time WebGL viewer, and re-package maps for Unreal, Unity, and Blender—directly in your browser.
AI text-to-texture: type a prompt and get a seamless, tileable base image ready for PBR workflows (great starting point for materials).
Create a full PBR set (Normal, Roughness, AO, Metallic, etc.) from a single image. Seamless and tiling-friendly.
Instant WebGL viewer: inspect materials on a sphere, plane, and cube. Check tiling and lighting in real time.
Re-packages maps per engine: Unreal (BaseColor + ORM), Unity (Mask/MetallicSmoothness), Blender (separate channels).
PNG ↔ JPG ↔ SVG: fast convert, SVG rasterize, embed/trace options, quality & background controls.