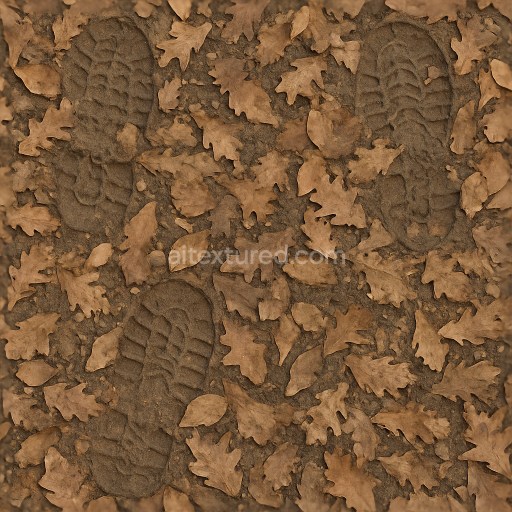
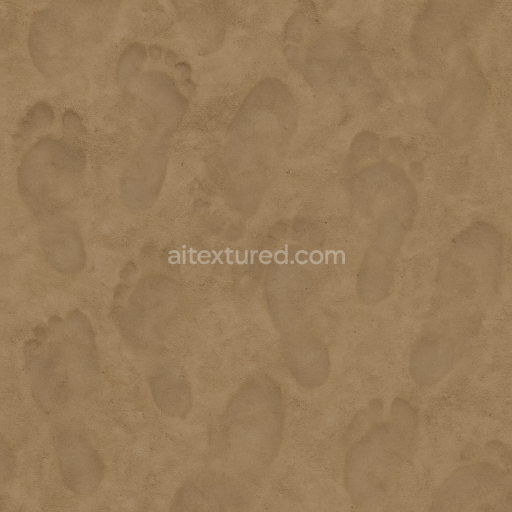
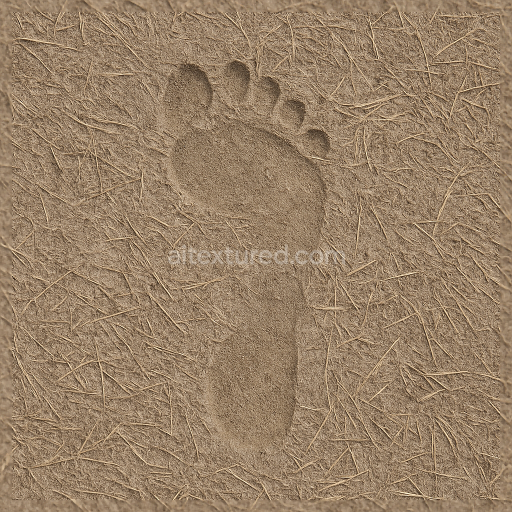
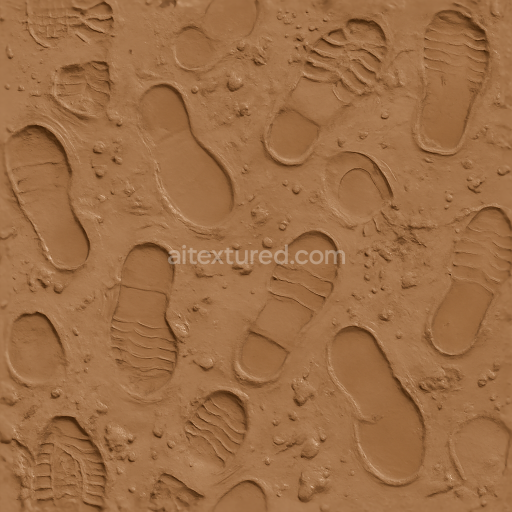
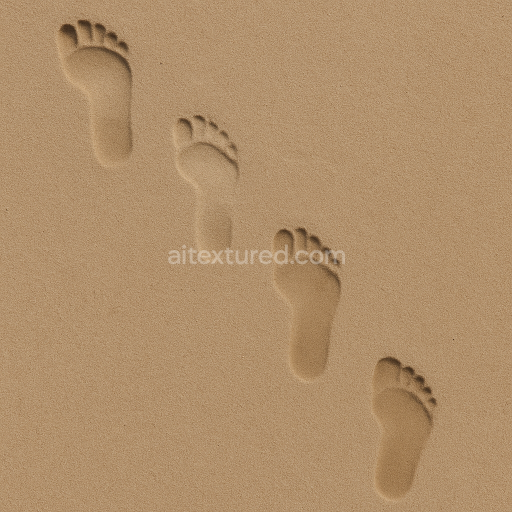
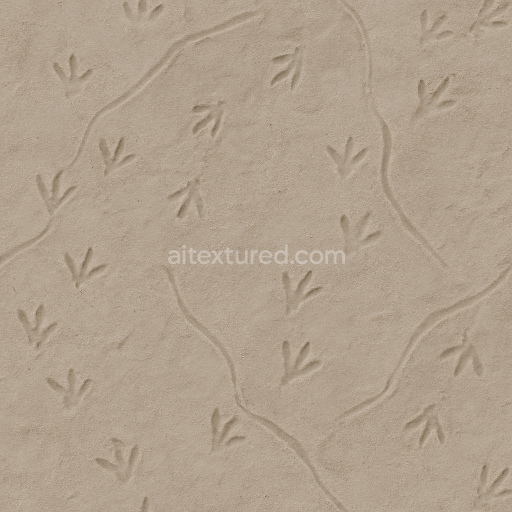
Leaf Covered Prints With Shallow Impressions On Uneven Ground
Seamless texture (tileable) · PNG, WEBP, PBR ZIP. License: AITextured Free Commercial License (FCL) v1.1. Free personal and commercial use. Raw resale, standalone redistribution, mirroring/scraping, competing asset packs, and AI/ML training are not allowed without written permission. Attribution is not required, but appreciated..

| ID | seamless-3d-texture-pbr-8k-of-faded-footprints-on-concrete-surface-with-footprint-erosion |
|---|---|
| Category | Footprints |
| Formats | PNG, WEBP, PBR ZIP |
| Size | 1k (1024x1024px), 2k (2048x2048px), 4k (4096x4096px), 8k (8192x8192px) |
| Color | sRGB |
| Tileable | Yes |
This seamless 3D texture showcases faded footprints embedded on a smooth concrete surface capturing the authentic essence of footprint erosion and natural wear. The concrete base is mineral-rich composed primarily of cement binder mixed with fine aggregates that create a subtly porous substrate. Its typical gray tones exhibit slight color variations due to the presence of oxide layers and weathering pigments which contribute to a realistic aged appearance. The footprint impressions themselves are shallow and eroded with softened edges that suggest prolonged exposure to natural elements such as rain wind and foot traffic. Residual texture details and subtle surface roughness enhance the tactile feel reflecting the gradual breakdown of the concrete’s fine grain orientation over time.
In terms of PBR channels the BaseColor (Albedo) reveals the muted grays punctuated by darker weathered footprint residues while the Normal map conveys the delicate erosion patterns and shallow depressions with high fidelity. The Roughness channel emphasizes the contrast between the smoother concrete areas and the rougher worn footprint surfaces aiding in realistic light scattering. This texture has minimal metallic properties reflected in a near-zero Metallic map consistent with concrete’s non-metallic nature. Ambient Occlusion subtly deepens the footprint recesses enhancing depth perception and the Height/Displacement map accurately represents the erosion’s uneven surface topology making it ideal for parallax effects or tessellation. Rendered at a stunning 8K resolution this photorealistic texture is fully optimized for seamless tiling and is Unreal Engine Blender and Unity ready ensuring maximum compatibility for urban or industrial scene creation.
For practical use when applying this texture consider adjusting the UV scale carefully to maintain the natural footprint size relative to the scene context. Fine-tuning the Roughness map can help balance the wetness or dryness appearance of the concrete surface while subtle height map manipulation can enhance the erosion’s visual depth especially when using parallax occlusion mapping. This texture is perfect for projects requiring realistic aged concrete footprints with visible erosion and weathering adding authenticity to architectural visualizations game environments and detailed urban renderings.
Import the texture maps into Blender with sRGB color space for albedo/base color and Non-Color for normal, roughness, metallic, AO, height, and ORM maps. Connect normal maps through a Normal Map node, then adjust UV scale with a Mapping node so the material repeats naturally on your model.
For the full step-by-step setup, see How to Use Seamless Textures in Blender. Browse related material examples in wood, concrete, and metal.
Yes. This texture is designed as a seamless tileable PBR material, so it can repeat across large surfaces without visible borders.
You can download PNG/WEBP versions and use 1K, 2K, 4K and 8K download options when available on the page.
Yes. The download options and engine-mapped ZIP workflow are designed for Blender, Unreal Engine, Unity Standard, URP and HDRP material pipelines.
Yes. The texture is available under the AITextured free commercial license. Review the license page for redistribution and AI-training restrictions.

Generate, preview, and export seamless PBR materials for Blender, Unity, and Unreal Engine—directly in your browser.
AI text-to-texture: type a prompt and get a seamless, tileable base image ready for PBR workflows (great starting point for materials).
Create a full PBR set (Normal, Roughness, AO, Metallic, etc.) from a single image. Seamless and tiling-friendly.
Instant WebGL viewer: inspect materials on a sphere, plane, and cube. Check tiling and lighting in real time.
Re-packages maps per engine: Unreal (BaseColor + ORM), Unity (Mask/MetallicSmoothness), Blender (separate channels).
PNG ↔ JPG ↔ SVG: fast convert, SVG rasterize, embed/trace options, quality & background controls.