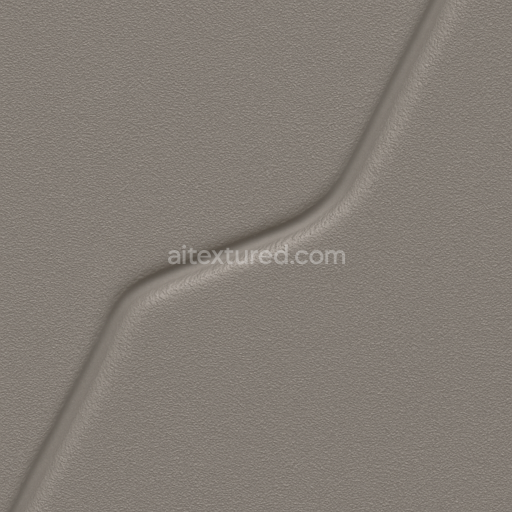
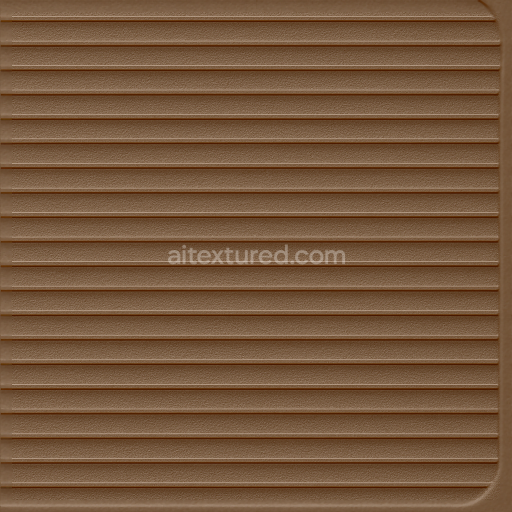
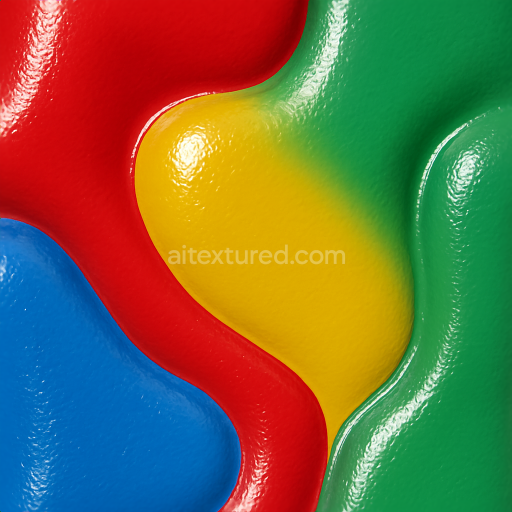
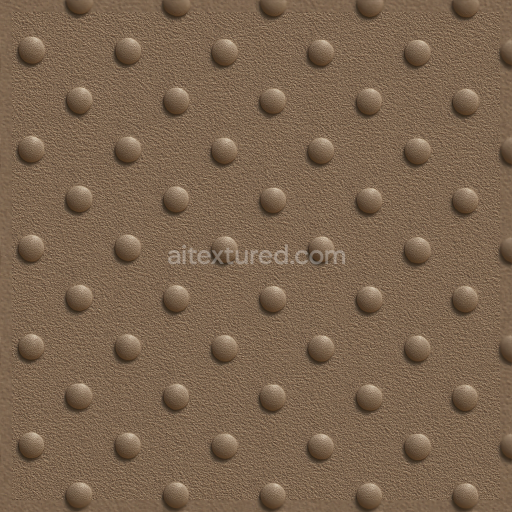
Dotted Pattern Furniture Plastic Surface With Vibrant Colors And Glossy Finish
Seamless texture (tileable) · PNG, WEBP, PBR ZIP. License: AITextured Free Commercial License (FCL) v1.1. Free personal and commercial use. Raw resale, standalone redistribution, mirroring/scraping, competing asset packs, and AI/ML training are not allowed without written permission. Attribution is not required, but appreciated..

| ID | seamless-3d-texture-pbr-8k-linear-grooves-blow-molded-plastic-surface |
|---|---|
| Category | Furniture Plastic |
| Formats | PNG, WEBP, PBR ZIP |
| Size | 1k (1024x1024px), 2k (2048x2048px), 4k (4096x4096px), 8k (8192x8192px) |
| Color | sRGB |
| Tileable | Yes |
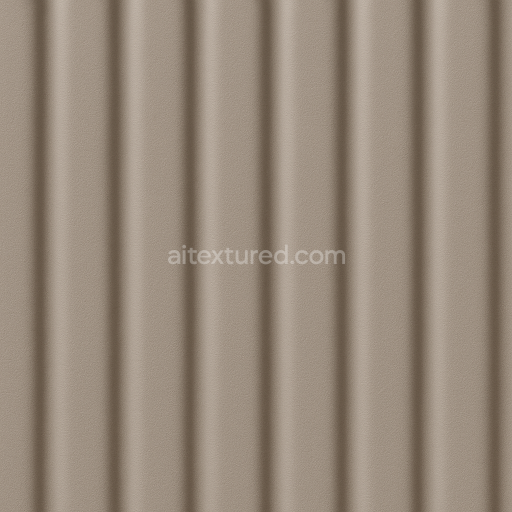
This seamless 3D texture showcases a high-resolution 8K PBR material inspired by blow molded plastic surfaces characterized by precise linear grooves. The base substrate is an opaque polymer with a hard glossy finish that creates a solid durable appearance. The blow molding manufacturing process naturally introduces subtle surface undulations and authentic groove patterns enhancing the visual complexity and depth. Primary color pigments are embedded uniformly within the plastic matrix delivering vibrant contemporary aesthetics ideal for modern furniture design and architectural visualizations. The surface is polished to a high gloss resulting in enhanced reflectivity that interacts realistically with lighting environments in 3D applications.
From a technical perspective this texture’s PBR channels are carefully crafted to reflect the material’s physical properties. The BaseColor/Albedo map captures the rich saturated primary colors and the opaque plastic’s consistent tone. Normal and Height/Displacement maps accurately reproduce the linear grooves and subtle molding details providing convincing surface relief and depth. The Roughness channel balances the glossy finish with minimal surface roughness to maintain a hard reflective quality without becoming mirror-like. The Metallic channel remains near zero reflecting the non-metallic polymer nature of the plastic while the Ambient Occlusion map adds realistic shading in groove recesses emphasizing the 3D structure.
Designed for seamless tiling this texture is optimized for flawless application across large surfaces ensuring there are no visible breaks or repetitions. It is fully compatible and Unreal Blender and Unity ready allowing for easy integration into any PBR workflow. When using this texture it is recommended to adjust the UV scale carefully to maintain the natural linear groove spacing and to fine-tune the roughness map to suit specific lighting scenarios or material wear levels. The combination of high-resolution detail and physically accurate surface properties makes this texture particularly suited for creating vibrant durable furniture surfaces and realistic blow molded plastic visualizations.
Import the texture maps into Blender with sRGB color space for albedo/base color and Non-Color for normal, roughness, metallic, AO, height, and ORM maps. Connect normal maps through a Normal Map node, then adjust UV scale with a Mapping node so the material repeats naturally on your model.
For the full step-by-step setup, see How to Use Seamless Textures in Blender. Browse related material examples in wood, concrete, and metal.
Yes. This texture is designed as a seamless tileable PBR material, so it can repeat across large surfaces without visible borders.
You can download PNG/WEBP versions and use 1K, 2K, 4K and 8K download options when available on the page.
Yes. The download options and engine-mapped ZIP workflow are designed for Blender, Unreal Engine, Unity Standard, URP and HDRP material pipelines.
Yes. The texture is available under the AITextured free commercial license. Review the license page for redistribution and AI-training restrictions.

Build, preview, and export seamless PBR materials. Generate full map sets from a single image, inspect them in a real-time WebGL viewer, and re-package maps for Unreal, Unity, and Blender—directly in your browser.
AI text-to-texture: type a prompt and get a seamless, tileable base image ready for PBR workflows (great starting point for materials).
Create a full PBR set (Normal, Roughness, AO, Metallic, etc.) from a single image. Seamless and tiling-friendly.
Instant WebGL viewer: inspect materials on a sphere, plane, and cube. Check tiling and lighting in real time.
Re-packages maps per engine: Unreal (BaseColor + ORM), Unity (Mask/MetallicSmoothness), Blender (separate channels).
PNG ↔ JPG ↔ SVG: fast convert, SVG rasterize, embed/trace options, quality & background controls.